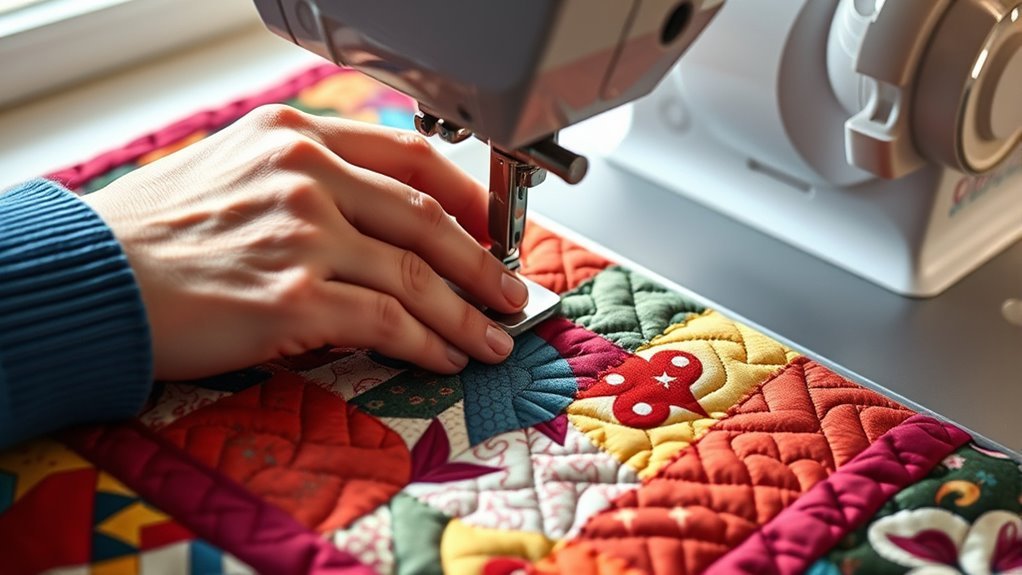
How You Can Quilt With a Regular Sewing Machine Step by Step
You can quilt a king-size project with your regular sewing machine by first preparing and washing your fabrics.
Then, cut your quilt top, batting, and backing with extra seam allowances to ensure everything fits perfectly.
Next, layer the backing wrong side up, add the batting, and place the quilt top right side up.
Secure all the layers together using pins or spray baste to keep them from shifting while you sew.
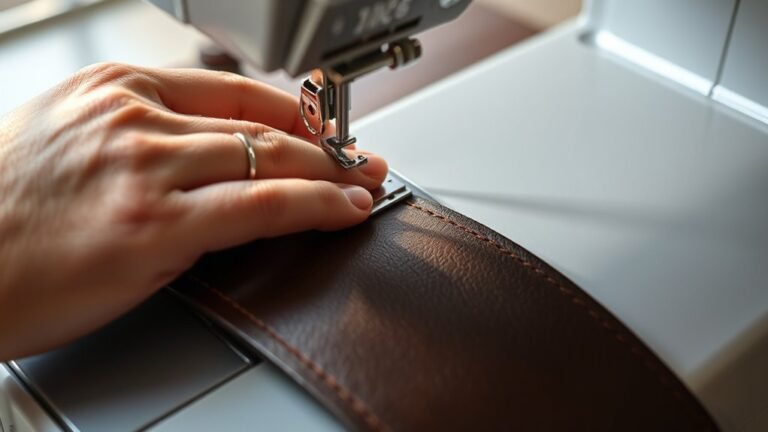
Attach a walking foot to your machine to help sew straight lines evenly and maintain proper tension.
Practice simple quilting designs first to get comfortable with the process.
Keep going, and as you gain confidence, you’ll discover helpful tips for tackling more complex patterns.
Plus, you can even combine machine quilting with hand quilting to add beautiful, personal touches to your project.
Key Takeaways
- Prepare fabrics by washing, ironing, and cutting quilt top, batting, and backing with extra seam allowances for accurate layering. This helps everything line up perfectly when you start quilting.
- Layer backing wrong side up, add batting, then quilt top right side up, securing layers with spray baste or safety pins to prevent shifting. Keeping those layers in place is key!
- Attach a walking foot to your regular machine for even feeding and use straight stitch with proper tension for smooth quilting stitches. This makes quilting go a lot smoother.
- Mark quilting lines or motifs on fabric and practice on scraps to build confidence before quilting the actual project. It’s a great way to get comfortable without risking your quilt.
- Combine machine quilting for speed and hand quilting for delicate details, adjusting tension and needle choice for consistent stitch quality. This mix lets you enjoy the best of both worlds!
Understanding Your Regular Sewing Machine for Quilting
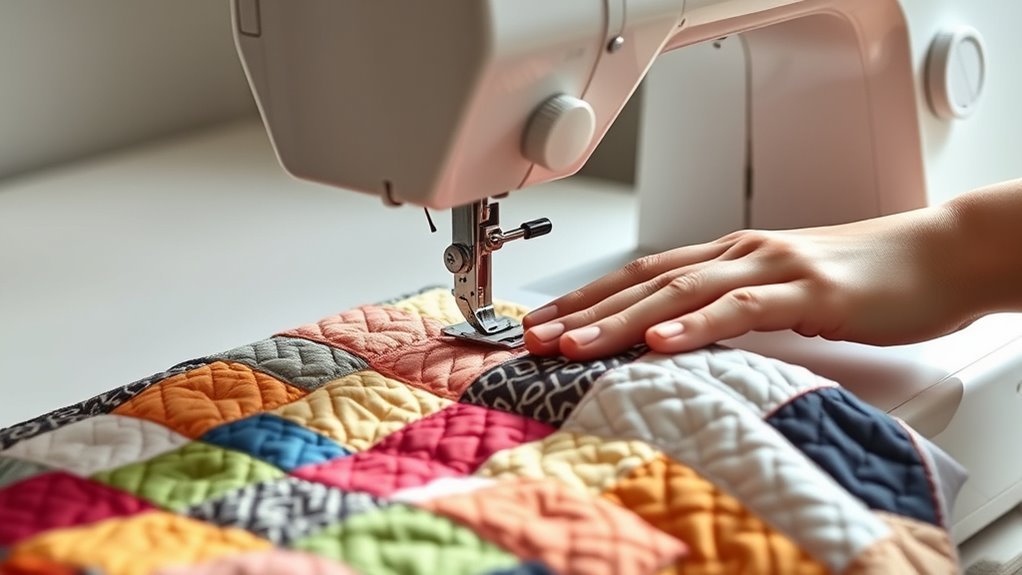
Although specialized quilting machines exist, you can quilt large projects like king-size quilts using your regular sewing machine. Most standard models, such as a basic Singer, handle multiple layers well, especially when fitted with a walking foot.
You can quilt even king-size projects on your regular sewing machine with the right tools like a walking foot.
This attachment helps you quilt with a regular machine by preventing fabric shifting and crinkling during stitching. To get the best results, maintain proper tension, use a straight stitch, and sew at a consistent speed.
Simple designs like straight lines or basic motifs are easy to achieve without complicated settings. Plus, you can combine machine quilting with hand quilting for intricate details or heirloom projects.
Understanding these basics ensures your regular sewing machine becomes a powerful tool for quilting large, beautiful pieces. It’s not as tricky as it sounds once you get the hang of it!
Preparing Your Quilt Pieces and Fabrics
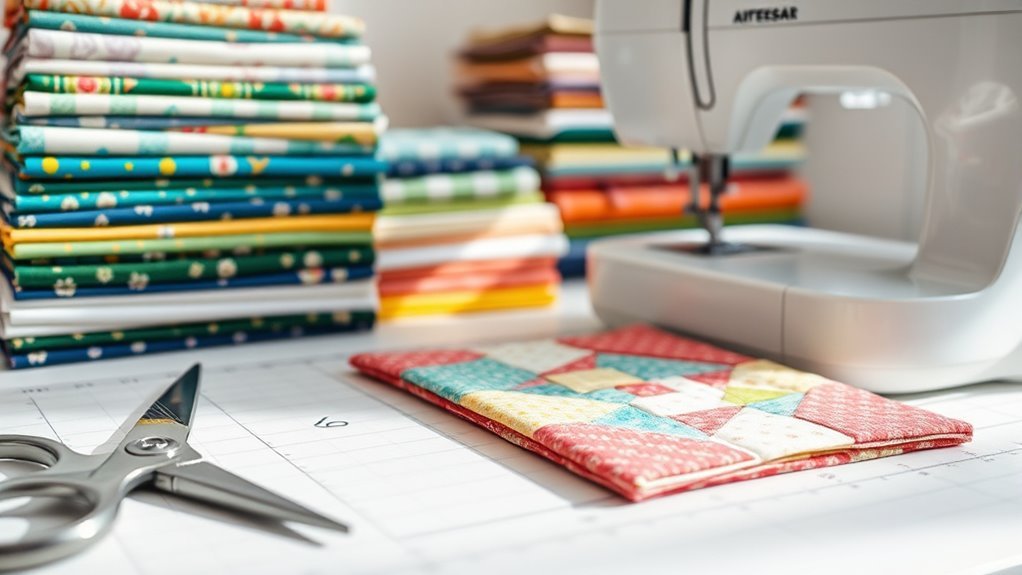
Once you’ve familiarized yourself with quilting on your regular sewing machine, the next step is to prepare your quilt pieces and fabrics properly. Start with fabric preparation by washing and ironing your fabrics to remove sizing and ensure smooth, flat pieces.
Cut your quilt top pieces, batting, and backing to size, remembering to add extra seam allowances for assembly. Next, focus on layering your quilt sandwich: backing, batting, and quilt top.
Secure these layers with spray baste or pins, making sure everything lies flat and won’t shift while quilting. To handle large quilt sections, use tools like a pool noodle or foam board.
Organize your fabric pieces in a dedicated workspace to keep the process efficient and orderly. Proper preparation sets the foundation for successful quilting.
Essential Tools and Accessories for Machine Quilting
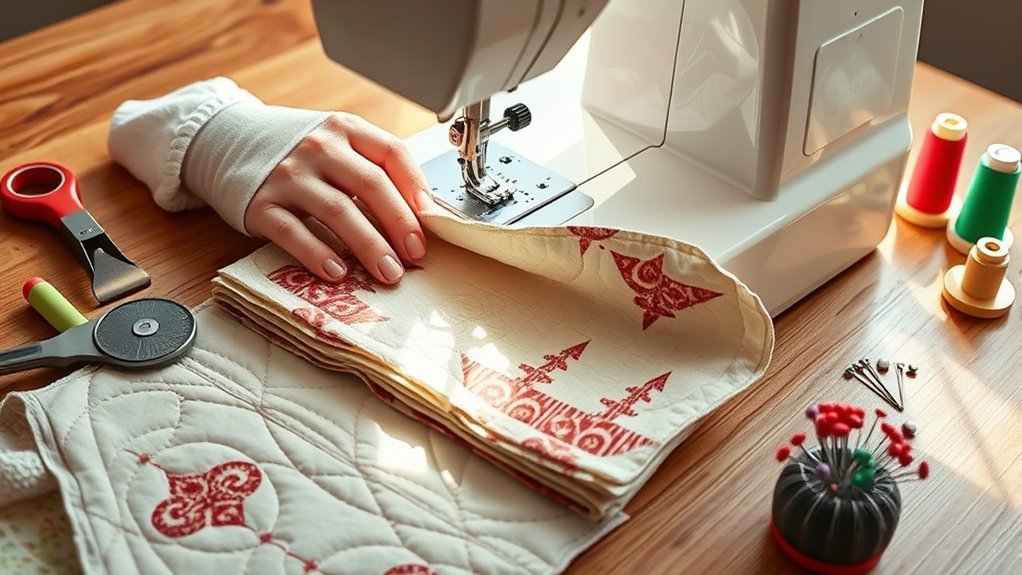
To get started with machine quilting, you’ll want to gather some essential tools like a walking foot to handle your quilt layers smoothly. Choosing the right thread and needle makes a big difference in your stitching quality and durability.
Once you have these basics, you’ll find quilting becomes much easier and more enjoyable. It’s all about having the right gear to make your quilting journey smooth and fun!
Must-Have Quilting Tools
When you start machine quilting, having the right tools can make all the difference in your results and enjoyment. A walking foot is essential—it helps feed multiple quilt layers evenly through your regular sewing machine, preventing shifting and puckers.
Pair it with high-quality topstitch needles, which stay sharp longer and reduce skipped stitches during long quilting sessions. Don’t forget breathable quilting gloves; they improve your grip and control, making free motion quilting smoother and more precise.
These gloves keep your hands comfortable and steady, helping you maneuver your quilt with ease. With these must-have tools, you’ll handle your quilting projects more confidently and efficiently, turning your sewing machine into a powerful quilting companion.
Thread and Needle Choices
Although selecting the right thread and needle might seem straightforward, these choices greatly impact your quilting’s quality and ease. For thread selection, high-quality embroidery threads on cones reduce thread changes, letting you focus on your work.
Specialty threads like monofilament or polyester add texture and durability, enhancing your quilt’s look. When it comes to needle type, choose topstitch or quilting needles—such as Superior Thread Top Stitch Needles—that stay sharp longer and handle multiple passes without dulling.
Always match your needle size to your thread type to avoid skipped stitches or fabric damage. Also, verify your quilting machine is threaded correctly for smooth stitching.
Using breathable cotton gloves can improve grip and control, making free motion quilting smoother and more precise.
How to Layer Your Quilt: Top, Batting, and Backing
To create a smooth quilt sandwich, start by laying your backing fabric flat with the wrong side up. Then, place the batting on top, smoothing out wrinkles as you go.
Next, align your quilt top right side up over the batting. Make sure the edges match up carefully.
Securing these layers properly is key. It helps prevent shifting while you sew.
Quilt Layering Basics
Before you start quilting, you’ll want to layer your quilt carefully by placing the backing fabric right side down, then the batting, and finally the quilt top with the right sides facing up. This creates the essential quilt sandwich, which you’ll need to keep smooth and wrinkle-free for even stitching.
Proper quilt layering ensures each component stays in place and your finished quilt looks polished. Secure the layers with safety pins or basting spray to prevent shifting as you sew.
Keep these points in mind:
- Lay your quilt sandwich flat on a large surface to manage layers easily
- Smooth out wrinkles and avoid puckers for a clean quilting surface
- For bigger quilts, roll or fold excess fabric to handle the bulk
Mastering these basics sets you up for quilting success. It’s a simple step that makes a big difference!
Aligning Quilt Layers
When you align your quilt layers, start by laying the backing fabric right side down on a flat surface. Make sure it’s smooth and wrinkle-free.
Next, place the batting on top. Carefully smooth out any wrinkles and align the edges with the backing.
Then, position the quilt top right side up over the batting. Make sure all sides and corners match perfectly.
Proper layer alignment is essential to avoid puckering or shifting during quilting.
Once the layers are aligned, secure them using safety pins, spray baste, or a temporary adhesive. This step keeps your quilt layers evenly distributed and flat.
It makes your sewing process smoother and your finished quilt look more professional. Don’t skip securing layers—it’s key to successful quilting.
Using a Walking Foot for Straight Line Quilting
Although quilting multiple layers can be tricky, using a walking foot makes straight line quilting much easier by feeding all the layers evenly and preventing puckers or shifting.
As a quilting beginner, attaching the walking foot correctly to your regular sewing machine guarantees smooth operation.
To achieve precise straight line quilting, use a ruler and marking tools to guide your stitches. Keep a steady, consistent speed to let the walking foot do its job effectively.
Before working on your quilt, practice on scrap fabric to build confidence.
Remember these essentials:
- Guarantee your walking foot is compatible and properly installed.
- Mark straight lines clearly for even stitching.
- Maintain consistent speed for smooth feed and stitch quality.
Mastering Free Motion Quilting on a Domestic Machine
Since free motion quilting requires more control than straight line quilting, you’ll want to start by practicing on scrap fabric with your free motion foot to get comfortable guiding your machine smoothly.
Using a domestic sewing machine, lower or deactivate the feed dogs to let the fabric move freely under the needle. Adjust your tension and stitch length settings to achieve even, smooth stitches when quilting freehand.
Begin with simple quilting techniques like loops, waves, and spirals before tackling complex patterns. Keep your fabric taut but not stretched, and move your hands steadily to maintain control.
Mastering free motion quilting takes patience, but by practicing these steps, you’ll gain confidence and create beautiful, intricate designs on your quilts.
Tips for Maintaining Proper Tension and Stitch Quality
Controlling tension plays a key role in achieving smooth, even stitches as you practice free motion quilting. Proper thread tension prevents puckering and keeps multiple layers flat.
Before starting your quilt, test tension on scrap fabric to fine-tune settings. To maintain consistent stitch quality, use the correct needle and thread combination and adjust tension gradually.
Keep these tips in mind for ideal results:
- Regularly clean your machine’s bobbin case and tension discs to prevent lint buildup.
- Make small, incremental changes to thread tension to avoid thread breakage.
- Always test on scrap fabric before quilting your project.
Consistent machine maintenance and careful tension adjustments ensure your stitches stay balanced. This will enhance your quilt’s overall appearance and durability.
Techniques for Quilting Complex Designs on a Regular Machine
You’ll want to start mastering free motion quilting by lowering the feed dogs and using a quilting foot to guide your fabric smoothly.
Once you feel comfortable, try incorporating walking foot patterns to add texture and control to your designs.
These techniques will help you tackle complex quilting with confidence on your regular machine.
Mastering Free Motion Quilting
How can you transform your regular sewing machine into a tool for intricate quilting designs? Mastering free motion quilting lets you create beautiful, complex patterns by controlling the fabric manually while stitching.
Start by lowering your feed dogs and attaching a free motion quilting foot—these are key sewing machine techniques for quilting beginners.
Focus on practicing simple motifs like loops and waves before advancing to intricate designs. It really helps to maintain a steady hand speed and consistent stitch length for smooth, even quilting.
Also, make sure to use a sharp, quality needle and adjust your tension to avoid skipped stitches. With a bit of patience and practice, you’ll confidently maneuver your fabric to produce stunning free motion quilting that truly elevates your projects.
Using Walking Foot Patterns
Although free motion quilting offers great creative freedom, using a walking foot lets you tackle complex designs with more control and ease on a regular sewing machine.
If you’re new to quilting or have been at it for a while, this technique is perfect for anyone interested in learning detailed patterns like stippling, pebbles, or waves.
The walking foot feeds multiple layers evenly, which helps you stitch intricate textures without needing a long arm machine.
Try practicing by guiding your fabric steadily while the foot manages the layers. You can also use quilting rulers or templates for precise, repetitive designs like feathers or grids.
Just keep your speed consistent and pressure even, and you’ll master these complex patterns with confidence on your standard sewing machine.
Combining Hand Quilting and Machine Quilting Approaches
When you combine hand quilting with machine quilting, you open a range of creative possibilities that neither method can achieve alone. Machine quilting lets you quickly secure the quilt layers with consistent, strong stitches, while hand quilting adds intricate details and personal touches.
You can use hand quilting to embellish specific areas that need delicate designs or to finish off your quilt with textured accents. Alternating between these methods helps you balance speed and artistry.
Hand quilting highlights delicate designs and textured accents, balancing speed with artistic detail in your quilting projects.
Consider these benefits when mixing techniques:
- Machine quilting handles uniform stitching for structural support
- Hand quilting adds fine, decorative details and texture
- Combining both improves your skills and customization options
This approach lets you create quilts with both efficiency and unique craftsmanship. It’s a great way to get the best of both worlds!
Benefits of Quilting on Your Everyday Sewing Machine
Using your everyday sewing machine for quilting lets you save money by skipping the need for costly specialized equipment. With features like a walking foot, your domestic machine can easily handle large quilts, even king-size projects.
Many skilled quilters have completed beautiful quilts on standard machines, proving their capability. You don’t need a fancy setup to create professional-looking quilting designs—straight lines or intricate motifs are achievable with some practice.
Plus, quilting on your regular machine gives you creative freedom and flexibility to work at your own pace. You can start, pause, and finish projects whenever you want without being tied to a specialized machine’s limitations.
All in all, this makes quilting more accessible and enjoyable for you.
Frequently Asked Questions
Can You Provide a Tutorial for Free Motion Sewing?
Lower your feed dogs and attach a free-motion foot. Then, practice on some scraps to get the hang of it.
Move the fabric smoothly with your hands, keeping a consistent speed. It might feel a bit tricky at first, but you’ll get there!
Start with simple designs like loops. Once you feel confident, you can gradually try more intricate patterns. Have fun experimenting!
What Is the Golden Rule in Quilting?
The golden rule in quilting? You’ve got to maintain a consistent quarter-inch seam allowance.
This small detail makes all the difference. It ensures your quilt blocks fit perfectly and your final piece looks flawless and professional.
How to Quilt on a Brother Sq9285?
To quilt on your Brother SQ9285, start by attaching the walking foot. This foot helps feed the layers of fabric evenly while you sew.
Next, adjust the stitch length and tension to suit your quilting fabric. It’s a good idea to start quilting with straight lines to get comfortable.
Make sure to clean the bobbin area regularly to keep your machine running smoothly. Also, use the built-in stitches to guide your quilting patterns.
This will help you quilt smoothly and evenly, making your project look great!
How to Make a Quilt Sewing?
You’ll feel like a quilting wizard once you start! Cut your fabric, layer it perfectly, then stitch with care using your sewing machine.
Finish with binding, and you’ll create a cozy masterpiece everyone will adore!
Conclusion
Quilting with your regular sewing machine is like planting a garden—you start with simple seeds, and with patience, beautiful patterns bloom. Just as a gardener trusts their tools and timing, you’ll learn to trust your machine and techniques.
Remember, even quilters who began with just a basic machine have created stunning quilts that warm homes and hearts. So, keep stitching—you’re nurturing creativity one stitch at a time.
With each seam and pattern, you’re turning fabric into your own cozy masterpiece. By quilting with a regular sewing machine, you unlock endless possibilities without needing fancy equipment. Stay patient and enjoy the process—your quilting journey is just beginning, and beautiful handmade quilts are waiting to be created.