How Do You Embroider With a Sewing Machine in 10 Easy Steps
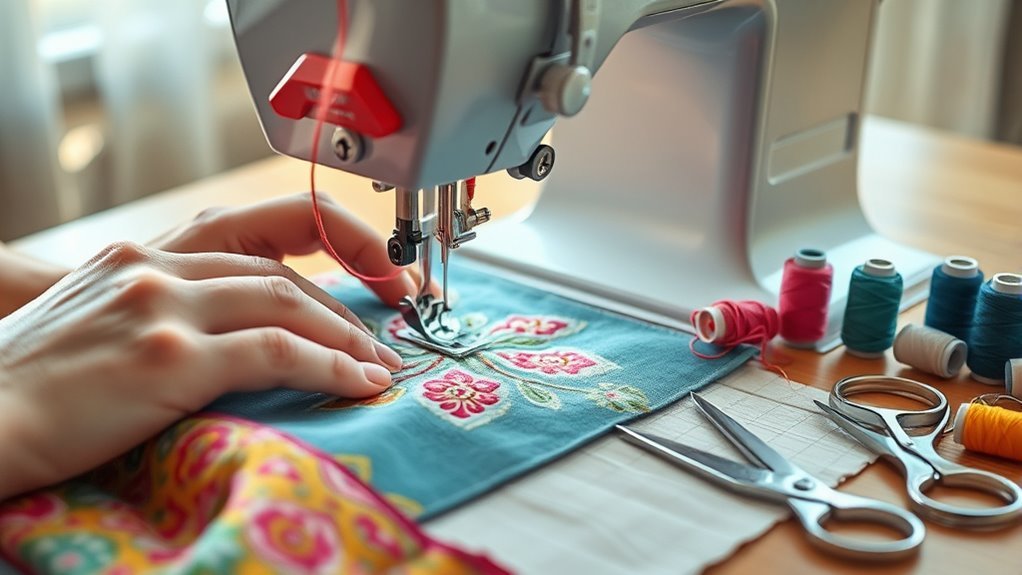
To embroider with your sewing machine in 10 easy steps, start by gathering all your materials like fabric, stabilizer, and sharp marking pens. These essentials will help you create neat and professional-looking embroidery designs.
Next, prepare your hoop and set your machine to a zigzag stitch with dropped feed dogs. This setup is crucial for smooth stitching and better control.
Mark your design on the fabric or stabilizer, then hoop everything tightly to avoid any shifting while you sew. It’s important to have a firm grip so your design stays perfectly in place.
Practice guiding the hoop gently for smooth lines. Don’t be afraid to vary stitch widths and thread colors; this adds texture and interest to your embroidery.
Once you get comfortable with these basics, you’ll discover fun techniques to add depth and layers to your embroidery projects. Keep experimenting, and you’ll create stunning pieces in no time!
Key Takeaways
- Prepare your sewing machine with a zigzag stitch, drop feed dogs, and attach a freehand or darning foot for manual fabric movement.
- Hoop fabric tightly with water-soluble stabilizer beneath to ensure smooth stitching and prevent puckering.
- Trace or mark your embroidery design clearly on fabric or stabilizer using water-erasable or Sharpie pens.
- Guide the hoop gently by hand to sew along the design, maintaining steady, fluid movements for consistent stitches.
- Experiment with stitch width, thread colors, and layering to create textured, vibrant, and dimensional embroidery effects.
Gather Necessary Supplies and Materials
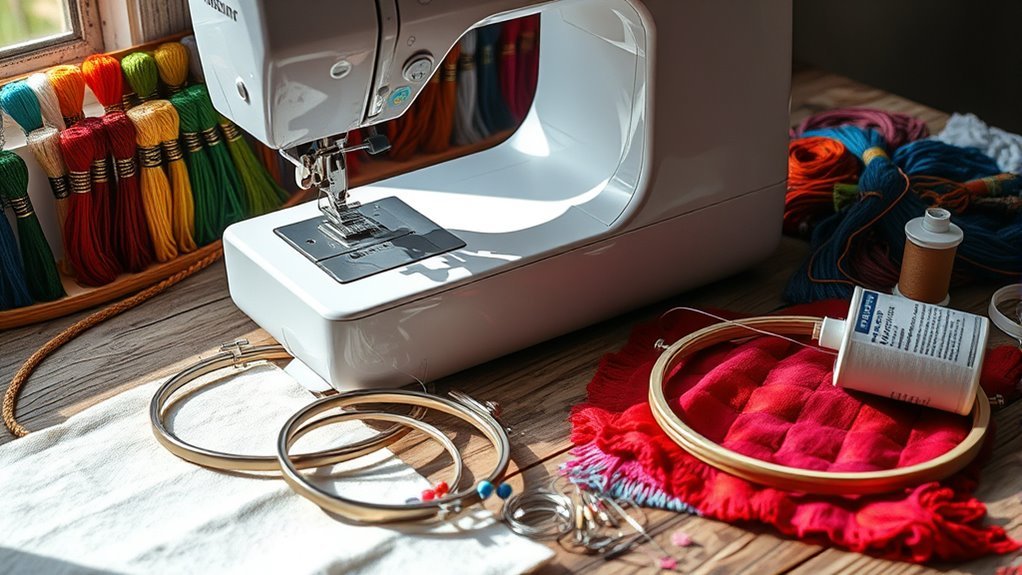
Before you begin embroidering with your sewing machine, gather all the necessary supplies to guarantee a smooth process. You’ll need fabric, water-soluble stabilizer, and sharp marking pens like water-erasable pens or Sharpies for transferring your design.
Have small or large hoops ready, making sure they’re tight and secure to hold your fabric firmly. Attach a freehand quilting or darning foot to your machine, then set the stitch to zigzag with about 3.5 mm width and 1.6 mm length.
Don’t forget to prepare scrap fabric for practice. Adjust your machine settings by dropping the feed dogs and matching thread colors to optimize for freehand embroidery.
With all these materials and adjustments in place, you’ll be set for an efficient and enjoyable embroidery session.
Choose and Prepare Your Fabric and Stabilizer
Choose a stable fabric like cotton or linen that won’t shift during stitching. And pick a stabilizer that suits your design—water-soluble or cutaway both work well.
Make sure to hoop your fabric and stabilizer tightly to keep everything smooth. This helps prevent puckering and keeps your work looking neat.
Also, mark your design clearly on the fabric or stabilizer. That way, you can guide your embroidery with precision and get great results.
Fabric Selection Tips
When you select fabric for machine embroidery, opt for stable, non-stretchy materials like cotton or linen to prevent puckering. Before hooping, make sure your fabric is clean, pressed, and wrinkle-free to ensure precise stitching.
Pair your fabric with a compatible stabilizer to support it and avoid distortion. The right stabilizer size and type depend on your fabric and project. Using a backing can provide extra support when needed.
Always test your fabric and stabilizer combo on a scrap piece first. This lets you adjust your machine’s tension and prevents surprises, guaranteeing smooth, even stitches. Following these fabric selection tips will set a solid foundation for beautiful embroidery results with your sewing machine.
Stabilizer Types Explained
Pairing your fabric with the right stabilizer keeps your embroidery crisp and prevents distortion during stitching. Choosing the right type depends on your fabric, thread tension, and design density.
Here’s a quick guide:
- Water-soluble stabilizer (WSS) offers temporary support and dissolves completely in water—perfect for delicate designs with no residue left behind.
- Cutaway stabilizer provides permanent support, ideal for stretchy or delicate fabrics. It helps prevent puckering and distortion.
- Tear-away stabilizer suits lightweight fabrics or designs with less tension. Plus, it’s easy to remove without harming your embroidery.
- Sometimes layering stabilizers gives your project extra strength and stability. It’s a handy trick when you need that little bit more support.
Proper Hooping Techniques
Although selecting the right stabilizer is essential, properly hooping your fabric guarantees your embroidery stays crisp and aligned throughout stitching. Use a tight-fitting hoop, ideally 4 inches or larger, to hold the fabric and stabilizer securely.
Make sure your fabric is taut and smooth inside the hoop—no wrinkles or slack that could distort your stitches. Choose a stabilizer suited to your fabric and design complexity, like water-soluble stabilizer (WSS) or cutaway.
Before stitching, lightly mark your design on the stabilizer or fabric with a water-erasable pen or Sharpie to guide your work. Finally, after stitching, carefully remove the hoop from the machine to avoid shifting or distorting your embroidered design.
Proper hooping sets the foundation for flawless machine embroidery every time.
Mark or Transfer Your Design
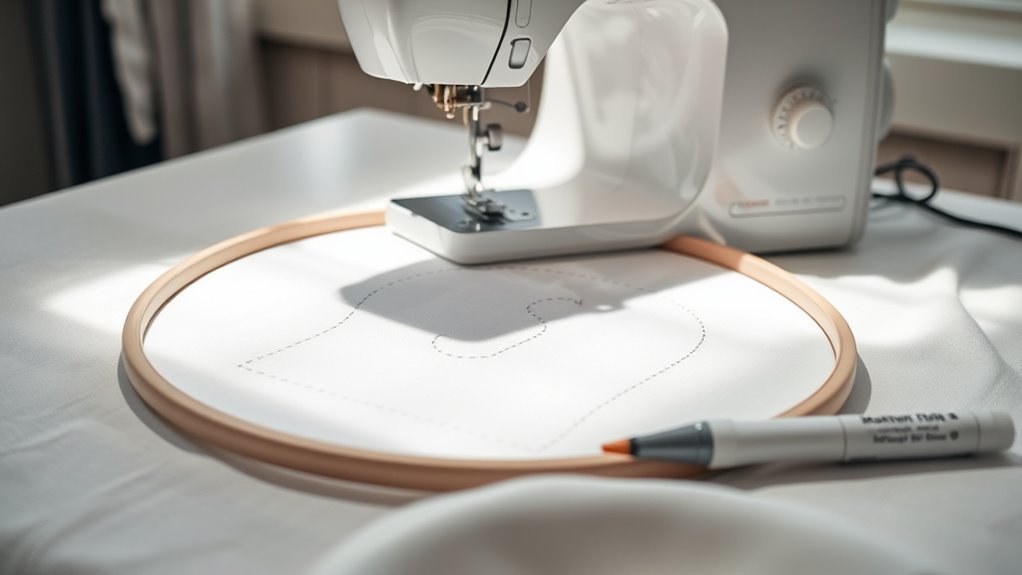
How can you guarantee your embroidery design stays clear and stable throughout the process? Start by carefully marking or transferring your design onto the fabric using reliable methods that keep everything crisp and in place.
Ensure your embroidery design remains clear and stable by carefully marking and securely transferring it onto the fabric.
Here’s how you can do it effectively:
- Use a water-soluble stabilizer (WSS) to trace your design with a Sharpie or water-erasable pen for visible, clean lines.
- If using transparent stabilizers, place your design beneath the fabric to see it clearly through the material.
- Draw directly on the fabric with a water-erasable or fabric marking pen for precise placement.
- Double-check your design’s position before hooping the fabric tightly to prevent shifting during stitching.
This approach guarantees your design stays perfectly aligned and stable, giving you confidence as you embroider.
Set Up Your Sewing Machine for Embroidery
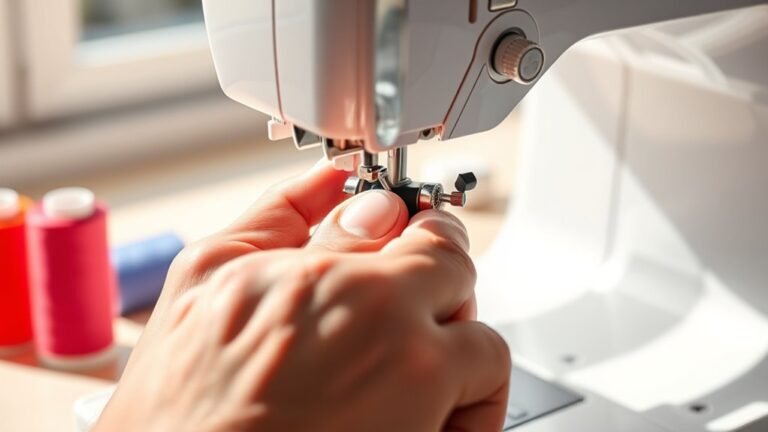
To get started, swap out your regular presser foot for a freehand quilting or darning foot, and drop the feed dogs so you can easily move the fabric.
Next, adjust your stitch settings to a zigzag with a width around 3.5 mm and length near 1.6 mm for smooth embroidery.
Finally, fine-tune the needle position and foot height to avoid any contact with the hoop or fabric as you work. Easy, right? Just a few tweaks and you’re all set!
Foot and Needle Setup
When you set up your sewing machine for embroidery, start by swapping the standard presser foot for a darning or freehand embroidery foot. This lets your fabric move freely and smoothly while you work.
Next, drop or disable the feed dogs so the fabric won’t move automatically. This gives you full control over your stitching.
Adjust your needle position to center or slightly off-center for perfect stitch placement. It’s all about getting those designs just right.
Finally, raise the presser foot to its highest point. This way, it won’t hit the hoop or fabric while you’re maneuvering around your project.
- Remove the standard foot; attach the freehand foot for smooth fabric movement.
- Drop feed dogs to steer your fabric manually.
- Center or slightly shift the needle for accurate designs.
- Raise the presser foot high to prevent snagging during stitching.
This setup ensures precise, effortless embroidery. You’ll love how easy it makes your stitching flow!
Stitch Settings Adjustment
Although setting up your machine with the right foot and needle is essential, adjusting the stitch settings guarantees your embroidery looks clean and professional. Start by selecting a zigzag stitch with a width of about 3.5 mm and a length near 1.6 mm for basic embroidery.
Next, fine-tune the stitch tension, beginning at the default setting, to make sure smooth, even stitches. Don’t forget to drop the feed dogs; this prevents the fabric from moving automatically, giving you full control for freehand embroidery.
Also, remove or raise the embroidery foot so the fabric can move freely without hitting the hoop. Before you begin your project, test these settings on scrap fabric to confirm the tension, stitch width, and length are just right.
This step saves time and ensures great results. Trust me, testing first really pays off!
Hoop Your Fabric and Stabilizer Securely
Ensuring your fabric and stabilizer are taut and wrinkle-free in the hoop sets the foundation for flawless embroidery. You’ll want to carefully position both so they lay flat without any slack or creases.
Here’s how to hoop your fabric and stabilizer securely:
- Place the stabilizer slightly larger than your fabric, preventing shifting and adding support.
- Center your fabric within the hoop, aligning it perfectly before tightening.
- Tighten the hoop screws firmly to hold everything in place during stitching.
- Test the setup on a scrap piece to ensure stability and no movement.
It might seem a bit tricky at first, but once you get the hang of it, your embroidery will look amazing every time!
Adjust Stitch Settings for Freehand Embroidery
Start by setting your machine to a zigzag stitch with about a 3.5 mm width and 1.6 mm length for smooth freehand embroidery. Adjust the stitch width and length to create different textures and use needle position changes to navigate curves easily.
Always test your settings on scrap fabric to find the perfect balance for your design. This little extra step can save you from surprises later on. Give it a try and see how your embroidery comes to life!
Zigzag Stitch Configuration
When you adjust the zigzag stitch settings on your sewing machine, you gain greater control over your freehand embroidery. This lets you create bold, precise designs that truly stand out.
Here’s how to configure your zigzag stitch for the best results:
- Set the stitch width to about 3.5 mm to make visible, striking zigzag patterns.
- Adjust the stitch length to roughly 1.6 mm to keep stitches tight and secure.
- Fine-tune the tension to avoid puckering or loose threads while maintaining smooth lines.
- Test on scrap fabric to find the perfect balance for your project’s fabric and thread.
Needle Position Adjustments
Although freehand embroidery gives you creative freedom, adjusting the needle position on your sewing machine lets you control where each stitch lands with precision. By shifting the needle left or right, you can create sharp edges and subtle shading effects.
Use your machine’s manual or stitch settings to fine-tune the stitch width and length for detailed work. Practicing these adjustments on scrap fabric helps you master consistent, clean designs.
Here’s a quick guide to needle position adjustments and their effects:
| Needle Position | Effect |
|---|---|
| Center | Standard stitch placement |
| Left | Creates sharp left edges |
| Right | Sharp right edges |
| Slightly left/right | Subtle texture variations |
| Varies during stitch | Adds shading and dimension |
Stitch Width and Length
Adjusting the stitch width and length lets you control the boldness and detail of your embroidery lines with precision. By tweaking these settings, you bring your freehand designs to life with varying textures and effects.
Start by setting the stitch width around 3.5 mm for bold, visible lines and reduce it for delicate details. The stitch length should be about 1.6 mm to keep stitches tight and consistent.
Try these tips to master your embroidery:
- Use broader zigzags by increasing stitch width for dramatic impact.
- Narrow the width to create fine, controlled lines.
- Experiment with stitch length to add shading and texture.
- Always test on scrap fabric to perfect your settings before stitching on your project.
This control makes your work uniquely expressive.
Practice Basic Zigzag Stitches and Movements
Before you plunge into complex designs, set your sewing machine to a zigzag stitch with a width of about 3.5 mm and a length of 1.6 mm to practice basic movements. Use scrap fabric and a water-soluble stabilizer to test your stitches, adjusting tension and settings until your zigzags are smooth and even.
Move the fabric or hoop slowly, stitching straight lines, curves, and loops to build control and consistency in your stitch placement. Keep a steady hand and maintain a consistent speed to create clean, uniform zigzag lines.
Don’t hesitate to experiment with different stitch widths and lengths to observe how they change the texture and shape of your embroidery strokes. This practice will prepare you for more intricate designs.
Begin Freehand Embroidering Your Design
Once you’ve secured your fabric and stabilizer in a small, tight hoop, you’ll drop the feed dogs and remove the embroidery foot to allow freehand movement. Set your machine to a zigzag stitch, about 3.5 mm wide and 1.6 mm long, perfect for flexible embroidery.
Secure fabric tightly, drop feed dogs, remove foot, and set zigzag stitch for smooth, flexible freehand embroidery.
Gently guide the hoop by hand, letting your creativity flow as you stitch.
Here’s how to begin freehand embroidering your design:
- Use a water-soluble stabilizer beneath your fabric to keep stitches smooth and pucker-free.
- Move the hoop slowly and steadily, controlling curves and lines with ease.
- Focus on gentle, fluid motions—don’t force the fabric.
- Embrace imperfections; they add charm and personality to your work.
Enjoy the freedom of creating unique, hand-guided embroidery!
Experiment With Stitch Widths, Colors, and Layers
How can you bring more life and dimension to your freehand embroidery? Start by varying stitch widths from narrow (around 1.5 mm) to wide (up to 4 mm). This creates distinct textures and shapes that make your design pop.
Don’t hesitate to switch thread colors during stitching—layer multiple shades to add depth and vibrancy. Overlap stitches and colors to build complex, textured patterns that feel dynamic.
Mix stitch styles like satin and fill stitches in your layers to boost contrast and interest. For an artistic touch, blend colors gradually by shifting thread shades within your design.
These techniques transform simple embroidery into a rich, dimensional artwork using just your sewing machine. Keep experimenting until you discover combinations that excite you!
Finish and Clean Up Your Embroidered Project
As you complete your stitching, carefully remove the fabric from the hoop to keep your design intact. Next, focus on cleaning and perfecting your work to make it shine.
Here’s how to finish and clean up your embroidered project:
Finish your embroidered project by trimming, washing stabilizer, pressing gently, and inspecting for a polished look.
- Trim away any excess stabilizer and loose threads to give your piece a neat look.
- If you used a water-soluble stabilizer, gently wash or soak the fabric following the instructions.
- Press the embroidered area lightly with an iron on low heat to smooth wrinkles without damaging stitches.
- Inspect your stitching for flaws and trim any lingering threads before setting your project aside for display or further crafting.
Taking these steps ensures your embroidery looks polished and professional every time.
Frequently Asked Questions
How to Embroider Words With a Sewing Machine?
You trace your words onto fabric, set your machine to a narrow zigzag, then carefully guide the hoop along the letters.
Adjust stitch width and length for style, and finish by removing stabilizer and touching up edges.
It’s pretty straightforward once you get the hang of moving the fabric just right. Just take your time, and you’ll have beautiful embroidered words in no time!
Can Chatgpt Create Embroidery Designs?
Yes, I can help you brainstorm embroidery designs, suggest motifs, and plan color palettes.
While I can’t create digital files directly, I’ll guide you through creating unique, personalized embroidery ideas to bring your vision to life.
Just let me know what themes or styles you’re interested in, and we can start crafting something special together!
What Is the Best Program to Create Embroidery Designs?
You know, “the proof is in the pudding,” so try Hatch for its user-friendly tools and versatility.
If you’re on a budget, Ink/Stitch offers great open-source options. Pick what fits your machine and style best!
How to Start Embroidery as a Beginner?
You start embroidery by practicing simple stitches on scrap fabric, using a stabilizer to prevent puckering. Set your machine to zigzag, drop feed dogs, and experiment with basic shapes.
Take your time with these steps. Gradually, you’ll build your skills and confidence as you go along.
Conclusion
Now that you’ve stitched your way through these steps, your sewing machine is like a painter’s brush, bringing fabric to life with every thread. Just as Van Gogh turned blank canvases into vibrant masterpieces, you’ve transformed ordinary cloth into something uniquely yours.
Keep experimenting, and let your creativity flow freely—each stitch is a step closer to your next embroidered masterpiece. Remember, every great artist started with simple strokes, and so have you.
Embroidery with a sewing machine opens up endless possibilities to personalize your projects. With practice, you’ll master different stitches and techniques that make your fabric truly stand out. So keep exploring, because every stitch you sew is a step toward becoming a skilled machine embroiderer!