How Do You Sew Pointe Shoes in 3 Easy Steps
To sew pointe shoes in three easy steps, start by cutting elastic slightly shorter than your ankle circumference. Pin it inside the heel to ensure a snug fit that supports your foot.
Next, fold and mark where the ribbons will go near the heel. Then pin the ribbons inside, angled so they’ll wrap comfortably around your ankle.
Finally, securely stitch both the elastic and ribbons in place with tight, neat stitches. This guarantees support and durability while you dance.
Keep going to discover tips for a perfect fit and finish!
Key Takeaways
- Cut elastic slightly shorter than your ankle circumference and pin it inside the heel for a snug fit. This helps keep the shoe secure without being too tight.
- Then, fold the heel inward and pin the elastic about half an inch from the heel seam. This placement makes sure everything stays put when you’re dancing.
- Sew the elastic with a box stitch inside the shoe, keeping the tension tight but comfortable. You want it to hold firmly but not dig into your skin.
- Next, cut your ribbons and fold the ends to prevent fraying. Pin them angled inside the shoe near the crease for a neat finish.
- Finally, sew the ribbons with a whipstitch through the lining. Seal the ends with clear nail polish to stop fraying, and trim any loose threads. Easy and done!
Prepare and Position the Elastic
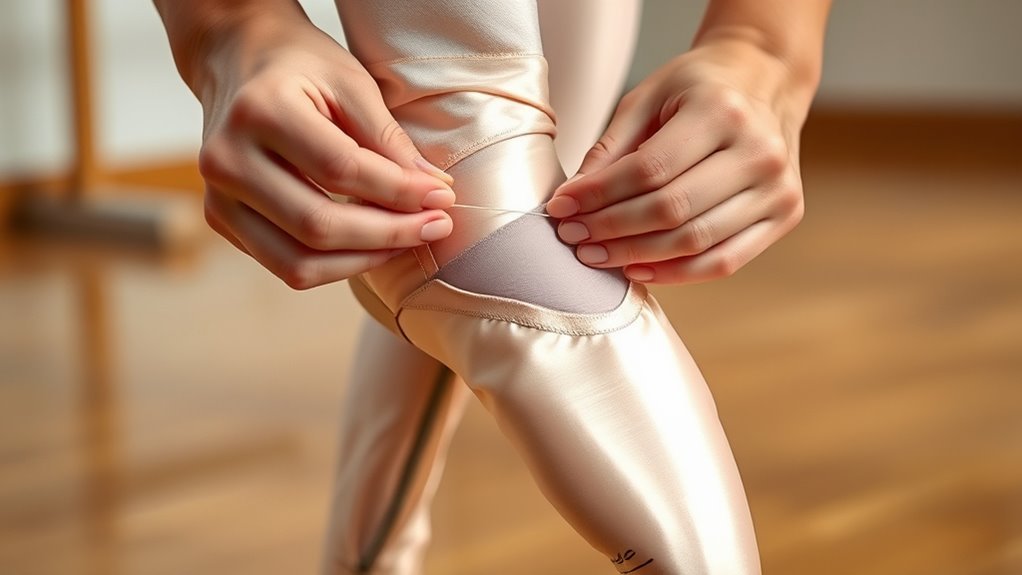
Before sewing, cut a piece of elastic about half to one inch shorter than your ankle’s circumference. This helps guarantee a snug fit.
Next, fold the heel of your pointe shoe inward to find the center point where you’ll sew the elastic. Pin the elastic securely on the inside of the heel, making sure it aligns with your desired positioning.
Turning the heel inside out helps you sew the elastic smoothly and ensures it lies flat against the shoe’s lining. Try on the pointe shoe with the elastic pinned to check for comfort and confirm the snug fit before sewing it permanently.
Proper positioning and secure pinning at this stage make sewing the elastic easier and ensure your pointe shoe fits perfectly. It’s worth taking your time here!
Mark and Attach the Ribbons
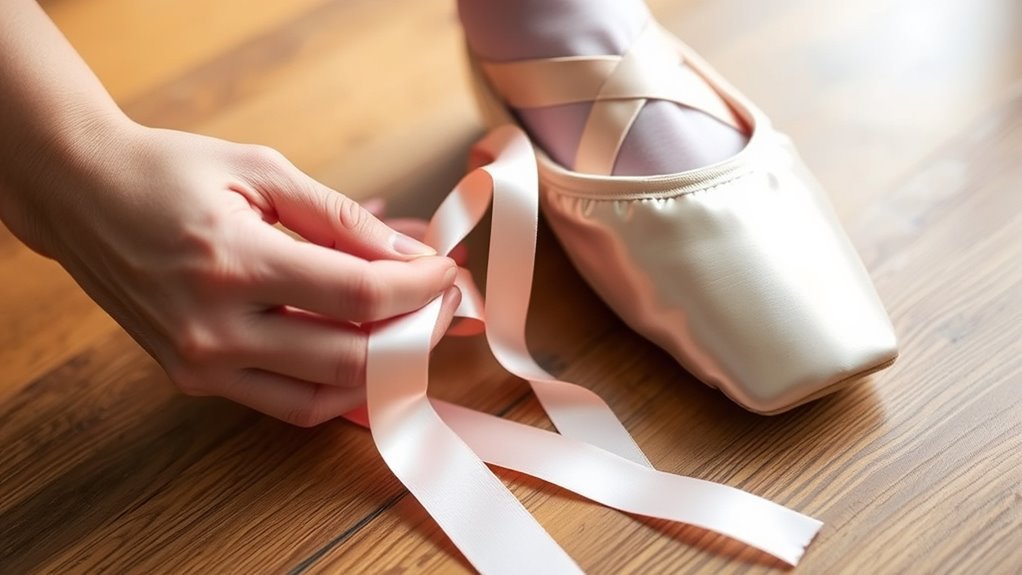
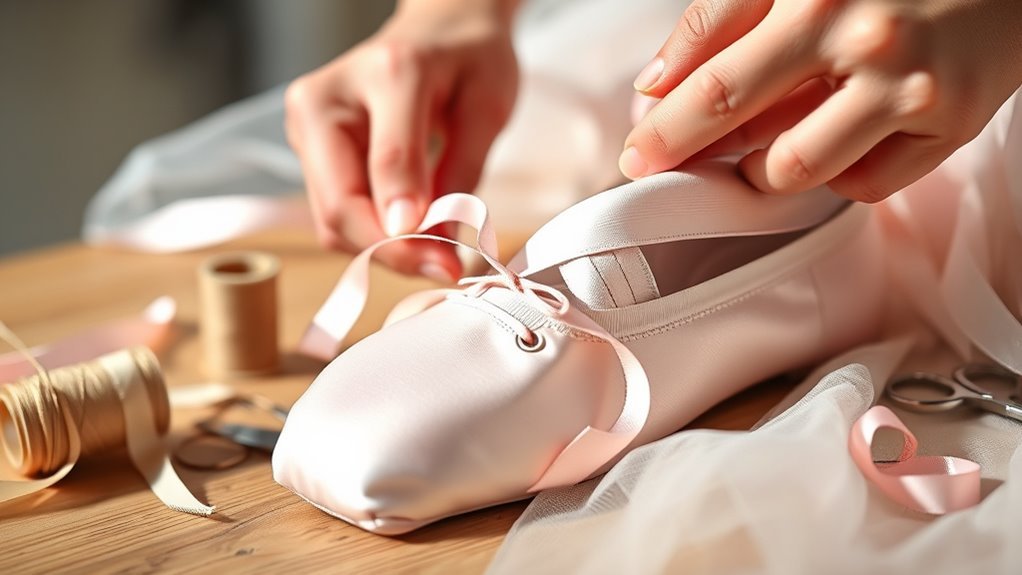
Although it may seem simple, marking the correct spot and attaching the ribbons properly is essential for a secure fit. First, fold the heel of the pointe shoe toward the toe to create a crease—that’s where you’ll mark to attach the ribbons.
Cut the ribbons into equal pieces, fold the ends to prevent fraying, then pin them inside the shoe just slightly forward of the crease. Angle them forward to hug your ankle snugly.
Try the shoe on and tie the ribbons to check the fit before sewing.
| Step | Detail |
|---|---|
| Mark | Fold heel to toe, crease marks ribbon spot |
| Attach | Pin ribbons inside, slightly forward of crease |
| Fit Check | Tie ribbons, adjust placement before sew |
Sew the Elastic and Ribbons Securely
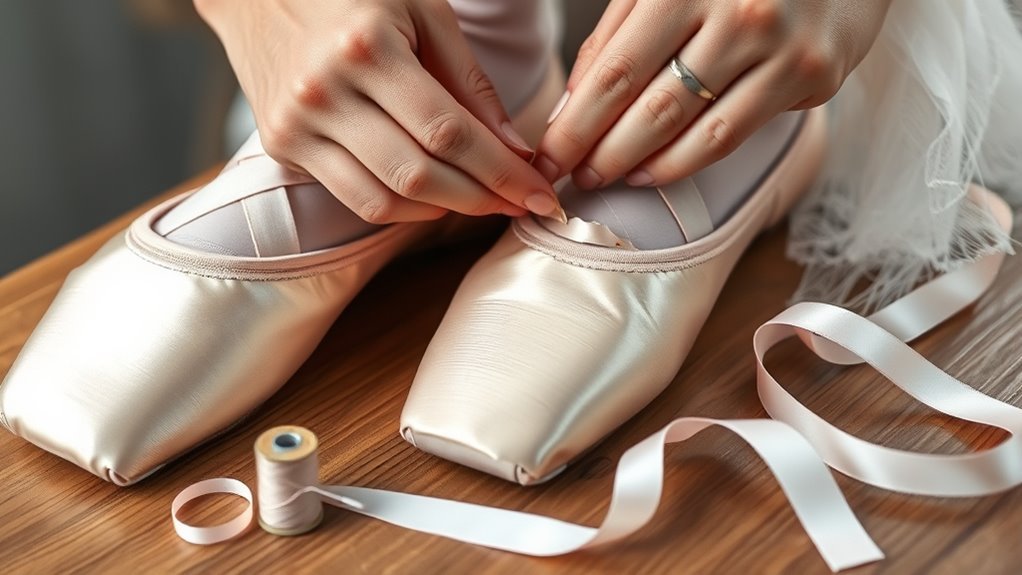
When you sew the elastic and ribbons securely, you’ll guarantee your pointe shoes provide the support and comfort you need. Start by cutting the elastic into two equal pieces.
Fold the heel to find the center, then pin the elastic about half an inch from the heel seam for a snug fit. Sew the elastic with a box stitch inside the shoe, avoiding the drawstring. Make sure it’s tight enough for solid support but still comfortable.
Next, fold the ribbon ends over half an inch and pin them at your marked placement. Sew the ribbons with a whipstitch through the inner lining, arranging them in a neat cross pattern around the ankle.
Seal ribbon ends with clear nail polish and trim loose threads for a clean finish. This little extra step really helps keep everything looking sharp.
Frequently Asked Questions
How Long Do Sewing Pointe Shoes Take?
Sewing pointe shoes usually takes you 15 to 30 minutes per shoe if you’re a beginner. With practice, you’ll finish in about 10 to 15 minutes.
Take your time to guarantee ribbons and elastic are secure. It’s important to make sure everything is tight and comfortable so your shoes hold up during dancing.
How Do Ballerinas Stand on Pointe Shoes?
You stand on pointe shoes by fully extending your legs, engaging your core, and keeping your ankles strong.
About 70% of dancers develop the necessary strength through training before rising gracefully onto their toes with control and balance. It takes practice, but with the right technique, you can get there too.
What Type of Elastic Is Used for Pointe Shoes?
You use 1/4-inch or 1/2-inch stretch elastic, made from nylon or polyester blends, designed for dance footwear. It’s soft, durable, and flexible, ensuring your pointe shoes stay secure without restricting your movement or causing chafing.
This kind of elastic really works well because it moves with your foot. So, no worries about it digging in or slipping off during your performance. It’s all about comfort and support when you’re on pointe!
How Painful Is Dancing on Pointe?
Dancing on pointe can be painful at first, especially as your toes and feet adjust. You’ll feel soreness and pressure, but with proper technique, strength, and well-fitted shoes, the pain lessens and becomes manageable over time.
It’s totally normal to feel some discomfort in the beginning. Just give your body time to get used to it, and things will get easier!
Conclusion
Now that you’ve sewn your pointe shoes, you might worry about the durability of your stitches. Don’t—securing the elastic and ribbons properly guarantees they’ll hold up through practice and performance.
Once you’ve mastered these three simple steps, you’ll save time and feel confident in your shoes’ fit and support. Keep practicing your sewing skills, and you’ll make your pointe shoes feel truly custom.
This will help you dance with ease and grace every time. Sewing pointe shoes well not only improves comfort but also enhances your stability on stage. So, take your time, follow the steps carefully, and enjoy the confidence that comes with perfectly fitted pointe shoes.