How to Applique on a Sewing Machine in 5 Easy Steps
To applique on a sewing machine in five easy steps, start by preparing your fabric and fusible web pieces with seam allowances. This foundation is key for a smooth applique process.
Next, set up your machine with the right thread, stitch, and tension to ensure your stitches hold well and look neat.
Then, position and secure your applique shapes on the base fabric using pins or glue. This keeps everything in place while you sew.
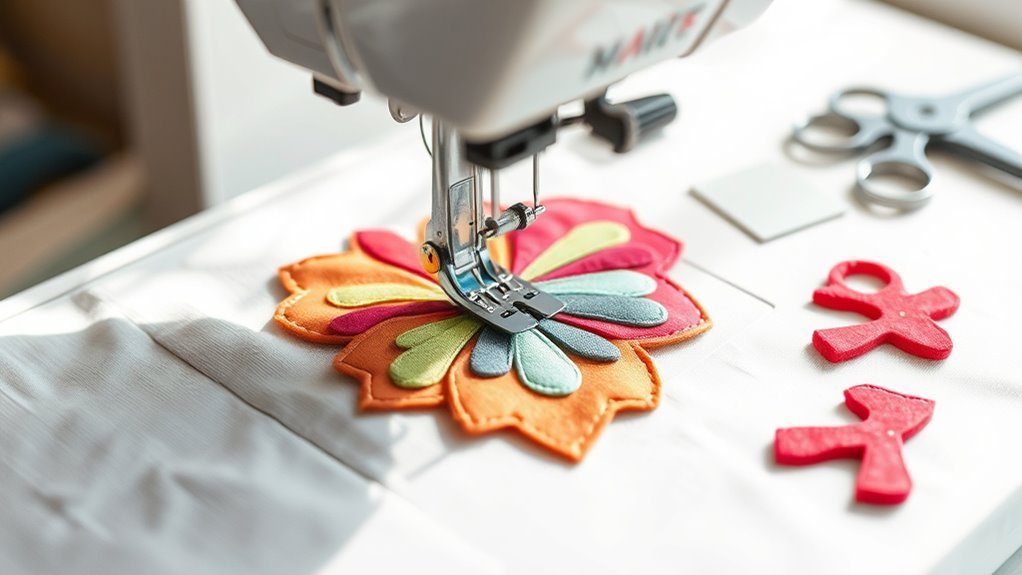
Stitch around the edges with a narrow zigzag or satin stitch, moving slowly around corners for precise results.
Finally, press your work and trim threads for a neat finish. This step really makes your applique pop and gives it a professional look.
Keep going to discover tips for a flawless, professional finish that will make your project stand out.
Key Takeaways
- Prepare fabric shapes with fusible web and press onto the base fabric for secure placement.
- Set up your sewing machine with a narrow zigzag or satin stitch and appropriate tension.
- Position and secure appliqué pieces using pins or fabric glue before sewing.
- Stitch around applique edges slowly with a narrow zigzag stitch, pivoting at corners for smooth curves.
- Trim threads and press applique gently to finish with a clean, professional look.
Preparing Your Applique Materials
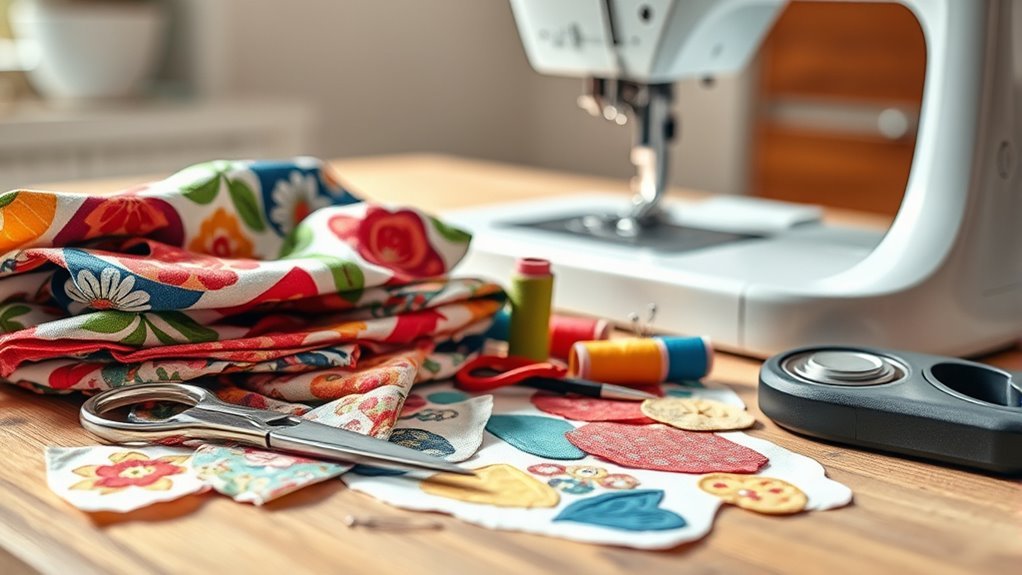
Before you begin stitching, gather your fabric pieces and pre-cut them to your desired shapes, leaving a 1/8-inch seam allowance if needed. Choose your applique patterns and trace them onto the paper backing of your fusible web.
Start by cutting fabric pieces and tracing applique patterns onto fusible web backing for precision.
You’ll want to use a fusible web like Wonder Under for secure adhesion. Next, iron the fusible web onto the wrong side of your fabric following the manufacturer’s instructions—usually about 10 seconds per side.
Once fused, carefully trim around each shape, maintaining a small seam allowance to make turning and stitching easier. This preparation is essential for raw edge applique, allowing you to place and secure your fabric pieces precisely before sewing.
Properly preparing your applique materials guarantees a clean, professional finish. It really makes the whole process smoother and your finished work look amazing!
Setting Up Your Sewing Machine
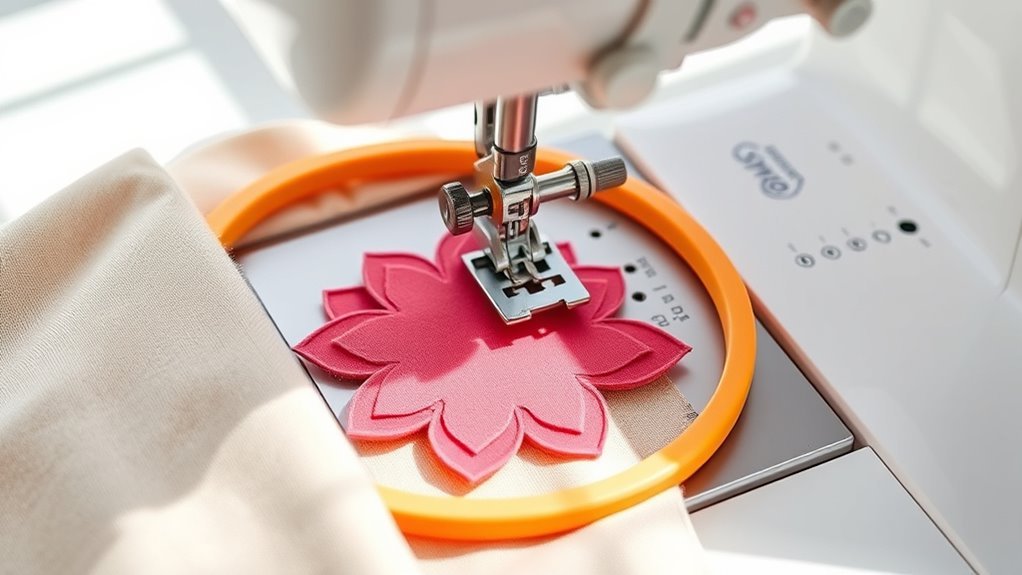
When you set up your sewing machine for applique, make sure to thread it with the right type of thread—monofilament or cotton work well depending on your fabric. Proper settings guarantee clean, secure stitching on your applique fabric.
Follow these steps to prepare your sewing machine:
- Choose the stitch type, like zigzag or blanket stitch, and adjust stitch width and length to suit your applique design.
- Test and adjust the tension settings on scrap fabric to avoid puckering or loose threads.
- Attach the correct presser foot, such as an open embroidery foot, for smooth stitching.
- Set your sewing machine speed to slow or medium to maintain control and precision while sewing.
These adjustments help you achieve perfect applique results every time. Just take your time, and you’ll be stitching like a pro in no time!
Positioning and Securing Applique Pieces
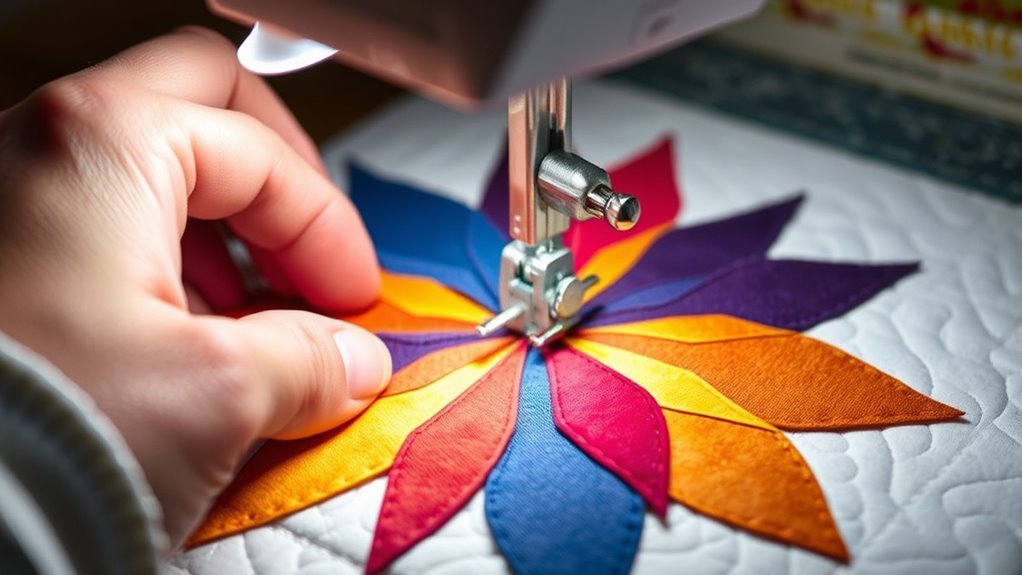
Although it may seem simple, positioning and securing your appliqué pieces correctly is essential for a polished final look. Start by turning under raw edges with a turning tool and pressing them flat.
Then, place your appliqué on the base fabric, aligning it precisely. Use fabric glue or appliqué pins to hold pieces in place, ensuring accuracy and preventing shifting during sewing.
For layered designs, pin each shape separately in order. Check placement from different angles or use a lightbox for extra precision before sewing.
| Step | Tip |
|---|---|
| Turn edges | Use a tailor’s awl or tool |
| Position appliqué | Align precisely on base fabric |
| Secure pieces | Use fabric glue or pins |
| Verify placement | Check from angles or use lightbox |
Stitching Around Applique Edges
Since stitching secures your appliqué and defines its edges, you’ll want to use a narrow zigzag or satin stitch set between 0.7 and 1.5 width. These stitches work beautifully on an applique quilt, providing durability and a neat finish.
Avoid a straight stitch here—it doesn’t cover edges well. Use stabilizer under your fabric to prevent puckering and keep the top thread smooth. When stitching, slow down at corners to pivot accurately by lifting the presser foot or gently turning the fabric.
Follow these applique techniques for best results:
- Sew 1/8 to 1/4 inch from the raw edge with consistent stitch length.
- Use a zigzag stitch or satin stitch for edge coverage.
- Employ stabilizer for fabric support.
- Pivot carefully at corners to maintain even stitching.
Finishing Touches and Care
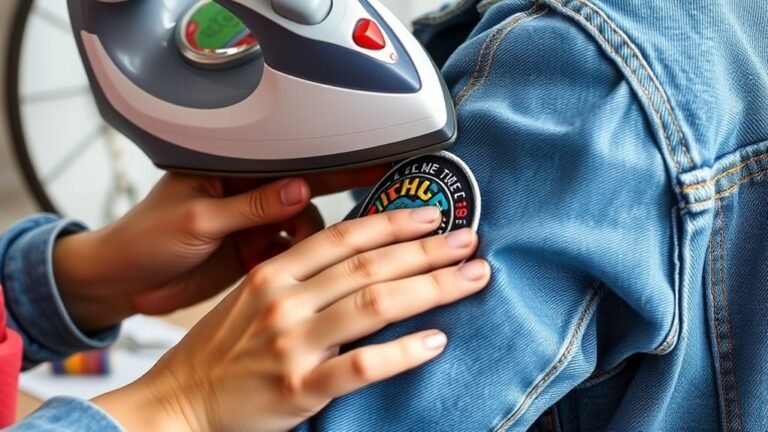
After stitching your applique edges with care, giving your work the right finishing touches will help maintain its appearance and durability. Gently press your applique with a warm iron, using a pressing cloth to avoid shine or damage.
Trim excess threads for a clean, professional appearance. If your project will be washed, apply a fabric sealer or fusible web to reinforce edges.
Always wash according to fabric care instructions, using gentle cycles and mild detergent. Store your applique away from direct sunlight to prevent fading.
| Finishing Touch | Care Tip |
|---|---|
| Pressing | Use warm iron with pressing cloth |
| Edge Reinforcement | Apply fabric sealer if laundering |
| Washing & Storage | Gentle wash, store in shade |
These steps ensure your applique looks great and lasts long.
Frequently Asked Questions
How to Appliqué on a Sewing Machine for Beginners?
Start by fusing your shape onto fabric, then position it on your background. Use a narrow zigzag stitch, sew slowly close to edges, and trim excess.
You’ll create neat, secure appliqués with practice and patience. Just take your time and enjoy the process!
What Is the Best Stitch for Machine Appliqué?
You’ll want to use the zigzag stitch for machine appliqué because it securely seals raw edges and handles curves well.
For a decorative touch, try a narrow blanket stitch or satin stitch for intricate details.
These stitches not only keep your fabric in place but also add a nice finish to your design. Give them a try and see which one you like best!
Can You Do Appliqué With a Regular Sewing Machine?
You can absolutely do appliqué with a regular sewing machine—over 90% of models handle it well. Just use a narrow zigzag stitch and stabilize your fabric.
You’ll create beautiful, fray-free designs easily and confidently. It’s really not as tricky as it sounds!
What Are Common Appliqué Mistakes to Avoid?
You’ll want to avoid excessive tension, sewing too fast, and skipping stabilizer.
Also, stretching fabric and rushing sharp turns can cause problems. These mistakes often lead to puckering, uneven stitching, and misalignment.
Conclusion
Now that you’ve mastered each step, imagine your sewing machine humming softly as it stitches your applique perfectly in place. Feel the fabric layers nestle together, colors blending like a vibrant patchwork quilt.
With your carefully finished edges and neat securing stitches, your applique project bursts with personality and charm. Keep practicing, and soon you’ll create beautiful, textured designs that bring warmth and creativity to any fabric canvas you choose.
Applique on a sewing machine is a fun and rewarding technique that adds unique flair to your sewing projects. The more you sew, the better your skills will get, making your fabric art truly stand out. So, grab your materials and start stitching—you’ll love the personalized touch applique brings to your creations!