How to Baste Sewing in 5 Easy Steps
To baste sewing in five easy steps, start by preparing your fabric—make sure it’s clean and wrinkle-free—and gather your tools. Basting is a temporary stitching technique that helps hold fabric pieces together before the final sewing. Using the right tools and prepping your fabric properly is key to perfect results.
Next, set your machine to the longest stitch length using a contrasting thread. This makes the basting stitches easy to spot and remove later.
Sew long, loose stitches along your seam allowance, or hand baste delicate fabrics with gentle tension.
Finally, remove the basting stitches carefully with a seam ripper. Take your time here to avoid damaging your fabric.
Follow these straightforward tips, and you’ll find precise, removable stitching simple and effective for your projects. Basting is a handy skill that makes sewing much easier!
Key Takeaways
– Prepare fabric by cleaning, pressing, and marking basting lines with chalk or fabric marker for accuracy.
This helps keep everything neat and ensures your stitches go exactly where you want them.
– Set sewing machine to longest stitch length (5-9mm) with contrasting thread for easy stitch removal.
Using a contrasting thread makes those temporary stitches super easy to spot later on.
– Sew long, loose stitches along seam allowance, maintaining even spacing and gentle tension.
Keep your stitches evenly spaced and don’t pull too tight, so the fabric stays smooth.
– For delicate fabrics, hand baste with long stitches and avoid backstitching to prevent puckering.
Taking it slow by hand really helps protect those fragile materials.
– Remove basting stitches carefully using a seam ripper, working slowly to avoid fabric damage.
Patience is key here—go slow and gentle to keep your fabric in perfect shape.
Preparing Your Fabric and Tools
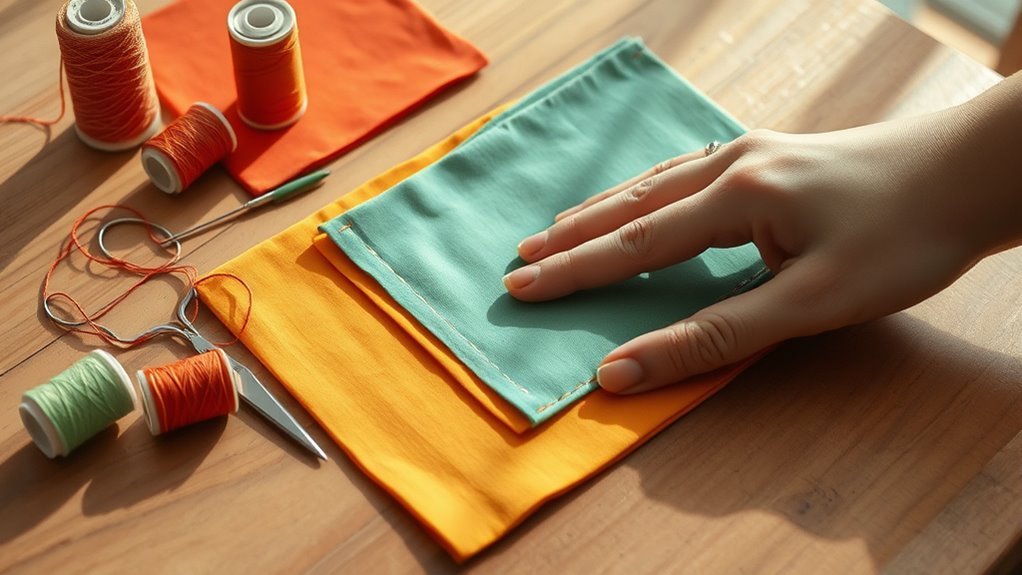
Before you start basting, make sure your fabric is clean, pressed, and wrinkle-free to guarantee smooth stitching. Proper fabric preparation sets the foundation for neat, accurate basting.
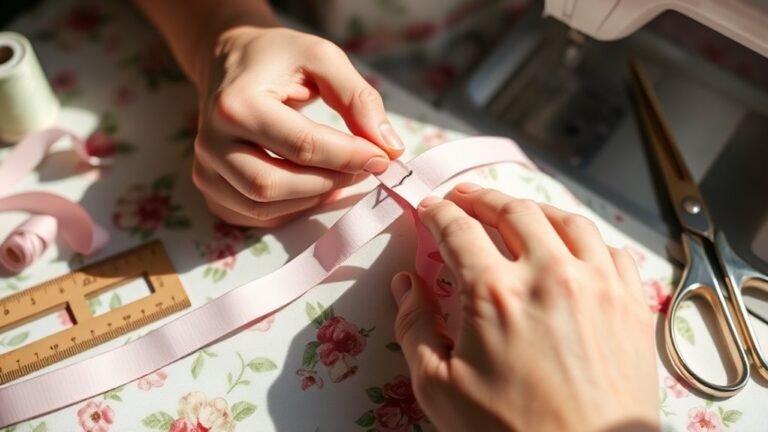
Gather your essential tools: a sharp needle, scissors, seam ripper, and basting thread in a contrasting color to your fabric. This makes removal easier once your permanent stitches are in place.
If you need precise basting lines, use a fabric marker or chalk to lightly mark them on the fabric. Adjust your workspace so you’re comfortable and your fabric is stable—whether that’s on your knee, a table, or a pressing surface.
With the right fabric and tools ready, you’ll find basting quicker and more effective every time.
Setting Up Your Sewing Machine for Basting
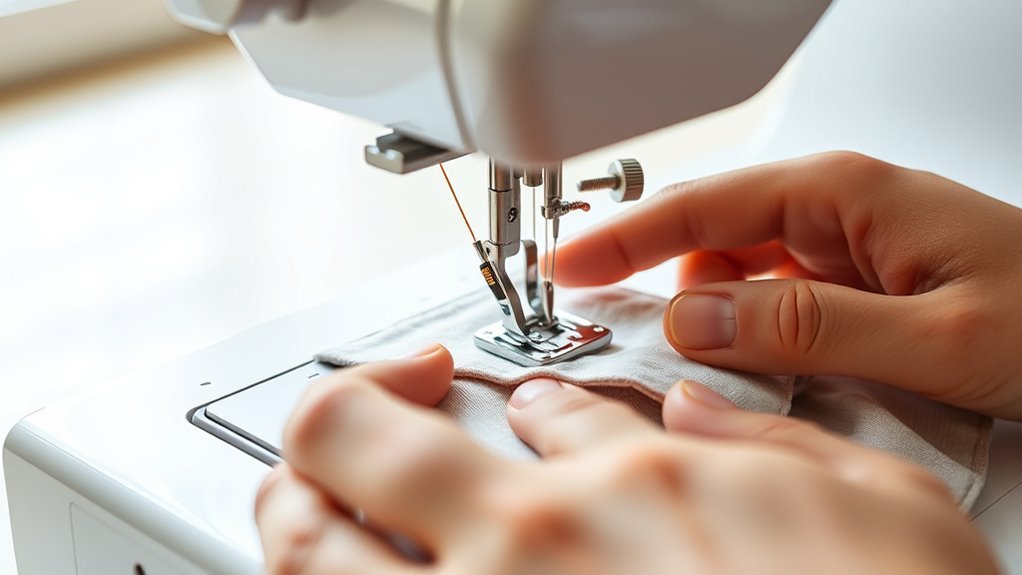
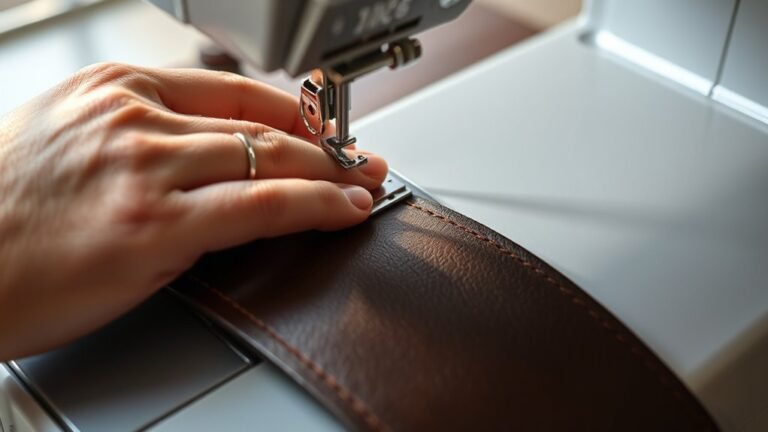
When you set up your sewing machine for basting, choose the longest stitch length available—usually between 5.0mm and 9.0mm. This guarantees the stitches are loose and easy to remove later.
Adjust your machine by selecting a straight stitch and the highest stitch length setting for consistent long stitches. If your machine offers a pre-programmed long stitch or basting option, go ahead and use it for professional results.
Thread your machine with a contrasting thread color so the basting stitches stand out clearly against your fabric layers. For thicker fabrics, try dropping the feed dogs or attaching a darning foot if possible; this helps you move the fabric freely while stitching.
These little adjustments make sure your basting is effective and easy to remove once your project is complete. It really makes the whole process smoother!
Techniques for Effective Machine Basting
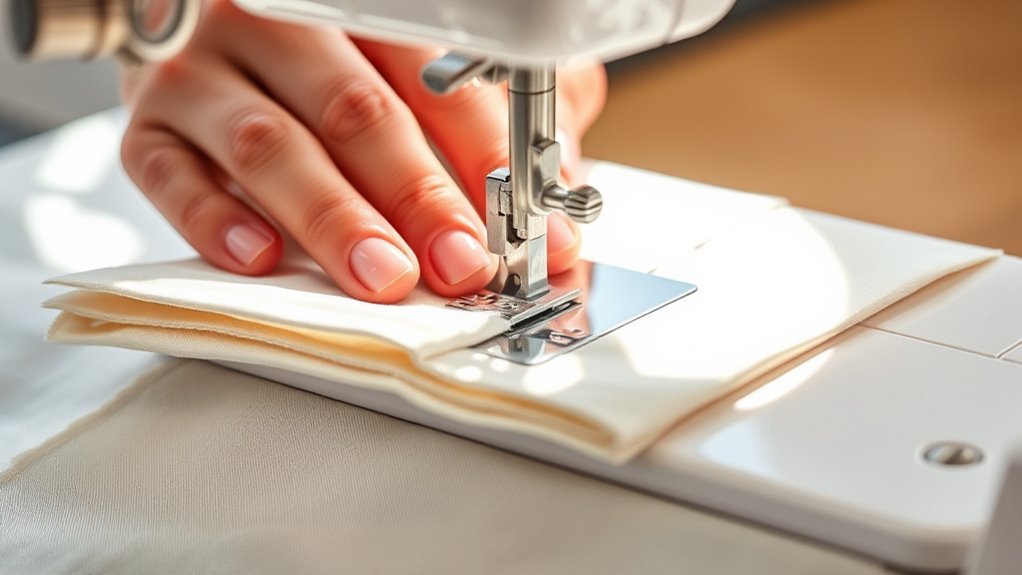
Although machine basting might seem straightforward, mastering the right techniques guarantees your temporary stitches hold fabric layers securely without causing damage.
To sew effective basting stitches, you need to adjust your machine correctly and use the right approach when stitching the seam.
Here’s how to make sure your basting stitch works perfectly:
- Set the stitch length between 5.0mm and 9.0mm for long, loose stitches that are easy to remove.
- Sew along or just inside the seam allowance, keeping stitches even for a secure hold.
- Use contrasting thread to easily spot and remove your basting stitches after final sewing.
It’s really all about these small details that make a big difference! Just a little extra attention, and your basting will be spot on every time.
Hand Basting Methods for Delicate Fabrics
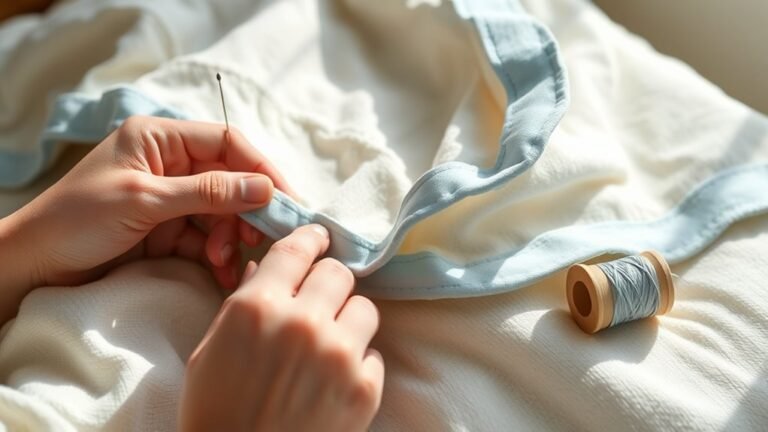
Since delicate fabrics like silk and chiffon require extra care, hand basting offers you precise control to prevent damage while keeping layers aligned. Use a sharp, fine needle with 100% cotton or basting thread in a contrasting thread color so you can easily see your removable stitches.
Sew long stitches about ¼ to ½ inch apart along the seam allowance, avoiding backstitching for easy removal. Apply gentle tension when hand sewing to avoid puckering, and support fabric layers with your fingers or a pin cushion to maintain alignment.
Keep your sewing relaxed and steady. When your final sewing is done, you’ll remove the basting stitches carefully using a seam ripper or your fingers. This method guarantees your delicate fabrics stay smooth and undamaged throughout the process.
Removing Basting Stitches Safely
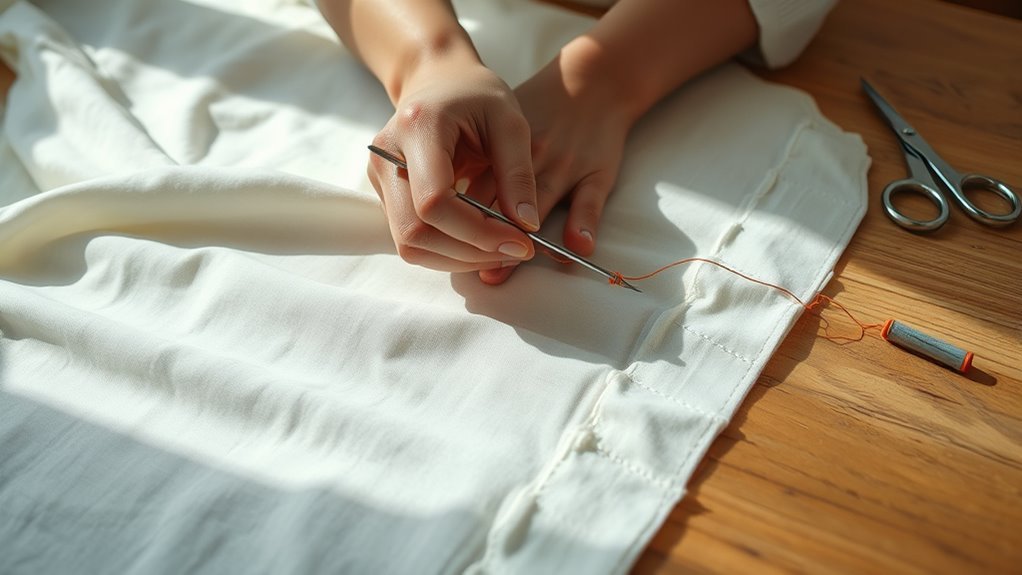
Hand basting gives you control to protect delicate fabrics, but removing those stitches requires equal care. Use a seam ripper or small scissors to gently lift and remove stitches, avoiding fabric damage.
Start at one end, ripping stitches slowly to keep fabric layers aligned. If threads are hard to see, use a pin or tweezers to make the thread loose before delicate removal. After you remove stitches, press fabric flat to smooth out any puckers.
- Work section by section to maintain fabric layers
- Gently lift threads without pulling to prevent distortion
- Use tools to loosen thread for easier ripping stitches
Following these steps ensures you safely remove basting stitches without harming your fabric or sewing progress. It’s all about being gentle and patient!
Frequently Asked Questions
What Is the Purpose of a Baste Stitch?
The purpose of a baste stitch is to temporarily hold your fabric layers together, helping you align and adjust them easily before permanent sewing.
It prevents shifting and makes removing stitches simple without damaging your project. This way, you can make sure everything is just right before you sew it for good.
What Sewing Techniques Are There?
You’ve got several charming options: hand basting for gentle holding, machine basting for speedy securing, backstitching for strength, running stitch for simplicity, and slip stitch for invisible finishing—
each technique fits your sewing needs perfectly.
What Are the 7 Basic Stitches?
You’ll use seven basic stitches: running, backstitch, hemstitch, slip stitch, whipstitch, ladder stitch, and zigzag. Each stitch serves a unique purpose, from simple seams to invisible hems and decorative finishes.
These stitches are pretty handy once you get the hang of them. Whether you’re fixing a tear or adding a stylish touch, knowing these basics is a great place to start.
What Tension for a Basting Stitch?
You don’t want tension so tight it could strangle your fabric—set it low!
Loosen it enough to keep stitches smooth and loose, making your basting easy to remove without puckering or distortion.
Conclusion
Now that you’ve mastered the art of basting, your fabric will feel like a gentle hug, holding everything perfectly in place. Whether you’re stitching with your machine or by hand, these temporary stitches are your trusty guides, paving the way for flawless sewing.
Just remember to remove them carefully, like peeling away soft petals, revealing your beautiful, finished creation underneath. With these steps, your sewing projects will always stay on track and look stunning.
Basting sewing is a simple yet powerful technique that helps maintain fabric alignment and ensures precision in your work. By using these easy steps, you can confidently create garments or crafts that fit perfectly and look professional. So, keep practicing basting sewing and watch how it transforms your sewing experience, making every project smoother and more enjoyable.