How to Clean a Sewing Machine in 10 Easy Steps
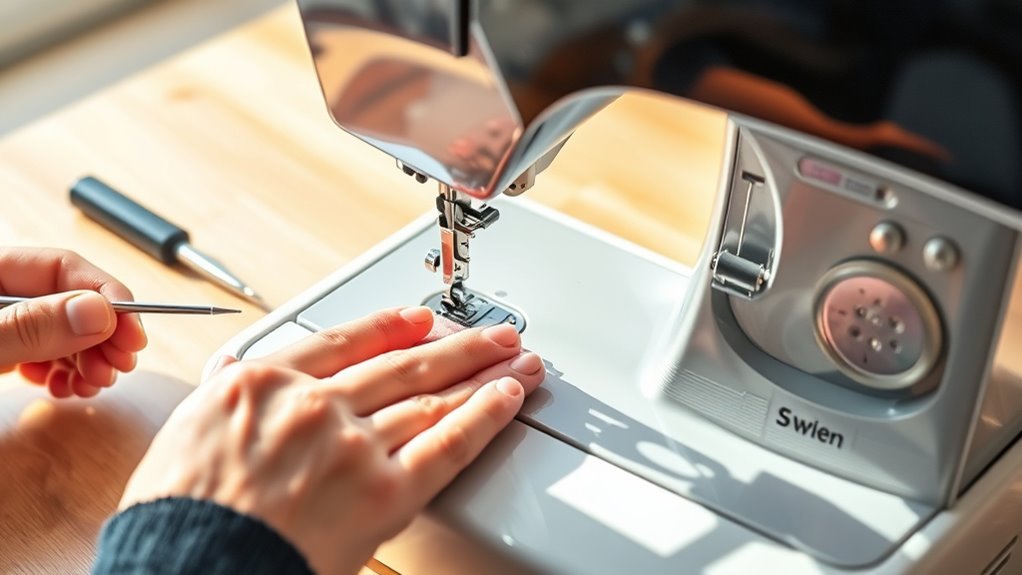
To clean your sewing machine, start by unplugging it for safety. This simple step helps prevent any accidents while you work on your machine.
Next, remove the thread, bobbin case, and needle plate carefully.
Use a handheld brush and pipe cleaners to clear out lint from the bobbin area and tension discs. Getting rid of this buildup is key to keeping your machine running smoothly.
After cleaning, oil the moving parts as needed to ensure everything moves without a hitch.
Finally, reassemble the machine carefully. Regular cleaning not only keeps your sewing machine in top shape but also prolongs its life.
Keep going to discover more detailed steps and handy tips for maintaining your sewing machine like a pro!
Key Takeaways
- Regular cleaning prevents lint buildup, ensuring optimal performance and extending the sewing machine’s lifespan.
- Always unplug the machine before cleaning to avoid accidental activation and ensure safety.
- Use a handheld brush and pipe cleaners to thoroughly clean lint from tight spaces, including the bobbin area.
- Inspect the bobbin case and tension discs for rough edges, cleaning them to maintain stitch quality.
- Apply 1-2 drops of sewing machine oil at designated points, referring to the manual for proper lubrication.
Why Regular Cleaning of Your Sewing Machine Is Essential
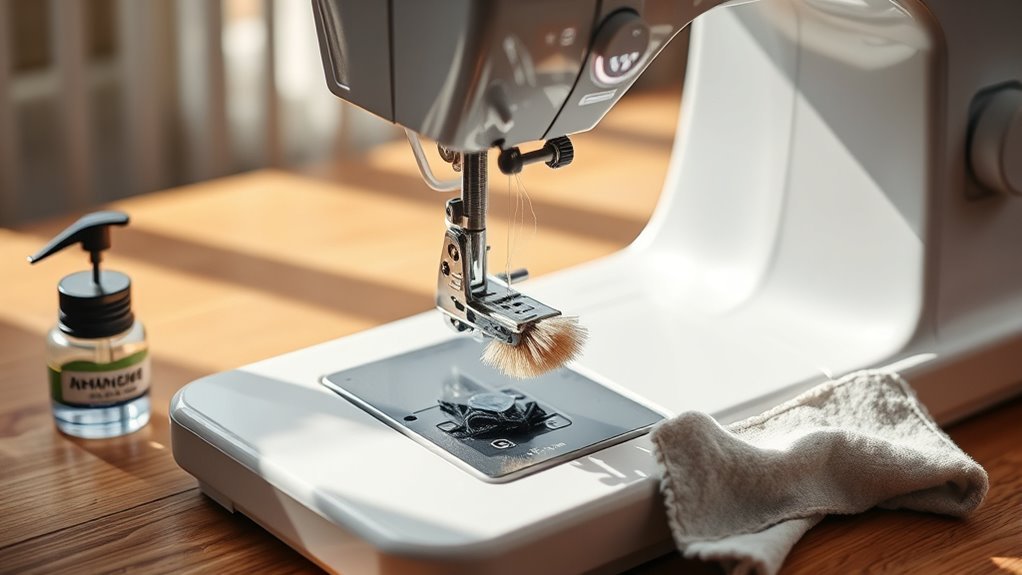
Cleaning your sewing machine regularly isn’t just a chore; it’s vital for keeping it in prime condition. Regular maintenance prevents lint accumulation, which can cause malfunctions and decrease performance.
Regularly cleaning your sewing machine is essential for optimal performance and longevity, preventing issues caused by lint buildup.
By dedicating just 10 minutes after every 2-3 bobbins of thread, you guarantee peak sewing quality and smooth operation. This small effort can greatly extend your machine’s lifespan, saving you from costly repairs down the line.
Plus, following the manufacturer’s cleaning guidelines is important; it helps maintain your warranty and keeps your machine operating at top efficiency. So, don’t overlook this quick task.
Embrace it as part of your sewing routine, and you’ll enjoy a more reliable and efficient machine for all your creative projects.
Gather Your Cleaning Supplies and Tools
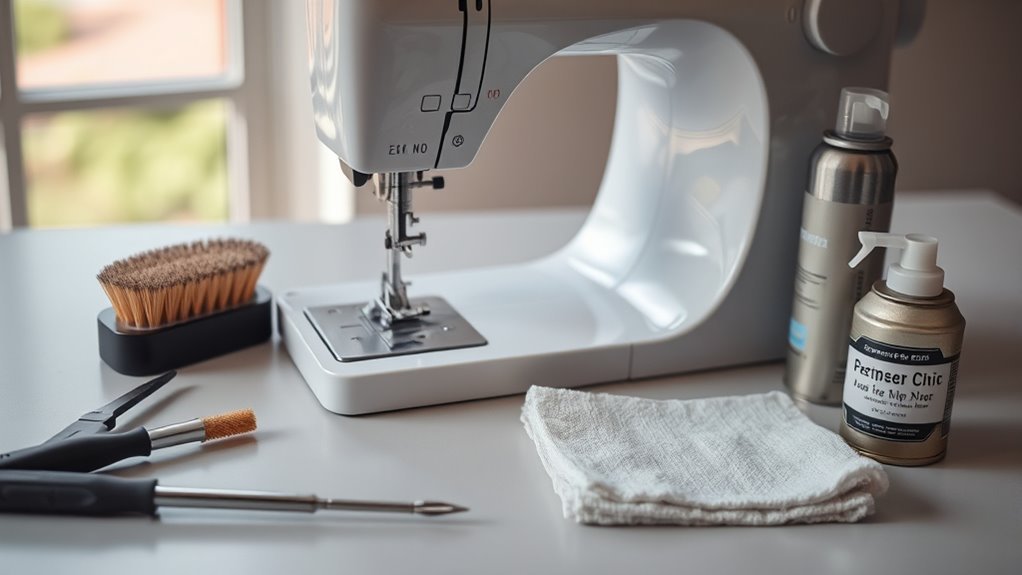
To clean your sewing machine effectively, gather a few essential tools and supplies. You’ll need a handheld brush, small brushes, a screwdriver, chenille stems, and quality sewing machine oil.
Preparing your workspace will make the process smoother and more efficient. It’s always better to have everything ready before you start, trust me!
Essential Cleaning Tools
Having the right tools makes all the difference when it comes to cleaning your sewing machine. A consistent cleaning routine guarantees your machine runs smoothly and lasts longer.
Here’s what you’ll need:
- Handheld brush: Use one with firm bristles to effectively remove lint without adding more debris.
- Small screwdriver: Keep a small screwdriver handy to easily remove the needle plate, allowing you to access internal components.
- Pipe cleaners: These are perfect for reaching tight spaces where lint accumulates, ensuring a thorough clean.
- Microfiber cloth: Use this for wiping down the exterior, helping to prevent dust buildup and maintain appearance.
Gather these essential tools, and you’re ready to give your sewing machine the care it deserves!
Recommended Maintenance Supplies
Gathering the right maintenance supplies is essential for keeping your sewing machine in top shape. Start with a handheld brush with firm bristles; it’s perfect for cleaning the machine without adding more debris.
Don’t forget the small brush that often comes with your sewing machine, as it effectively cleans tight spaces around the bobbin area. A small screwdriver will help you remove the needle plate for thorough cleaning of internal components.
For those tricky spots, pipe cleaners and straws are handy tools to gather lint. Finally, always have good quality sewing machine oil on hand; lubrication is vital for maintaining moving parts and ensuring smooth operation.
These recommended maintenance supplies will keep your machine running like new!
Preparing Your Workspace
Before diving into the cleaning process, you’ll want to set up a well-organized workspace. This makes it easier to access your cleaning tools and helps you focus on the task at hand.
Here’s what you need to gather:
- Handheld brush with firm bristles for removing lint.
- Small screwdriver to take off the needle plate.
- Pipe cleaner for those hard-to-reach areas.
- Good quality sewing machine oil and soft cloths for wiping down surfaces.
Don’t forget a small container to hold screws and other parts to prevent losing them during disassembly. It really helps keep things tidy and stress-free.
Also, keep a new sewing machine needle ready for replacement; it’s essential for peak performance. Preparing your workspace effectively sets the stage for a successful cleaning session!
Step 1: Unplug Your Sewing Machine for Safety
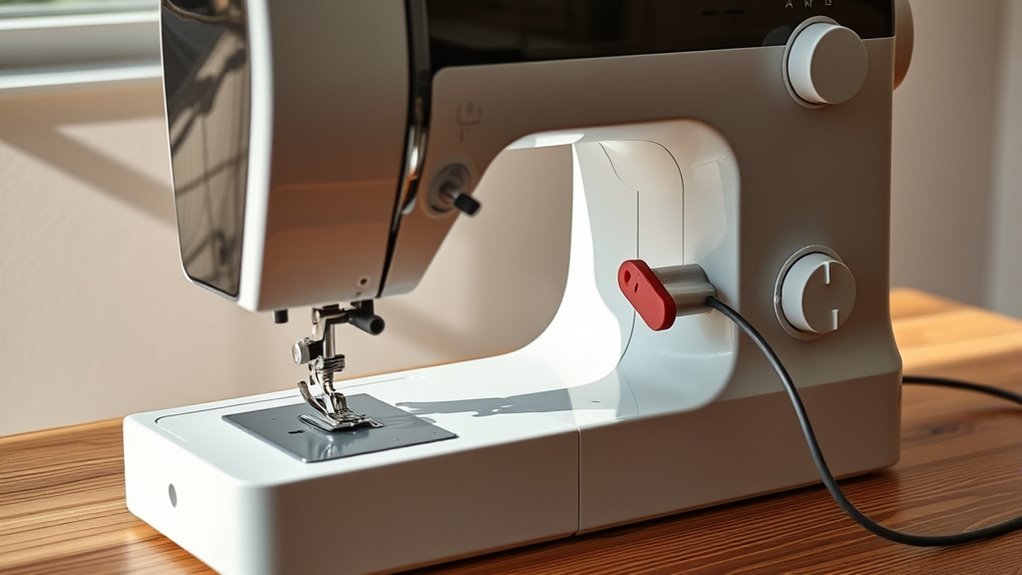
Before you start cleaning your sewing machine, always unplug it to guarantee your safety. This simple step prevents any accidental activation and reduces the risk of electrical shock, especially when you’re working with internal components.
Making it a habit to disconnect the power will help maintain your machine’s integrity over time. It’s a small action that makes a big difference!
Safety First
To guarantee your safety while cleaning your sewing machine, always unplug it first. This essential step helps protect against electrical shock and prevents accidental starts that could lead to injury.
Make it a habit to unplug your machine after each use; it’s a good safety practice that also prolongs its life. Here are some key safety tips to remember:
- Unplug your machine before any cleaning or maintenance.
- Ensure the power cord is safely stored to avoid tripping hazards.
- Keep your workspace clear of clutter to prevent accidents.
- Check for damage on the power cord before plugging it back in.
Preventing Electrical Issues
Unplugging your sewing machine is essential for preventing electrical issues, as it eliminates the risk of accidental activation while you clean. Always make it a habit to unplug before starting any maintenance.
This simple step not only protects you from electrical shocks but also safeguards sensitive components from potential damage. If your machine has a foot pedal, don’t forget to unplug that too.
Establishing a routine around unplugging reinforces safety habits, making your cleaning process smoother.
| Action | Safety Benefit | Reminder |
|---|---|---|
| Unplug the machine | Prevents accidental activation | Always start with this step |
| Unplug foot pedal | Avoids unintentional engagement | Double-check before cleaning |
| Routine maintenance | Protects sensitive components | Reinforce safety habits |
Maintaining Machine Integrity
Guarantee your safety by unplugging your sewing machine before starting any cleaning or maintenance. This simple step prevents electrical shocks and accidental operation, protecting both you and your machine.
Make it a habit to unplug immediately after each sewing session to promote safe practices. Here’s what to keep in mind:
- Always confirm the machine is completely powered down and disconnected from any power source.
- Check your owner’s manual for specific safety precautions related to your model.
- Unplugging safeguards against potential damage from sudden movements or faults.
- Establish a routine of unplugging before any cleaning or maintenance to make it second nature.
Step 2: Remove the Thread
Start by unplugging your sewing machine to guarantee a safe cleaning process. Next, carefully clip the thread just before it enters the tension discs. This step helps you avoid damaging those vital components.
Gently pull the thread forward through the tension discs and out of the machine without forcing it. Remove any remaining thread from the needle and bobbin areas as well. This prevents tangling or jams later on.
Make sure your machine is completely free of old thread before moving on to further cleaning steps. By thoroughly removing the thread, you’ll create a clean slate that’s essential for maintaining your sewing machine’s performance.
Keep your workspace tidy and organized for the best results!
Step 3: Take Off the Bobbin Case and Plate
Now, it’s time to take off the bobbin case and plate. Start by unscrewing the needle plate, keeping those tiny screws organized.
Once you lift the plate, you’ll have access to the bobbin case. Make sure to inspect it for any rough edges before cleaning.
Removing the Bobbin Case
To remove the bobbin case, first make sure your sewing machine is unplugged to avoid any accidents. Identifying your machine’s bobbin case type is essential, as removal techniques can differ.
Follow these steps for effective removal:
- Locate the bobbin case: Check if it’s horizontal or vertical.
- Gently jiggle the case: This helps loosen it; consult your manual for specific instructions if needed.
- Inspect the bobbin case: Look for burrs or rough edges that could cause thread jams.
- Store screws safely: Tape them to paper to keep track during maintenance of your sewing.
Inspecting the Bobbin Area
After removing the bobbin case, it’s time to inspect the bobbin area. Carefully take off the needle plate using the appropriate tools, like a small screwdriver. This helps avoid damaging any components.
Next, examine the bobbin case for burrs or rough edges. These can snag the thread and mess up your sewing.
Grab a lint brush or pipe cleaner to clean the bobbin area thoroughly. Make sure you remove all the lint and dust that could cause malfunctions.
After cleaning, check that the bobbin is correctly inserted. Also, see if the thread feeds smoothly.
Always refer to your sewing machine’s manual for specific instructions on handling the bobbin case and plate. This will help guarantee a proper reassembly.
Step 4: Brush Away Lint and Dust Accumulation
Brush away lint and dust accumulation to keep your sewing machine running smoothly. Regular cleaning prevents lint buildup and enhances performance.
Follow these steps to clean out your machine effectively:
- Use a handheld brush with firm bristles to sweep away lint from the bobbin case and surrounding areas.
- Employ pipe cleaners or small brushes to reach tight spots around the hook mechanism and feed dogs for thorough cleaning.
- Avoid compressed air, as it can push lint deeper, creating bigger issues down the line.
- Wipe down the exterior with a microfiber cloth to remove dust and maintain a clean workspace.
Taking a little time to do this regularly really pays off. Your machine will thank you with smoother operation and fewer problems!
Step 5: Inspect and Clean the Tension Discs for Optimal Performance
Cleaning the lint and dust from your sewing machine lays a solid foundation for peak performance, but don’t overlook the tension discs. Start by raising the presser foot to access them properly and avoid damaging the tension mechanism.
Cleaning the lint and dust from your sewing machine is essential, but remember to check the tension discs for optimal performance.
Take a cotton thread and run it through the tension discs to effectively remove any lint and debris, ensuring your tension settings remain intact. As you clean, inspect the discs for burrs or rough edges that might hinder thread movement.
Smooth out any irregularities if needed. Regularly cleaning the tension discs prevents thread slippage and maintains consistent stitch quality, making your sewing projects much smoother.
Always refer to your sewing machine manual for specific cleaning instructions tailored to your machine. It’s the best way to keep everything running smoothly!
Step 6: Oil the Moving Parts as Needed
Oiling the moving parts of your sewing machine is essential for smooth operation and longevity. Regular maintenance not only keeps your machine running efficiently but also prevents issues like seizing.
Here’s how to do it:
- Choose the Right Oil: Use sewing machine oil specifically designed for machines; avoid cooking oils that can cause damage.
- Locate Oiling Points: Refer to your manual for designated oiling points on your machine.
- Apply Oil: Add 1-2 drops of oil to each point, ensuring you don’t overdo it.
- Wipe Excess: After applying, wipe away any excess oil to prevent lint and dust buildup.
Try to oil the moving parts every 8 to 18 hours of use, depending on your sewing habits. It really helps keep things running smoothly!
Step 7: Reassemble Your Sewing Machine
Now that your sewing machine is clean and well-oiled, it’s time to reassemble it. Start by placing the bobbin case back into its compartment, making sure it clicks securely into place.
Next, position the needle plate carefully, aligning it with the screw holes. Insert and tighten the screws to secure the needle plate, but don’t overtighten; you don’t want to damage the threads.
Reinsert the needle, making sure the flat side faces the back, and tighten the needle screw to hold it firmly. Finally, reattach the presser foot, ensuring it locks securely in position.
Once everything’s in place, you’re ready to plug the machine back in and get back to sewing!
How Often Should You Give Your Sewing Machine a Clean?
How often should you give your sewing machine a clean to guarantee it runs smoothly? Regular cleaning is essential for maintaining your sewing machine’s performance.
Regular cleaning is key to ensuring your sewing machine operates at its best.
Here’s a simple guide to follow:
- After every 2-3 bobbins: Clean your machine to prevent lint buildup. It helps keep things running without a hitch.
- After each project: Do a thorough clean to remove any dust and debris. This way, your machine stays in top shape for the next time.
- Weekly checks: Inspect and clean the interior, especially after significant sewing sessions. A quick look inside can save you from bigger problems later.
- Monthly deep clean: Schedule a more extensive cleaning if you use your machine frequently or for complex projects. This keeps everything working smoothly over the long haul.
Frequently Asked Questions
What Is the Best Way to Clean a Sewing Machine?
The best way to clean your sewing machine is by regularly brushing out lint, oiling moving parts, and removing dust. Always unplug it first and remove the needle for easier access to internal components.
It really helps to take your time with this. Keeping your machine clean not only makes it run smoother but also extends its life. Just a little routine care goes a long way!
What Is a Good Sewing Machine Cleaner Spray?
Think of a gentle breeze clearing dust from a cherished quilt. For your sewing machine, try SewClean or 3M sprays.
They’re safe, non-corrosive, and designed to keep your machine running smoothly and lint-free. These sprays really help maintain your machine without any fuss.
How Do I Clean and Lubricate My Sewing Machine?
Unplug your machine first. Use a brush to clear lint from the bobbin case and feed dogs.
Then, apply a couple drops of oil at designated points, wiping away any excess.
Reassemble carefully. It’s not too tricky, just take your time and make sure everything fits back properly.
What Can I Use to Clean My Vintage Sewing Machine?
You might not realize that 80% of sewing machine issues stem from dirt buildup. To keep your vintage machine running smoothly, regular cleaning is key.
Use a lint-free cloth and a stiff brush to gently remove dust and lint from all the nooks and crannies. Don’t forget to oil the machine with sewing machine oil to ensure everything moves smoothly.
Taking these simple steps can really extend the life of your machine. It’s easier than you think and totally worth the effort!
Conclusion
Keeping your sewing machine in tip-top shape isn’t just a chore—it’s a way to show your love for your craft. By following these simple steps, you’re not only ensuring smooth stitching but also prolonging the life of your machine.
So, why let dust and lint stifle your creativity? Embrace regular cleaning as part of your sewing routine, and watch how it transforms both your machine’s performance and your sewing experience.
Regular sewing machine cleaning helps prevent jams, keeps your stitches even, and saves you from costly repairs. Plus, a well-maintained machine means less frustration and more time doing what you love—sewing beautiful projects. Happy sewing!