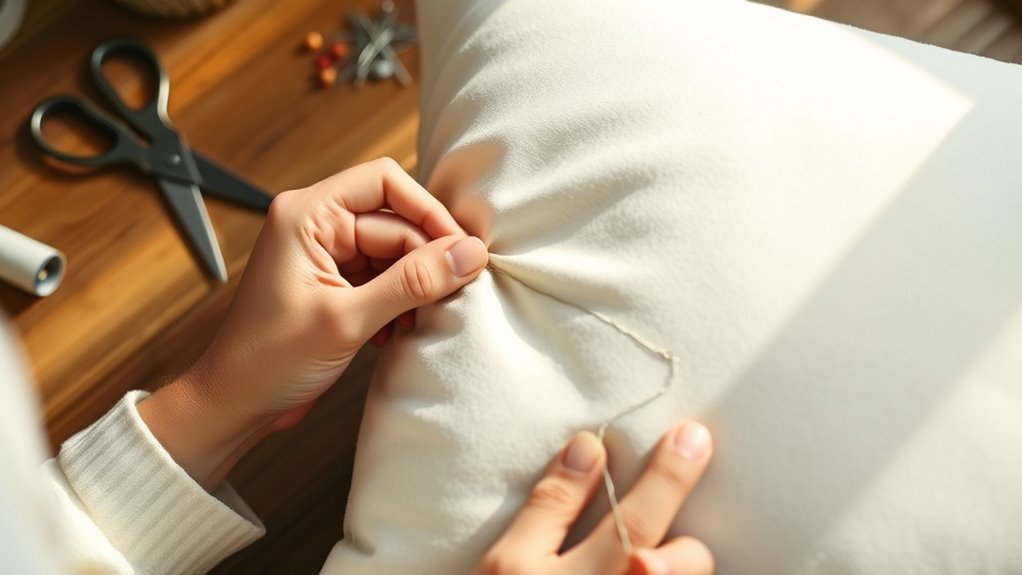
How to Close Pillow Sewing in 10 Easy Steps
To close your pillow sewing, start by gathering all your materials like fabric, interfacing, and stuffing.
Preparing your fabric is key—make sure to iron it well and mark your seam allowances clearly. This helps keep everything neat and precise.
Next, align the right sides of the fabric together and pin the edges carefully. Using a heat-erasable pen can really up your accuracy, especially when marking lines or corners.
Don’t forget to backstitch at the corners to secure your seams.
Once your pillow is sewn, stuff it evenly, checking for any dimples or lumps.
Hand-stitch the opening securely to close it up nicely. For that extra polished look, consider adding some decorative trim.
You’re almost there—just a few easy steps away from finishing your perfect pillow project!
Key Takeaways
- Prepare your fabric by ironing on interfacing and marking a half-inch seam allowance with a heat erasable pen. It helps keep everything neat and sturdy.
- Secure fabric layers with small pins or Wonder Clips, making sure the right sides are aligned. This keeps your fabric from shifting while you sew.
- Use backstitching at corners and an invisible stitch for a seamless pillow closure. These stitches make your pillow look professionally finished.
- Stuff the pillow evenly, paying special attention to the corners so they don’t end up dimpling. A well-stuffed pillow looks plump and smooth.
- Fold and pin the opening edges neatly before stitching. You might even want to add decorative trim for a polished, stylish finish.
Gather Your Materials for Pillow Closure
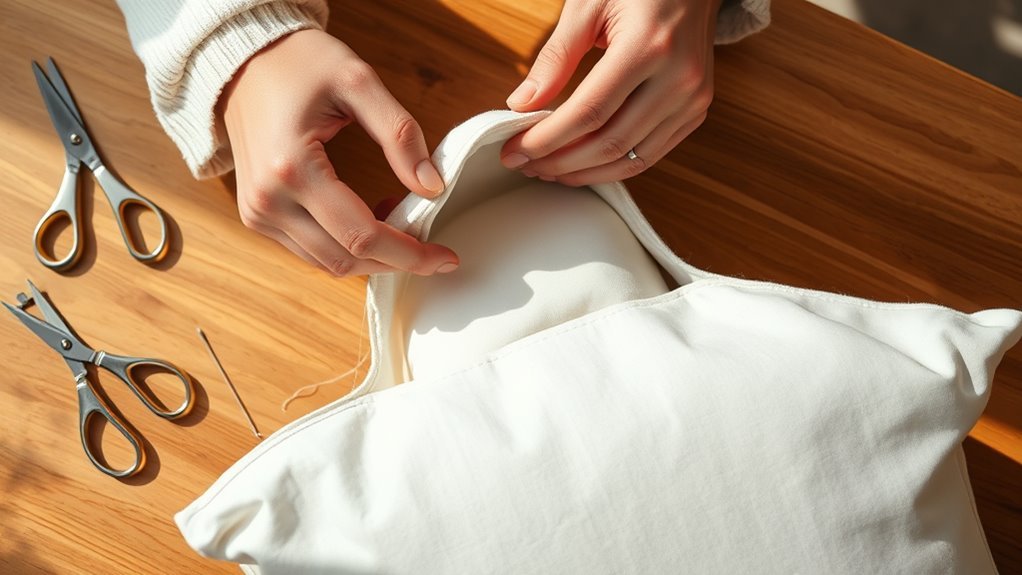
To get started on closing your pillow, you’ll need a few essential materials. First, gather a stitched piece and backing fabric made of 100% cotton to guarantee durability and comfort.
Next, pick up some interfacing—light or medium, like Pillon PL36—to add structure to your pillow. You’ll also need a heat erasable pen to mark a half-inch seam allowance on the fabric, assuring precise sewing.
Don’t forget small pins or Wonder Clips to secure the fabric layers together before sewing. Finally, prepare poly fill or stuffing from a cheap pillow for an even and comfortable finish.
With these materials in hand, you’re ready to jump into the sewing process with your sewing machine!
Prepare Your Fabric for Sewing
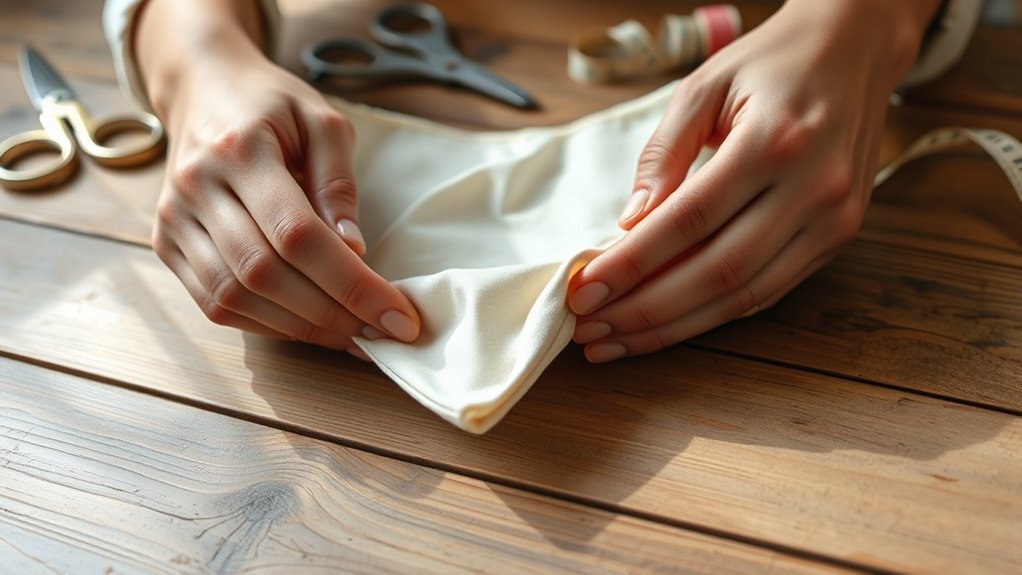
Prepare your fabric by first ironing the interfacing onto both the stitched piece and backing fabric. This step adds stability and structure, making your pillow durable.
Next, make sure to measure and mark a half-inch seam allowance using a heat erasable pen for accuracy. Don’t forget to create a small hole (1.5 to 2 inches) in the fabric to turn the pillow right side out later.
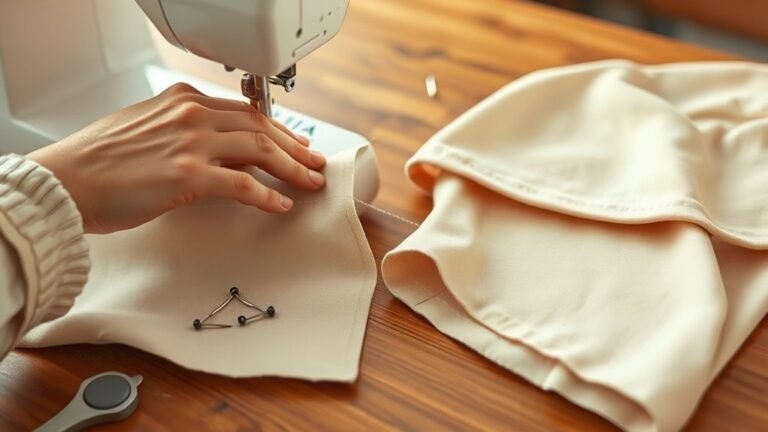
Align the right sides of the fabric together, and use small pins or Wonder Clips to secure the edges.
Finally, after sewing, trim the corners to 1/8 inch to maintain sharpness and avoid bulkiness. Using a cotton fabric will also enhance the overall finish of your pillow.
How to Mark Your Seam Allowance?
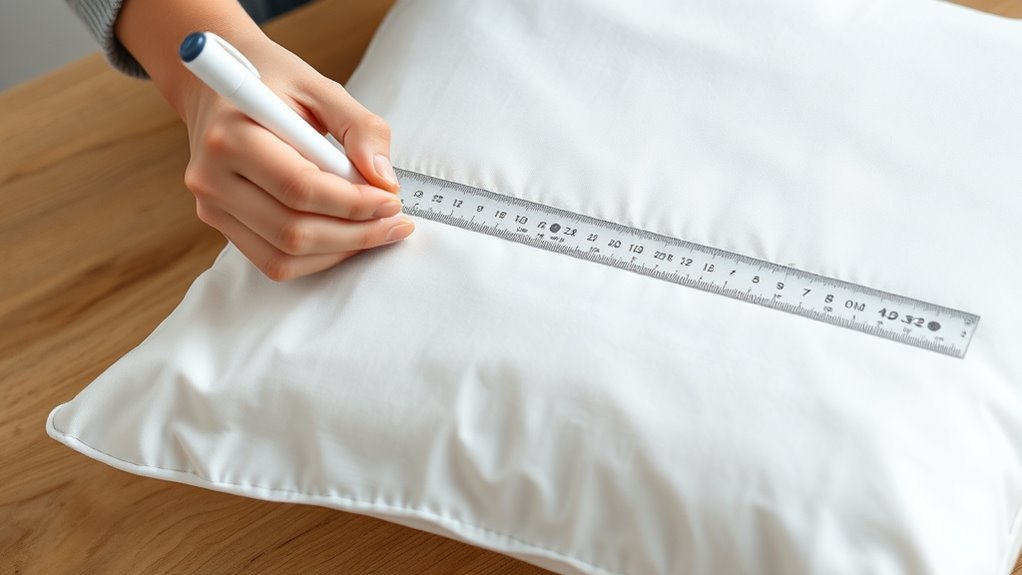
To mark your seam allowance, you’ll need a heat erasable pen and a ruler for accurate lines. Start measuring from the fabric edge and mark small dots or lines around the perimeter.
This guarantees you have a clean, uniform seam for your pillow project. It’s pretty simple once you get the hang of it! Just take your time and make sure your marks are consistent all around.
Essential Tools Required
Marking your seam allowance is essential for achieving a polished finish on your pillow. Start with a heat erasable pen to mark a half-inch seam allowance on your fabric, ensuring precision.
Before you begin, iron interfacing onto both the stitched piece and backing fabric for added stability. Measure carefully to create a small hole (1.5 to 2 inches) for turning the pillow; this should be marked on one edge of the seam allowance.
Align the right sides of the fabric together and secure the edges with small pins or Wonder Clips. Finally, remember to trim corners to 1/8 inch after sewing. This helps maintain sharpness and reduces bulkiness, making sure your pillow looks neat when you turn it right side out.
Step-by-Step Marking Process
Getting the seam allowance right is essential for a polished pillow finish. Start by laying your fabric flat and smooth to avoid any inaccuracies.
Use a heat erasable pen to mark a half-inch seam allowance along the edges. Consistently measure from the fabric edge to your marked line to guarantee even seams.
For larger pieces, grab a ruler to help create straight lines, making your marking process easier. After marking, double-check your lines before cutting or sewing.
This quick review helps ensure accuracy and reduces fabric waste, giving you confidence in your sewing project. By following these steps, you’ll set yourself up for success as you close your pillow.
Align and Secure the Fabric Edges
Align the right sides of your stitched piece and backing fabric to guarantee your pillow looks polished and professional. Use a heat erasable pen to mark a half-inch seam allowance around the edges, which will guide your sewing.
Next, secure the fabric edges with small pins or Wonder Clips. This step is essential to prevent shifting during the sewing process.
Don’t forget to create a small hole, about 1.5 to 2 inches, on one side of the pillow. This opening will allow you to turn the pillow right side out after sewing.
Once you’ve sewn the edges, trim the corners to about 1/8 inch. This helps maintain sharpness and avoid bulkiness for a clean finish.
Best Stitching Techniques for Pillow Closure
When it comes to closing your pillow, choosing the right stitching techniques is key for a polished finish. You’ll want to contemplate options like backstitching for durability or an invisible stitch for a seamless look.
Plus, selecting the right thread makes all the difference in achieving a secure and attractive closure. It’s all about finding what works best for your project!
Essential Stitching Techniques
To guarantee a durable and polished closure for your pillow, mastering essential stitching techniques is crucial. Use backstitching at corners to prevent unraveling, making sure your pillow stays intact.
Opt for an invisible stitch for a seamless finish; start with a loop stitch to secure the thread tail. If you’re closing small openings, a whip stitch can make the process easier.
While stitching, maintain tension by holding the thread with your fingers for a tight, neat closure. Finally, for that professional look, bury thread ends inside the pillow once you’re done.
| Technique | Purpose |
|---|---|
| Backstitching | Prevents unraveling at corners |
| Invisible Stitch | Provides a seamless finish |
| Whip Stitch | Eases closing of small openings |
| Thread Burying | Guarantees a clean, polished look |
Choosing the Right Thread
Choosing the right thread is essential for achieving that polished pillow closure you desire. Here are some tips to help you select the best options:
- Invisible Thread: Opt for an invisible thread that blends with your fabric color. This helps minimize the visibility of stitches and gives you a seamless finish.
- Loop Stitch: Start with a loop stitch to secure the tail of your thread. It ensures a strong beginning for your closure.
- Invisible Stitch: For small openings, use an invisible stitch. It provides a clean look without visible seams on the outside.
- Whip Stitch: If you have larger openings, a whip stitch is your friend. It allows for quick closure while still maintaining a secure hold.
Remember to keep your tension consistent as you sew. That way, your stitches look even and neat every time.
Turn Your Pillow Right Side Out
Turning your pillow right side out is an essential step that sets the stage for a polished finish. Carefully reach into the hole and pull the fabric through. Make certain to push out the corners with a stiletto or non-sharp object for crisp edges.
Before you begin, mark a half-inch seam allowance with a heat erasable pen to maintain a clean finish. Trimming the corners to 1/8 inch helps reduce bulk and guarantees they lay flat. Make certain your turning hole is at least 1.5 to 2 inches wide for easy maneuvering.
| Step | Purpose |
|---|---|
| Mark seam allowance | Guarantees clean edges |
| Trim corners | Reduces bulk |
| Use a non-sharp tool | Creates crisp corners |
Tips for Evenly Stuffing Your Pillow
With your pillow now turned right side out, it’s time to focus on stuffing it evenly for a polished look. Here are some tips to achieve that:
Use poly fill or stuffing from a cheap pillow, fluffing it up to prevent bunching and guarantee an even distribution. Layer the stuffing in small amounts and push it into the corners with your fingers or a paintbrush for a complete fill.
For a perfectly stuffed pillow, use poly fill or recycled stuffing, layering it in small amounts and ensuring every corner is filled.
To avoid dimpling, check the corners and add extra filling as needed in uneven areas. If the stuffing’s tough to push through, use a thimble to pack it tightly without straining your fingers.
Regularly check the pillow shape and adjust before closing to get a smooth, rounded finish! It’ll make all the difference in how your pillow looks and feels.
Close the Opening With Hand Stitching
Now it’s time to close the opening with hand stitching, giving your pillow a polished finish. Start by folding in the edges of the opening for a neat look, guaranteeing the fabric aligns properly.
Use an invisible stitch for a seamless appearance, beginning with a loop stitch to secure your thread tail. As you stitch, keep the tension steady by holding the thread with your fingers—this helps prevent any puckering.
If you prefer, a whip stitch along the folded edges works well too. Just make sure the stitches are evenly spaced for the best result.
Once you’ve closed the opening, bury any thread ends inside the pillow for a tidy finish. This step really adds a professional touch to your handmade creation.
Add Decorative Trim for a Finishing Touch
After closing the opening with hand stitching, you can elevate your pillow’s design by adding decorative trim. Follow these steps for a polished look:
- Choose your trim: Opt for a stylish option like Chanel trim. Just keep in mind it unravels quickly if not secured properly.
- Apply fabric glue: Spread the glue evenly around the pillow’s edge before attaching the trim. This helps give you a clean finish.
- Pin temporarily: Use pins to hold the trim in place while the glue dries. Make sure it overlaps slightly at the ends for a seamless look.
- Tuck and secure: Hide raw edges by tucking the end of the trim and securing it with glue. This will give your pillow a refined appearance.
Now your pillow is ready to shine!
Finalize Your Pillow and Allow It to Dry
Now that you’ve added your decorative trim, it’s time to finalize your pillow. Start by folding in the edges of the opening neatly and securing your trim for a polished look.
Once everything’s in place, bury the thread ends and let your pillow dry overnight. This will guarantee a sturdy finish.
Proper Edge Folding Techniques
To achieve a polished finish on your pillow, start by folding in the edges of the opening about half an inch. This creates a clean finish before sewing.
Here’s how to guarantee it looks great:
- Press the folded edges with your fingers to keep them in place while you stitch. It helps make sure everything stays neat.
- Use a hand stitch to sew the opening closed, opting for an invisible stitch for a seamless look. This way, the seam won’t show.
- Iron the edges lightly if needed to smooth out any wrinkles before finalizing the closure. Just be gentle with the heat.
- Allow the pillow to dry overnight after applying glue for trim, confirming all areas are secure and neat. This gives everything time to set properly.
Following these steps will give your pillow a professional finish!
Secure Trim Application Steps
Applying trim is the finishing touch that elevates your pillow’s aesthetic. Start by folding in the edges of the hole for a clean finish, pressing them with your fingers to secure before stitching.
Next, take your Chanel trim and apply glue evenly around the edge to prevent unraveling. As you attach it, overlap the ends slightly for a seamless look, tucking in the end to hide raw edges.
Use pins to temporarily secure the trim while the glue dries, ensuring it adheres correctly. Finally, let your pillow dry overnight.
After it’s dried, check for any areas needing additional glue to maintain a polished finish. This careful attention will truly enhance your pillow’s overall appeal.
Frequently Asked Questions
What Type of Fabric Is Best for Pillow Closures?
Cotton and linen are great choices for pillow closures because they’re durable and breathable. They hold up well over time and feel comfortable against your skin.
If you want something softer, consider flannel or velvet. These fabrics add a cozy touch and can make your pillows feel extra plush.
Just make sure the fabric matches your pillow’s style and purpose. After all, you want it to look good and work well for how you use it!
How Do I Choose the Right Thread for Sewing Pillows?
Choosing the right thread for sewing pillows isn’t rocket science—just grab polyester for durability and ease.
Cotton’s tempting, but it might fray. Trust me, you’ll want your pillows to last through every cuddle!
Can I Machine Sew the Pillow Opening Instead?
Yes, you can definitely machine sew the pillow opening! Just make sure to use a straight stitch and adjust your tension for a neat finish.
It saves time and gives your pillow a professional look. Plus, it’s pretty easy once you get the hang of it!
What Tools Do I Need for Hand Stitching?
Just like a painter needs brushes, you’ll need a needle, thread, scissors, and pins for hand stitching.
Don’t forget a thimble to protect your fingers—it’s your best ally in this creative endeavor.
These tools might seem simple, but they make all the difference when you’re working on your project.
Once you have them, you’re ready to start stitching with confidence!
How Can I Prevent Fraying at the Opening?
To prevent fraying at the opening, you can use pinking shears to cut the edges or apply a fabric sealant.
Also, make certain you’re using a tight stitch to secure the fabric properly.
This way, your fabric will hold up better and look neater for longer!
Conclusion
You’ve transformed fabric into a cozy pillow, a little slice of comfort for your space. With every stitch, you’ve woven together creativity and care, turning a simple task into a work of art.
Now that your pillow’s closure is secure and the decorative trim adds flair, it’s ready to bring warmth and style to your home. Closing your pillow sewing properly not only keeps the stuffing in place but also gives your pillow a polished, professional look.
So, kick back, relax, and let your new creation cradle you like a gentle embrace after a long day. Enjoy the satisfaction of handmade comfort, knowing you’ve mastered the art of closing pillow sewing in just 10 easy steps. Your cozy pillow is now the perfect addition to any room, blending function and style effortlessly.