10 Easy Steps to Cut a Sewing Pattern
Cutting a sewing pattern is all about precision and preparation. It’s one of the most important steps in sewing because a well-cut pattern ensures your project turns out just right.
Start by choosing beginner-friendly fabrics like cotton and prewash them to avoid any unwanted shrinkage later on.
Make sure you measure yourself accurately. This helps you pick the right size and avoid any fitting problems down the line.
Next, prepare and lay out your pattern pieces carefully. Secure them well so they don’t shift while you’re cutting.
Mark cutting lines and notches clearly — these little details make sewing so much easier.
Then, cut your fabric with care, taking your time to follow the lines perfectly.
Finally, organize your cut pieces so you can find everything quickly when you start assembling.
Follow these steps, and you’ll master the art of pattern cutting in no time!
Key Takeaways
– Choose beginner-friendly fabrics like cotton, ensuring they are prewashed and ironed for clean cuts.
It’s always easier to work with fabric that behaves well, so prepping it beforehand really helps.
– Take accurate body measurements for bust, waist, hips, and inseam for proper fit.
Getting these right means your finished garment will fit comfortably and look great.
– Prepare and lay out pattern pieces, aligning grainlines and securing them with weights or pins.
Taking your time here prevents mistakes later on, so don’t rush this step.
– Mark cutting lines and notches clearly on the wrong side of the fabric for easy identification.
This little detail makes assembling your pieces way simpler.
– Organize cut pieces by garment sections and label them for clarity during assembly.
Keeping things neat and labeled saves you loads of confusion down the line.
Step 1: Choose Beginner-Friendly Fabrics for Your Project
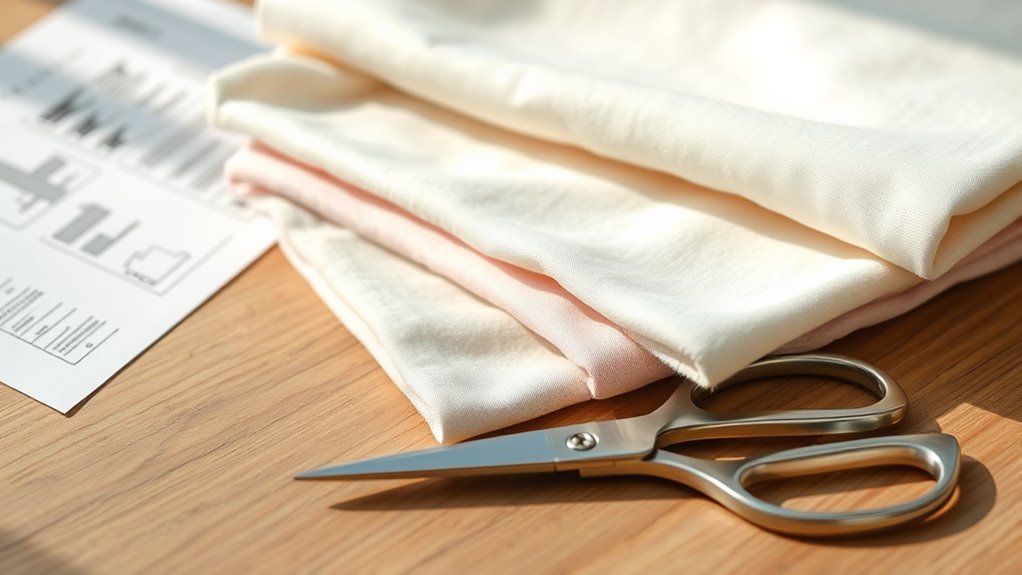
When you’re starting out, choosing the right fabric is essential for your sewing success. Opt for beginner-friendly fabrics like cotton, which are easy to handle and sew, providing a good structure for your first projects.
Look for fabrics with a smooth texture, such as quilting cotton, to guarantee clean cuts when cutting your fabric. Avoid slippery or stretchy options like silks or knits, as they can complicate cutting accuracy.
Instead, consider using medium-weight fabrics, which offer stability and resist distortion when pinned or cut. Finally, always check the fabric care instructions to confirm that they align with your project’s needs, as some materials may require special handling or pre-treatment.
Step 2: Prewash and Iron Your Fabric for Best Results
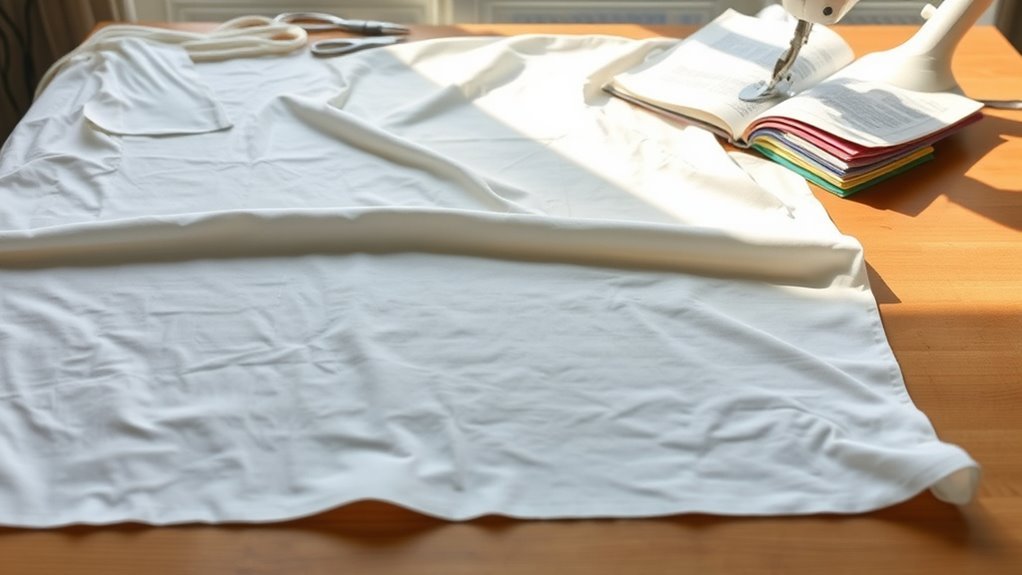
Before you start cutting, it’s essential to prewash your fabric to remove chemicals and prevent future shrinkage.
Make certain to choose the right iron and use suitable techniques for your fabric type to get it smooth and ready.
This step guarantees your pattern pieces align perfectly for a polished finish.
Importance of Prewashing Fabric
Prewashing fabric is essential for achieving the best results in your sewing projects, as it removes finishing chemicals and helps prevent unexpected shrinkage. By prewashing, you’ll stabilize the fabric, guaranteeing a better fit and minimizing future changes in size and shape.
Always remember to check the care instructions on the fabric bolt for the best washing methods. After washing, ironing the fabric will eliminate wrinkles, allowing for smooth, even cuts and accurate pattern alignment.
| Fabric Type | Washing Method | Importance |
|---|---|---|
| Cotton | Hot water | Prevents shrinkage |
| Linen | Hot water | Guarantees better fit |
| Silk | Dry cleaning/steaming | Protects delicate fibers |
| Wool | Dry cleaning/steaming | Maintains fabric integrity |
Choosing the Right Iron
After you’ve prewashed and ironed your fabric, the next step is selecting the right iron for your sewing project. Choosing the correct iron guarantees a smooth, wrinkle-free surface for cutting.
Here are some key considerations:
- Heat Setting: Match the iron’s heat to your fabric’s fiber content.
- Pressing Cloth: Use a pressing cloth for delicate fabrics to prevent damage.
- Steam Function: Utilize steam for natural fibers like cotton and linen to tackle stubborn wrinkles.
- Cool and Dry: Confirm your fabric is completely cool and dry before cutting to maintain its shape.
Ironing Techniques for Fabrics
Ironing your fabric properly is essential for achieving the best results in your sewing project. Start by prewashing your fabric according to its care instructions to remove finishing chemicals and preshrink it.
Once dry, it’s time to iron the fabric. Lay it out on a flat surface, making sure you’re working with the right side facing up.
Use the appropriate heat setting for your fabric type. Remember, cotton can handle high heat, while synthetics need lower temperatures.
Keep the fabric slightly damp for a smoother finish, especially with materials like wool. Iron along the grain line, so you avoid wrinkles that can lead to jagged cut lines.
You’ll be ready to cut your fabric without any issues! Easy, right? Just a few simple steps and your sewing project will look great.
Step 3: How to Measure Yourself Accurately?
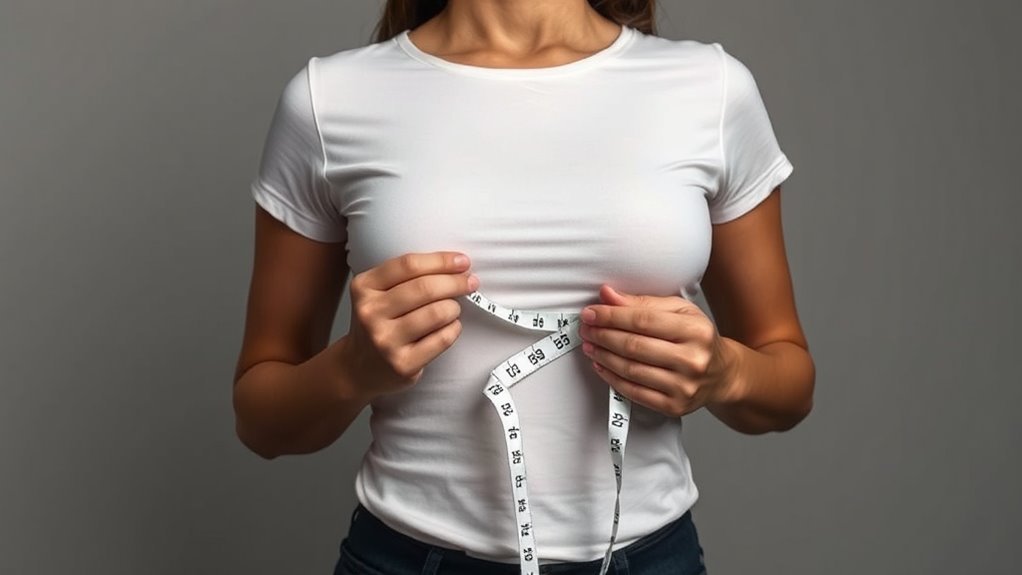
How can you guarantee your sewing patterns fit perfectly? Accurate measurements are key.
Here’s how to measure yourself effectively:
- Bust: Wrap the measuring tape around the fullest part, keeping it parallel to the floor.
- Waist: Find the narrowest part of your torso and place the tape snugly, but not tight.
- Hips: Measure around the widest part, typically over the hip bone, with your feet together.
- Inseam: Measure from the top of your inner thigh down to your desired pant length.
Always wear fitted clothing or undergarments while measuring to confirm accuracy. It really makes a difference.
Taking these steps will help you create patterns that fit like a glove, making your sewing projects much more enjoyable!
Step 4: Get Your Pattern Pieces Ready to Cut
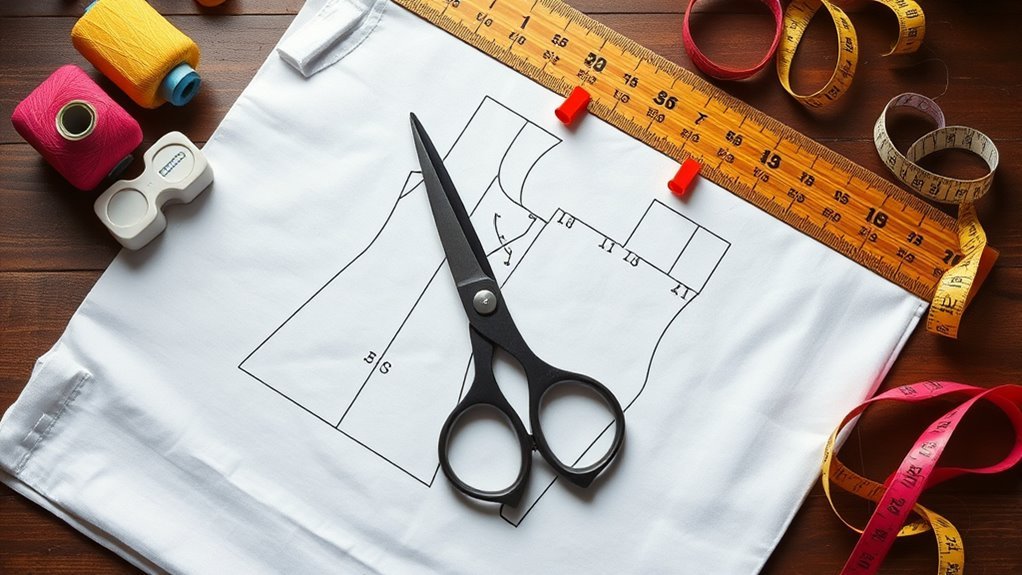
Before you plunge into cutting your fabric, it’s vital to get your pattern pieces ready. Start by confirming each piece is accurately cut along the size lines that match your measurements. Use weights or pins to secure them to your cutting surface, preventing any shifting.
Make sure you familiarize yourself with the grainline arrows on the pattern pieces. Aligning them with the fabric’s selvedge is essential for proper garment structure. If you’re using half-pattern pieces, trace them onto larger paper and label them for future projects.
Finally, double-check the orientation of all pattern pieces according to your layout guide. This step helps minimize fabric waste and keeps everything neat.
| Task | Purpose |
|---|---|
| Secure pattern pieces | Prevents shifting during cutting |
| Align grainline arrows | Guarantees proper garment structure |
| Trace half-pattern pieces | Creates whole patterns for easier use |
| Verify layout guide orientation | Minimizes fabric waste |
Step 5: Lay Out Your Pattern on the Fabric
Laying out your pattern on the fabric requires careful attention to detail for the best results. Start by confirming your fabric is flat and wrinkle-free, aligning the selvedge edges for proper grainline alignment. Use the layout guide to determine the correct orientation of each pattern piece, minimizing fabric waste.
Place symmetrical pieces, like sleeves, on the fabric’s fold. Then, secure the pattern pieces with pins or pattern weights, starting from the center and moving outward.
Double-check that all pieces face the correct direction. Also, verify notches and markings align properly.
Taking these steps will help you achieve precision and accuracy in your cutting. This sets you up for a successful sewing project.
Step 6: Secure Your Pattern Pieces With Weights or Pins
In this step, you’ll need to choose between weights and pins to secure your pattern pieces effectively. Pay attention to placement techniques, starting from the corners to keep everything flat and aligned.
This will help prevent fabric shifting, ensuring accurate cuts for your final garment. It’s all about keeping things steady so your project turns out just right!
Weights vs. Pins
When deciding between weights and pins to secure your pattern pieces, consider the type of fabric you’re working with. Weights are often more efficient, especially on slippery fabrics, as they minimize distortion during cutting.
They allow for quicker setup, letting you place them around the edges instead of pinning each piece individually. However, if you choose pins, be careful, as they create small holes in delicate fabrics.
- Weights leave no marks on lightweight materials.
- Make sure weights are heavy enough to prevent shifting.
- Pins can secure fabric firmly, especially at edges and corners.
- Choose the method that best suits your fabric’s characteristics for peak cutting.
2. Placement Techniques
Securing your pattern pieces effectively is essential for accurate cutting. Start by placing your pattern weights on the fabric, beginning at the center and working outward. This method helps to prevent shifting.
If you choose to use pins, insert them only within the size lines to keep the cutting edge clear. For larger pattern pieces, opt for heavier weights to keep them flat, especially on slippery fabrics.
Always verify your pattern pieces are oriented correctly, aligning the grainlines with the fabric’s selvedge. Be cautious not to stretch the fabric while securing it, as this can lead to inaccuracies and affect the fit of your finished garment.
3. Preventing Fabric Shifting
To prevent fabric shifting while cutting, using pattern weights or pins is essential. These tools help you hold your fabric in place, especially with slippery materials.
Here are some tips to guarantee your pattern pieces stay aligned:
- Use pattern weights to distribute pressure evenly across larger pieces.
- Pin securely at the edges, starting from the far corners and moving toward the center.
- Avoid over-pinning; focus on strategic placements to prevent shifting.
- Always double-check the alignment of your pattern pieces before cutting.
These little tricks really make a difference. It’s all about keeping things steady so your cuts come out just right!
Step 7: Mark Important Cutting Lines and Notches
Marking important cutting lines and notches is a crucial step in guaranteeing your sewing project goes smoothly. Use a fabric marker or tailor’s chalk to clearly mark these lines, notches, and dots on the wrong side of the fabric. This guarantees accurate sewing later.
When marking notches, snip outward from the pattern edge; this helps with alignment during assembly. Make certain your markings are visible to avoid confusion—consider using different colors for various marks if necessary. Accuracy is key; misaligned marks can lead to fitting issues in your final garment.
For plain fabrics, label the front (F) and back (B) of pieces to avoid assembling them incorrectly. Taking these steps will pay off in the end!
Step 8: Cut Your Fabric Accurately for Your Pattern
Now that you’ve marked your lines, it’s time to cut your fabric accurately. Start by prepping your fabric properly and aligning your pattern pieces with the grainline for the best results.
Using the right cutting tools will help guarantee clean edges and a perfect fit. It really makes a difference when you take your time here!
Fabric Preparation Techniques
Before you cut your fabric, it’s essential to verify it’s pretreated according to its care instructions; this will help prevent shrinkage and guarantee accurate sizing. Proper fabric preparation sets the stage for a perfect fit.
Iron your fabric to eliminate wrinkles for cleaner cuts. This little step can make a big difference!
Align your pattern pieces with the fabric grainline, marked by arrows, to avoid twisted seams. Trust me, it’s worth taking the time here.
Use sharp fabric scissors or a rotary cutter for precise cuts, ensuring you cut along the marked lines. A dull blade just won’t do.
Don’t forget to transfer important markings like notches and dots. These little details really help with accurate assembly during sewing.
Cutting Tools Overview
With your fabric prepped and ready, it’s time to focus on the cutting tools that will help you achieve precise results. Sharp fabric scissors or a rotary cutter are essential for cutting along the pattern edges. This ensures clean lines and helps minimize fraying.
Make sure to use pattern weights or pins to secure the pattern pieces in place. This prevents any shifts that could lead to inaccuracies.
For transferring detailed marks, employ a blunt tracing wheel along with dressmaker’s carbon paper to accurately outline cutting lines. It’s a handy trick that keeps your markings clear and precise.
Don’t forget to snip notches and markings carefully. These little details are vital for proper alignment during sewing and garment assembly.
With the right tools in hand, you’ll be well on your way to a flawless cut!
Aligning Pattern Pieces
To achieve an accurate cut, it’s essential to align your pattern pieces correctly with the fabric. Proper alignment guarantees the garment fits and drapes as intended.
Here are some key points to keep in mind:
- Align grainline markings on the pattern with the fabric’s selvedge edges.
- Use weights or pins to secure pattern pieces, starting from the center to prevent shifting.
- For symmetrical pieces, place the pattern on the fold as indicated.
- Cut carefully along the outer edges of the pattern pieces, avoiding cutting in the air.
Remember to make essential notches and markings on the fabric after cutting. This will assist in proper assembly and alignment during the sewing process.
Doing this will make it much easier to cut a sewing pattern accurately.
Step 9: Transfer Pattern Markings Clearly to the Fabric
Accurately transferring pattern markings to your fabric is essential for a successful sewing project. Use a disappearing fabric marker or tailor’s chalk to transfer markings like notches and dots to the wrong side of the fabric. This guarantees easy identification while sewing.
Make sure to cut small outward notches from the pattern edges; they help align pieces correctly. Remember to mark ‘F’ for front and ‘B’ for back to avoid confusion during assembly.
Transfer markings immediately after cutting to prevent losing track, especially on plain fabrics.
| Marking Type | Description | Tool Used |
|---|---|---|
| Notches | Cut small outward notches | Fabric marker or chalk |
| Dots | Indicate pleat guides | Disappearing marker |
| F/B Marking | Front and back labels | Tailor’s chalk |
Step 10: Organize Cut Pieces for Assembly
Once you’ve transferred all your pattern markings, it’s time to organize your cut pieces for assembly. Group your pieces by garment sections like front, back, and sleeves to simplify the sewing process.
To avoid confusion, label each cut piece with a fabric marker or a small tag indicating its corresponding pattern piece. It really helps keep things clear as you go along.
Use a dedicated container or flat surface to organize your pieces. This way, everything stays neat and easy to find.
Keep track of which size each piece corresponds to, especially if your pattern includes multiple sizes. You don’t want to mix them up!
Confirm all notches and markings are clearly visible, as they guide you in aligning pieces correctly. These little details make a big difference.
Double-check that you haven’t missed any pieces before starting your assembly. It’s better to catch that now than midway through sewing.
This organization will make your sewing project smoother and more enjoyable! You’ll thank yourself later.
Frequently Asked Questions
How to Cut Fabrics for Beginners?
To cut fabrics as a beginner, prewash and iron your material. Align the grainline, secure with pins, and use sharp scissors.
Make sure to mark notches and details on the wrong side for accurate assembly later.
It might seem tricky at first, but with practice, you’ll get the hang of it! Just take your time and enjoy the process.
What Are the 5 Steps in Pattern Making?
Ever wondered how to create your perfect sewing pattern? First, measure your body and choose a base pattern.
Next, draft your design and add the details you want. Then, test the fit to make sure everything looks great.
Each step guarantees your garment fits just right! It’s easier than you think when you take it step by step.
What Is the Easiest Sewing Pattern for a Beginner?
The easiest sewing pattern for you is a simple pillowcase or tote bag. These projects require basic straight stitching and minimal shaping.
They help you build confidence while mastering essential sewing techniques without feeling overwhelmed. Give it a try—you’ll be surprised how quickly you can finish!
How to Cut Out Notches on a Sewing Pattern?
To cut notches on a sewing pattern, make small outward snips into the seam allowance, about 1/4 inch deep. Use sharp scissors, and always mark them on the wrong side to keep them hidden.
It’s pretty simple once you get the hang of it. Just take your time and be precise, so your pieces line up perfectly when you sew.
Conclusion
Now that you’ve navigated the wild world of cutting a sewing pattern, you’re practically a fabric whisperer! Just picture it: you, surrounded by colorful chaos, wielding scissors like a superhero, fabric bits flying like confetti.
With your neatly cut pieces, you’re ready to conquer the sewing machine and release your creativity—unless, of course, you’ve accidentally created a new abstract art piece instead. Either way, you’re one step closer to a masterpiece (or a hilarious disaster)!
Cutting a sewing pattern might seem tricky at first, but with these easy steps, you’ll gain confidence and skill in no time. Each cut brings you closer to assembling your fabric into something amazing. So, grab those scissors, follow the pattern, and enjoy the creative journey. Remember, every stitch and snip is part of making your unique sewing project come to life!