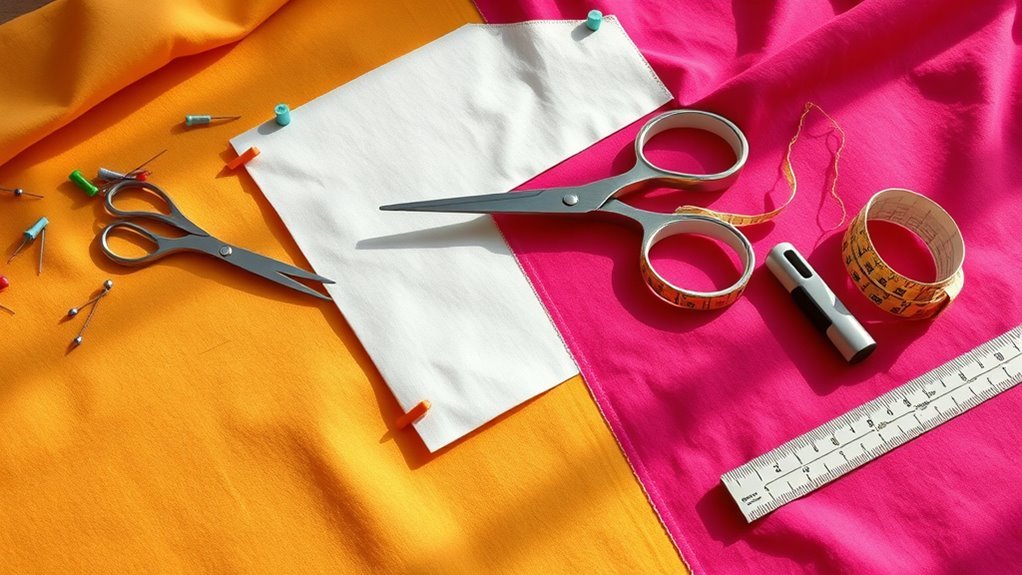
10 Easy Steps to Cut a Sewing Pattern Out
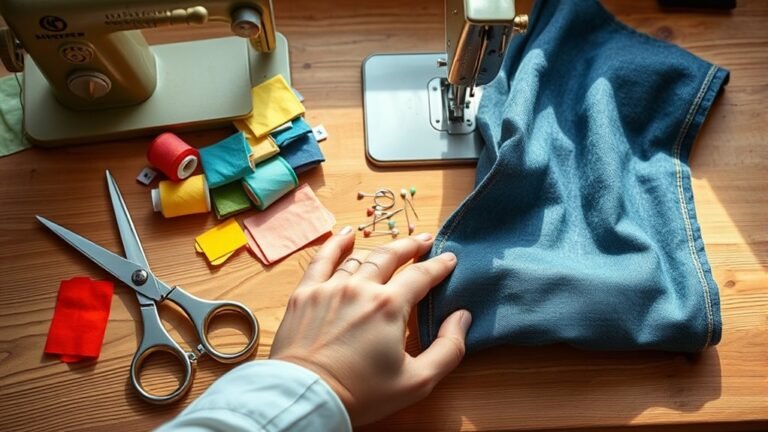
To cut a sewing pattern accurately, start by gathering essential tools like fabric scissors and weights. Having the right tools is key to making clean cuts and avoiding mistakes.
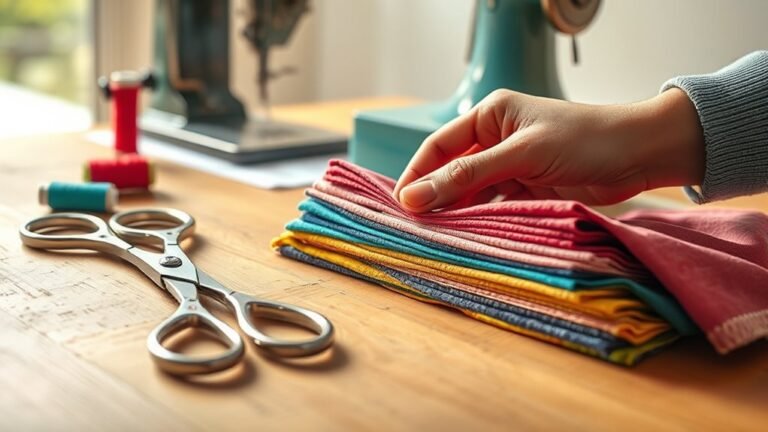
Prepare your fabric by washing and pressing it well, then lay it out flat for the best results.
Next, measure yourself carefully to select the right pattern size. This step ensures your finished garment fits just right.
Secure the pattern with weights or clips to keep it from shifting while you cut.
Master straight and curved cuts for precision—this really makes a difference in how your pieces come together.
Don’t forget to snip and notch the fabric where needed; these small details help with accuracy later on.
Finally, organize your cut pieces neatly to streamline your sewing process. Staying organized saves time and hassle.
There are plenty more tips that can help sharpen your cutting skills, so keep practicing and enjoy the process!
Key Takeaways
– Prewash and press your fabric to eliminate shrinkage and wrinkles for accurate cutting and alignment.
This step really helps your fabric behave better when you’re working with it.
– Familiarize yourself with the pattern pieces and use the size chart for the best fit selection.
Knowing your pattern well before you start makes a big difference.
– Secure pattern pieces with weights or pins to prevent shifting during cutting.
You don’t want your pieces moving around and messing up your work.
– Use sharp fabric scissors or a rotary cutter for clean, precise cuts along the grainline.
Sharp tools make cutting so much easier and neater.
– Mark essential points using tailor’s chalk or tailor tacks, ensuring markings are on the wrong side of the fabric.
This way, your markings won’t show on the finished piece but will guide you perfectly.
Identify Essential Pattern Components for Successful Cutting
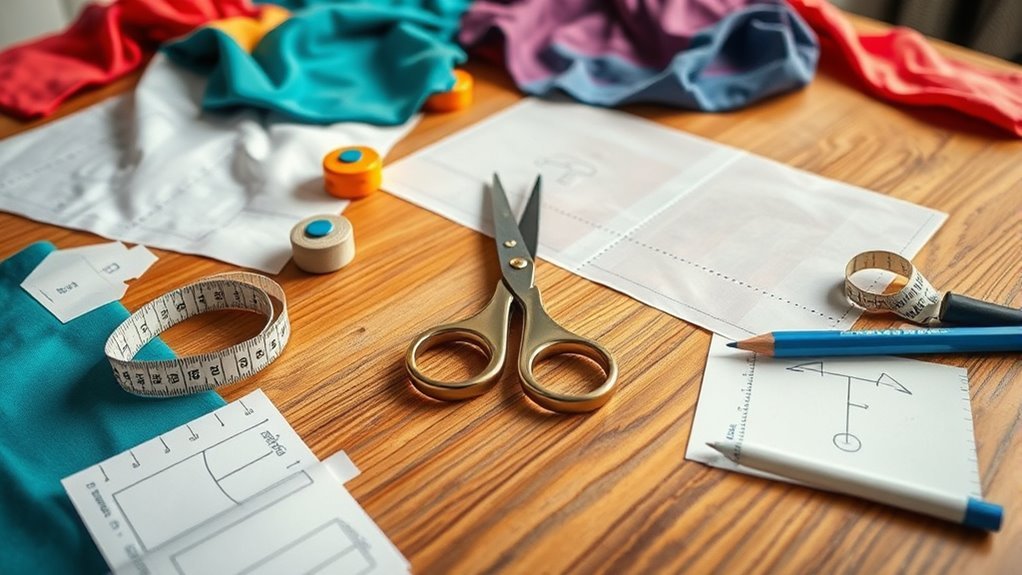
When you’re ready to cut out a sewing pattern, it’s essential to understand the fundamental components that guide your process. First, check the instruction sheet, which outlines step-by-step guides, cutting layouts, and valuable sewing tips.
Next, familiarize yourself with the pattern pieces; these tissue or paper shapes indicate sizes and are important for accurate cutting. If the pattern offers multi-size options, you can blend sizes, ensuring a better fit tailored to your measurements.
Don’t forget to review the finished garment measurements; these details help you assess fit and ease, guiding your size choice and any necessary alterations. Knowing these elements sets you up for a successful sewing experience.
Gather Your Cutting Tools
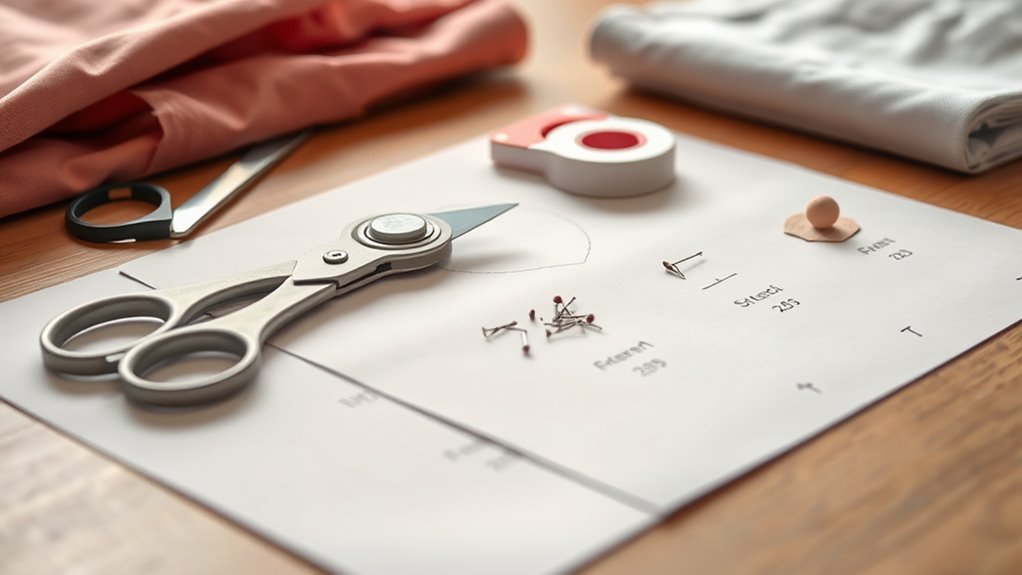
With a solid understanding of your pattern components, you’re ready to gather your cutting tools. Start with fabric scissors for clean cuts and a rotary cutter for precision on straight lines.
Don’t forget small embroidery scissors for those detailed snips. You’ll need pattern weights or pins to secure your sewing patterns to the fabric, preventing any shifting while cutting.
For marking, tailor’s chalk or a Clover Chaco-Liner will help you indicate darts, notches, and other essential markings clearly. Make certain to prepare a sturdy cutting surface, like a self-healing cutting mat or a flat table covered with cardboard, to protect your workspace and guarantee accurate cuts.
Finally, keep a measuring tape handy to check dimensions. It’s all about having the right tools ready to make your cutting smooth and accurate.
Prepare Your Fabric: Wash, Press, and Layout
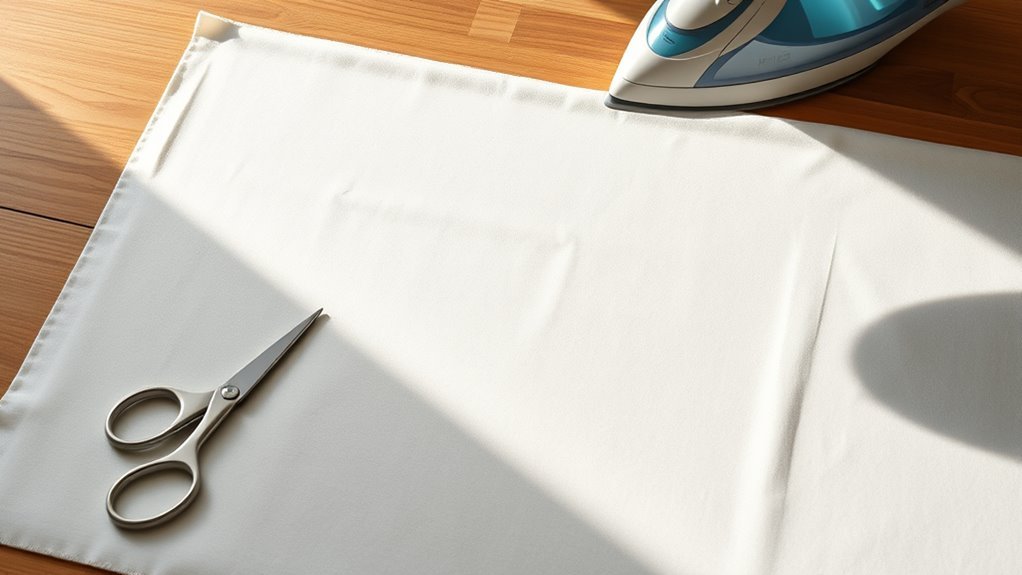
Preparing your fabric is crucial for achieving the best results in your sewing project. Follow these steps to guarantee your fabric is ready:
First, prewash your fabric to remove sizing and chemicals. This helps prevent shrinkage and makes sure it behaves correctly during sewing.
Prewashing your fabric removes chemicals and prevents shrinkage, ensuring it performs well during your sewing project.
Next, press your fabric to eliminate wrinkles. This allows for accurate pattern placement and smoother cutting.
Then, layout your fabric flat on a clean, dry surface. Make sure to align it with the grainline for ideal results in your finished garment.
Finally, use pattern weights or pins to secure your pattern pieces to the fabric. This prevents any shifting that could lead to inaccuracies.
Measure Yourself for the Perfect Pattern Size
After laying out your fabric, it’s time to find the perfect pattern size for your unique shape. Start by accurately measuring your bust, waist, hips, back waist length, and inseam with a soft measuring tape.
Next, compare your measurements against the size chart on the pattern envelope. Keep in mind that sizes can vary between brands.
You might find that different areas correspond to different sizes, so be ready to grade between sizes if needed. Always check the finished garment measurements listed on the pattern to guarantee you account for ease.
Understanding the type of ease—positive, negative, or fitted—can help you choose the right size for your desired fit. Happy sewing!
Hold Your Pattern Steady: Effective Techniques Using Weights, Clips, or Pins
Secure your pattern pieces firmly to prevent shifting and confirm a precise cut. Here are some effective techniques using weights, clips, or pins:
- Weights: Use flat stones or homemade alternatives like cat food cans to hold down fabric without distorting it.
- Clips: Sewing clips can effectively secure fabric layers, making it easier to cut, especially on thicker materials.
- Strategic Pins: Instead of using too many pins, place a few strategically to avoid unnecessary holes in the fabric.
- Check Alignment: Always confirm your pattern is aligned correctly and securely in place before cutting to achieve the best fit for your garment.
How to Mark Darts, Notches, and Pleats Like a Pro?
When it comes to marking darts, notches, and pleats, using the right tools is key. You’ll want to choose tailor’s chalk or tailor tacks for precision, ensuring your fabric aligns perfectly.
Plus, knowing the best techniques for transferring these markings will make your sewing process smoother and more accurate. It really makes a difference when everything lines up just right!
Essential Marking Tools
Marking tools are your best friends when it comes to sewing patterns, especially for darts, notches, and pleats. Using the right tools guarantees accuracy and helps you achieve a professional finish.
Here are some essential marking tools you’ll need:
- Tailor’s Chalk: Perfect for marking darts and notches on various fabrics. It brushes off easily, so you don’t have to worry about permanent marks.
- Scissors: Snip into the seam allowance for notches or cut small triangles to indicate seam matching points. It’s a simple but super effective method.
- Tailor Tacks: Use these to mark dart points clearly. They transfer both dart legs, which helps with precision.
- Tracing Wheel and Transfer Paper: Ideal for creating clear pleat markings that are easy to follow during sewing. This combo makes transferring patterns a breeze.
Always test your marking tools on scrap fabric first! You never know how they’ll react with your material until you try.
Accurate Transfer Techniques
Mastering accurate transfer techniques is essential for achieving professional results in your sewing projects. To mark darts, use tailor’s chalk or tailor tacks to indicate dart points and legs on the fabric, guaranteeing precise sewing alignment.
For notches, snip into the seam allowance or cut small triangles out; this helps align pattern pieces during assembly. When marking pleats, use tailor’s chalk or tacks to pinpoint their positions before sewing, maintaining uniformity in your finished garment.
Always make these markings on the fabric’s wrong side to avoid visible marks on the right side. If you’re working with complex patterns, identify specific views and highlight necessary pieces on your instruction sheet to confirm all markings transfer correctly.
Master Straight and Curved Cuts: Techniques for Precision
Cutting your sewing pattern with precision is essential for achieving a polished final product. Mastering both straight and curved cuts will really enhance your sewing experience.
Here are some techniques to help you:
- Use a rotary cutter for straight cuts. Apply long, smooth strokes to get clean edges and reduce fraying. It makes a big difference!
- For curved cuts, make small snips into the fabric while following the curve’s shape. This helps maintain accuracy and prevents ripping. Take your time with this part.
- Always use pins or weights to secure your pattern pieces. This keeps everything from shifting while you cut—super important.
- Invest in specialized scissors: use paper scissors for snipping patterns and fabric shears for cutting fabric. This little step really boosts your accuracy.
Snip and Notch: Essential Tips for Accuracy
While you might think snipping and notching are just minor steps, they play an indispensable role in achieving precise and accurate results in your sewing projects. Snip into curves on your pattern pieces to help maintain their integrity, making it easier to fold and cut around intricate shapes.
When marking notches, make small cuts into the seam allowance or create triangles; this guarantees precise alignment during assembly. Use tailor’s chalk or tacks to mark dart legs and points, enhancing the fit of your garment.
Notching important areas like armholes and necklines is vital for proper alignment and ease while sewing. With practice, these techniques improve accuracy, resulting in better-fitting garments and a preserved pattern for future projects.
Preserve Your Patterns for Future Use
After ensuring accuracy with snips and notches, it’s important to think about how to keep your patterns in top shape for future projects. Here are some effective ways to preserve your patterns for future use:
- Trace them onto wax paper. This allows for easy size adjustments without damaging the original. It’s a simple trick that saves you time later.
- Reinforce flimsy tissue patterns. Use interfacing before cutting to maintain shape and usability. It helps your patterns last longer and stay reliable.
- Utilize durable materials. Try freezer paper or thick foil for tracing sizes that can withstand multiple uses. These materials are tough and perfect for patterns you’ll use again and again.
- Store patterns flat or rolled. Keep them in a protective manner to prevent creasing and damage. This way, they’ll remain intact and ready for your future projects.
Taking these steps will help you enjoy your patterns for years to come! Trust me, it’s worth the little extra effort.
Organize Your Cut Pieces for Seamless Sewing
Keeping your cut pieces organized is essential for a seamless sewing experience. After you cut your fabric, label each pattern piece with its corresponding section—like front, back, or sleeve—to avoid confusion during assembly.
Use small clips or pins to keep your cut pieces together and prevent them from shifting around. It really helps to create a dedicated workspace or container for each project’s cut pieces, so everything stays in one place and is easy to find.
Consider making a checklist of all the pieces you need, and mark them off as you cut. That way, you won’t accidentally miss anything important.
Finally, store your cut pieces flat or rolled up to keep their shape and avoid creases. Those little folds can make sewing way trickier later on. Follow these tips, and you’ll be ready to sew without a hitch!
Frequently Asked Questions
How Do I Choose the Right Fabric for My Pattern?
To choose the right fabric for your pattern, consider the garment’s purpose, drape, and texture. Feel the fabric, check its weight, and verify it matches your design vision for the best results.
It’s all about how the fabric works with your idea. Think about what you want the garment to do and how it should move. That way, you’ll pick something that really brings your pattern to life.
Can I Use Scissors Instead of a Rotary Cutter?
Yes, you can use scissors instead of a rotary cutter. Just make certain your scissors are sharp and that you’re cutting on a flat surface.
It might take a bit longer, but it’s totally doable! So don’t worry if you don’t have a rotary cutter handy.
What Should I Do if I Make a Mistake While Cutting?
If you make a mistake while cutting, don’t panic!
Simply stop, assess the damage, and decide if you can trim the fabric or use a patch.
Always keep extra fabric on hand for emergencies.
It’s better to be prepared, right? That way, any slip-up won’t feel like the end of the world.
How Do I Handle Slippery or Stretchy Fabrics?
When handling slippery or stretchy fabrics, think of a dancer gracefully moving across the floor. Use weights or pins to anchor the fabric, and cut slowly.
Make sure every piece flows smoothly into your creation. It’s all about patience and gentle movements. You’ll get the hang of it!
Can I Cut Multiple Layers of Fabric at Once?
Yes, you can cut multiple layers of fabric at once, but make sure they’re aligned properly. Use sharp scissors or a rotary cutter for clean edges.
Also, secure the layers with weights or pins to prevent shifting. This way, everything stays in place and your cuts come out neat.
Conclusion
So, there you have it! If you follow these steps, you’ll not only avoid turning your fabric into a sad, lopsided mess, but you might just impress your friends with your newfound sewing prowess.
Who knew cutting a pattern could feel like a high-stakes game of Operation? Just remember, if you end up with a quilted masterpiece or a fabric tornado, at least you’ve got a great story—and a reason to shop for more fabric!
Cutting a sewing pattern out doesn’t have to be intimidating. With these easy steps, you’re setting yourself up for success and making the whole process more enjoyable. So grab your scissors, your fabric, and your pattern, and get ready to create something amazing!