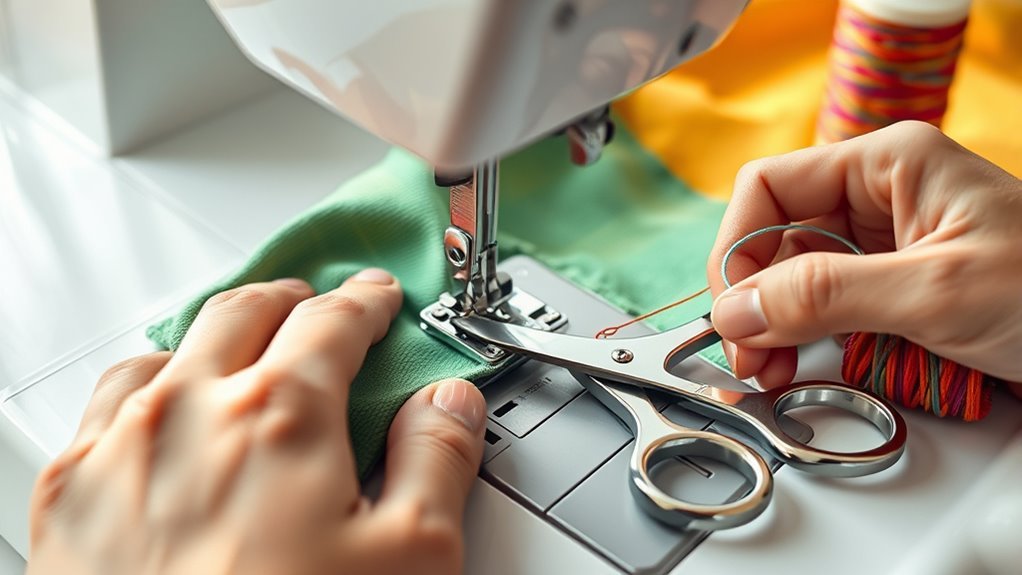
How to End a Sewing Machine Stitch in 5 Easy Steps
To end a sewing machine stitch properly, it’s important to follow a few simple steps to secure your work and prevent unraveling. Start by stitching forward a few times to anchor the seam.
Then, backstitch 1-2 stitches to reinforce the stitch line and give your seam extra strength.
Next, press the reverse button and sew backward for 2-3 stitches. This helps lock the stitches in place for a strong finish.
After that, cut the thread about 6 inches away from the needle, but first, make sure your last stitch is tight and secure.
Gently pull the fabric away from the machine and check the back side for any loose threads.
Finally, trim any loose ends carefully to prevent fraying. With these easy steps, you’re well on your way to mastering how to end a sewing machine stitch like a pro!
Key Takeaways
- Start with a few forward stitches, backstitching for 1-2 stitches to secure the seam. This helps keep everything in place from the get-go.
- Engage reverse stitching for 2-3 stitches at the end to reinforce without adding bulk. It’s a simple trick to make your seam last longer.
- Cut the thread approximately 6 inches from the needle after ensuring the last stitch is tight.
- Pull the fabric away while holding the thread taut, making sure the presser foot is lifted. This keeps things neat and prevents any puckering.
- Secure loose ends by backstitching again and trimming excess thread tails for a polished finish. It’s the little touches that make your project look professional.
Start With Forward Stitches to End a Sewing Machine Stitch
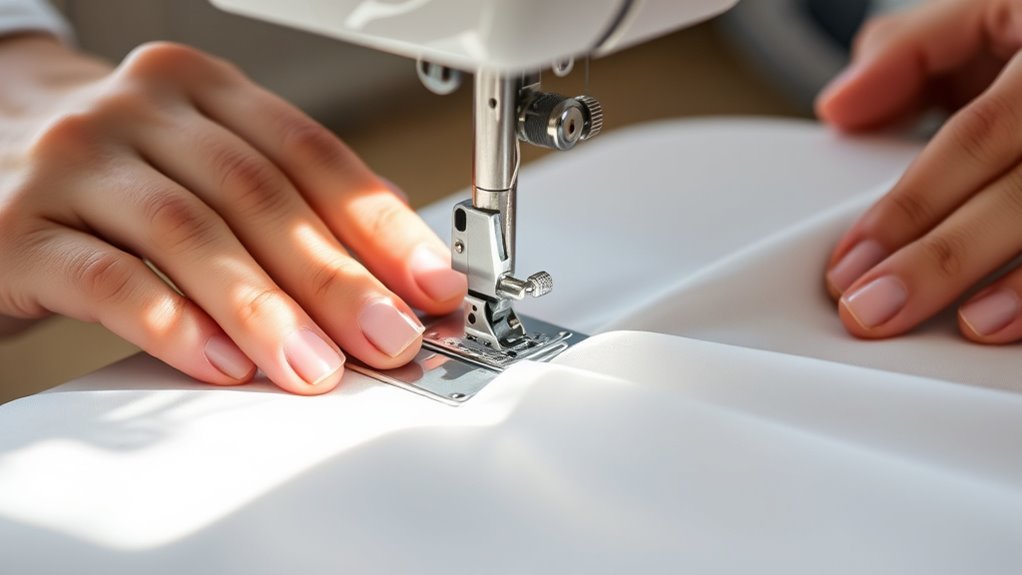
To secure your seam effectively, start with a few forward stitches. This locks the thread in place, creating a strong foundation for your project.
Depending on your needs, use either a straight stitch or a zigzag stitch for added durability. Once you’ve reached the desired length, backstitch for 1-2 stitches to reinforce the seam. This helps make sure it stays secure.
After that, you can cut the thread, leaving a few inches of excess. That extra length lets you make adjustments or tie off later.
Before you cut the thread, just make sure the needle is in the highest position. This way, you avoid damaging your machine or fabric.
Following these steps will help you achieve a neat and reliable finish.
Reverse Stitches to End a Sewing Machine Stitch Securely
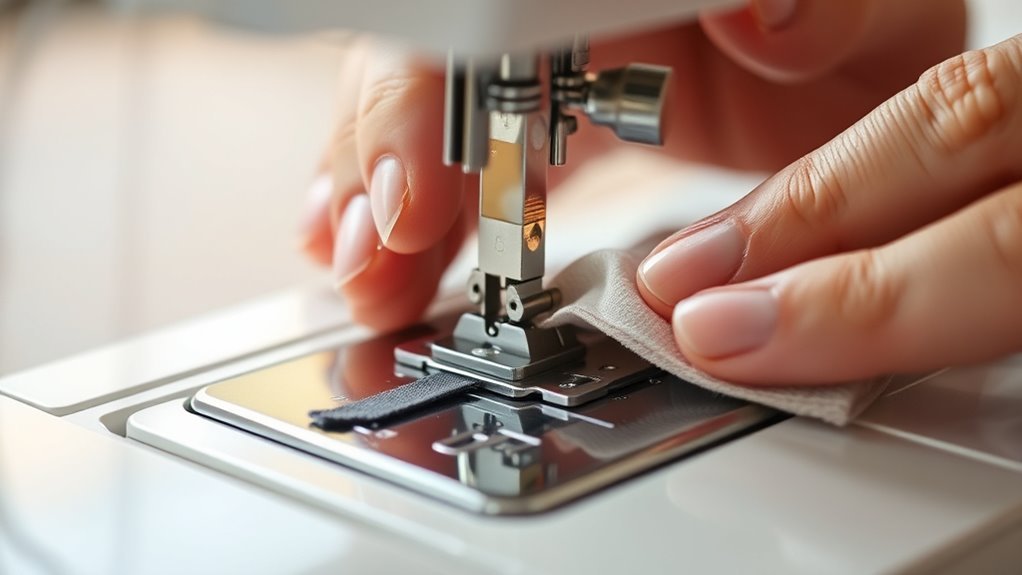
Ending your sewing machine stitch securely involves using reverse stitches to lock your threads in place. After you finish your seam, press the reverse button or lever.
Make certain your needle is in the down position to maintain fabric alignment and prevent any shifting. Sew backward for 2-3 stitches; this length is ideal to avoid bulk at the seam’s end.
Always refer to your machine’s manual for specific instructions, as features can vary. After you’ve completed your reverse stitches, continue sewing forward for a few more stitches to guarantee a secure finish.
This method locks the thread in place, preventing unraveling and giving your project a polished look.
Cut the Thread to End a Sewing Machine Stitch
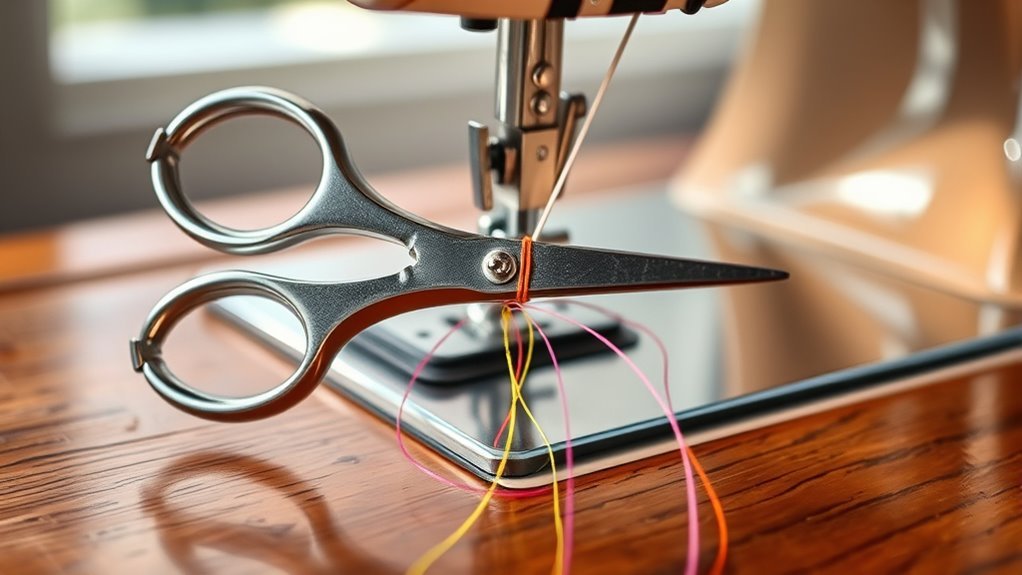
Finish your sewing project by cutting the thread cleanly, guaranteeing everything is neat and secure. First, gently pull the fabric to check that your last stitch is tight and secure.
Before you cut, always raise the presser foot to avoid damaging the needle or fabric. Use sharp scissors to cut the thread approximately 6 inches from the needle, leaving enough length to tie a knot for added security if needed.
Always raise the presser foot before cutting the thread to protect your needle and fabric.
A clean cut helps prevent fraying and gives you a polished finish. After cutting, gently pull the thread to confirm it’s not tangled before moving on to the next step in your project.
This simple action makes a big difference in the quality of your work.
Pull the Fabric Away to End a Sewing Machine Stitch
After cutting the thread, you’re ready to pull the fabric away from the machine. To guarantee a clean finish, follow these steps:
- Hold the thread taut: This prevents unraveling and helps maintain stitch integrity as you pull the fabric away.
- Check the presser foot: Make sure it’s lifted to release tension on the thread before moving the fabric.
- Inspect the last stitches: Look at the back of the fabric to confirm that the last stitches are secure and not loose.
Secure Loose Ends to End a Sewing Machine Stitch Neatly
To secure loose ends and guarantee your sewing project looks polished, backstitch for about 2-3 stitches in reverse at the end of your seam. This locks the stitches in place and prevents unraveling.
Next, trim any excess thread tails close to the fabric, but make sure you leave just enough to avoid fraying. It’s a simple step, but it really makes a difference in the final look.
Here’s a quick reference table:
| Step | Action |
|---|---|
| Backstitch | 2-3 stitches in reverse |
| Trim Excess Thread | Cut close but not too tight |
| Check Security | Tug fabric gently |
| Add Extra Security | Use fabric glue or seam sealant |
Frequently Asked Questions
How to Secure a Stitch?
To secure a stitch, backstitch at both ends to reinforce it. Then, cut the thread about 6 inches long for easy knotting.
If available, use your machine’s locking stitch feature for extra security. It really helps keep everything in place!
How to Make a Knot at the End of a String?
To make a knot at the end of a string, create a loop, push the needle through, and pull tight.
For added security, repeat the process. Make certain it’s close to the fabric for a neat finish.
How to Finish off Hand Embroidery?
To finish off hand embroidery, create a knot under the fabric by looping the thread around the needle.
For extra security, run your needle through a few stitches before cutting the thread.
This helps keep everything nice and tight so your work stays put. Just a little extra step that makes a big difference!
How to Start a Stitch on a Sewing Machine?
To start a stitch on your sewing machine, place the fabric under the presser foot and lower it. Hold the thread tails to keep them from tangling.
Then, gently press the foot pedal to begin sewing smoothly. Take it slow at first to get a feel for the machine.
Conclusion
Now that you’ve mastered how to end a sewing machine stitch, you’re one step closer to creating beautiful projects. It’s funny how a few simple steps can transform your sewing game—just like finding the perfect button for that shirt you’ve been working on.
With practice, you’ll not only secure your seams but also boost your confidence. So, grab your fabric and thread, and let your creativity flow—your next masterpiece awaits!
Ending a sewing machine stitch properly is a small skill that makes a big difference. It ensures your seams stay strong and your projects look polished. Keep practicing these easy steps, and soon, finishing your sewing projects will feel natural and fun. Happy sewing!