How to Hand Sew a Buttonhole in 5 Easy Steps
To hand sew a buttonhole, start by gathering your materials, including silk buttonhole twist thread and fabric. These are essential for a neat and durable finish. Mark the buttonhole placement slightly longer than the button itself, so it fits perfectly.
Next, carefully cut the buttonhole using a seam ripper. This step needs precision to avoid damaging the fabric. Then, baste and secure the edges with whip stitches. This helps keep the fabric stable as you sew.
Use a buttonhole stitch, maintaining close spacing for strength and a clean look.
Finally, finish with a bar tack for extra durability. With these simple steps, you’re well on your way to perfecting your hand-sewing technique.
And trust me, there’s so much more to discover once you get the hang of it!
Key Takeaways
- Gather materials like a needle, thread, fabric, and scissors to ensure you have everything needed for sewing buttonholes.
- Mark buttonhole placement accurately, making it slightly longer than the button. Secure the fabric layers with basting to keep things in place.
- Cut the buttonhole carefully with a seam ripper. Then, overcast raw edges with a whip stitch for durability.
- Use a buttonhole stitch to create a neat edge. Space stitches closely for strength and finish with a bar tack at both ends.
- Consider adding a gimp for added firmness and stability. This is especially helpful if you’re working with lightweight fabrics.
Gather Your Materials for Hand Sewing
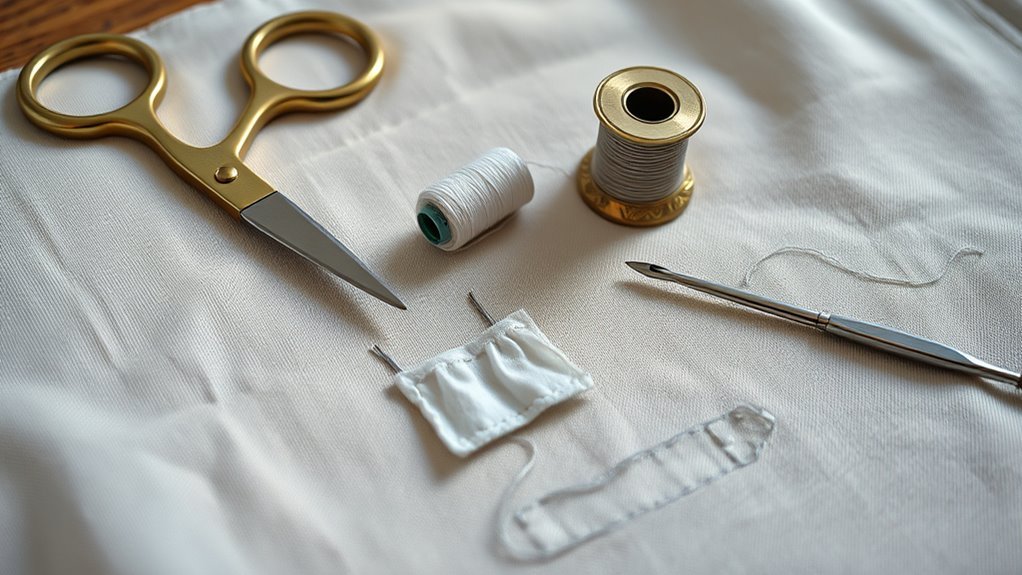
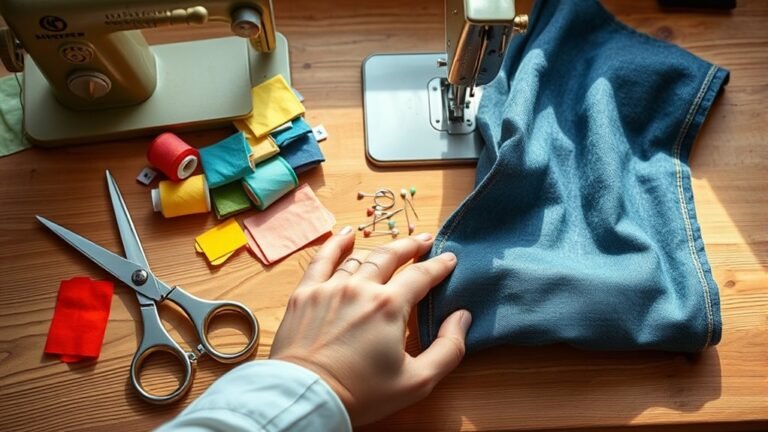
To hand sew a buttonhole, you’ll need a few essential materials. Start with a needle and thread; silk buttonhole twist is great for durability. Grab some regular sewing thread too, along with small sharp scissors for precise cutting.
Beeswax is handy to strengthen your thread and reduce fraying during stitching. It really helps keep things neat and makes sewing easier.
Beeswax strengthens your thread and minimizes fraying, ensuring a neat and effortless sewing experience.
Select fabric that works well for buttonholes, ensuring it’s the right weight for your button size. You’ll also need a ruler and a marking pen or pencil to measure and mark accurately.
Don’t forget to prepare basting stitches to secure your layers before cutting the edge of the buttonhole, preventing any shifting. Using a sturdy surface will help you create a clean, professional look for your final garment.
Cut and Secure Buttonholes
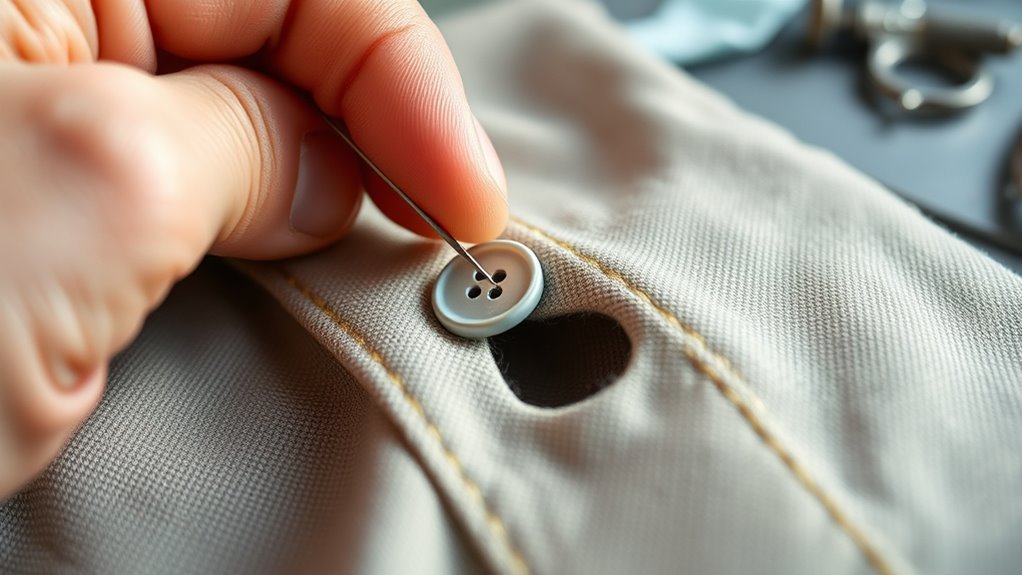
Cutting and securing buttonholes is an essential step in creating a polished finish for your garment. Start by marking the buttonhole placement slightly longer than the button, keeping the edges about 1/8 inch from the center line.
Use a sharp seam ripper to cut the buttonhole, carefully slicing to the marked ends while securing all fabric layers. To prevent shifting, baste around the buttonhole with a padding stitch.
Next, overcast the raw edges with a whip stitch, aiming for a depth of about 1/16 inch and 12 to 15 stitches per inch for reinforcement. This helps keep everything neat and durable.
Finally, complete the buttonhole by making a bar tack at both ends. Secure the stitches with three stitches across the width for added stability. This step really locks it all in place.
Mark and Prepare Buttonhole Placement
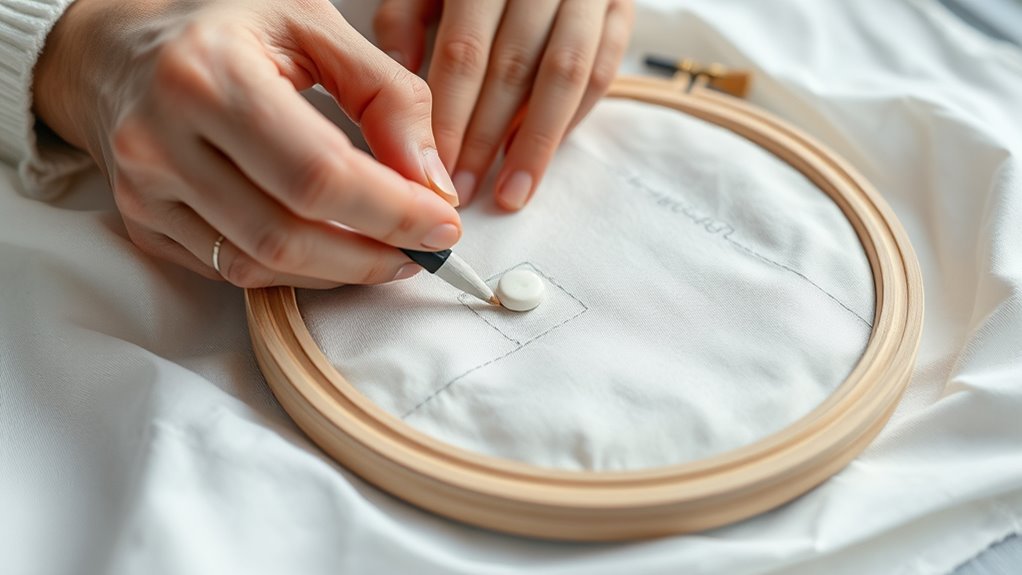
Marking the buttonhole placement accurately is essential for a professional-looking finish. Start by measuring and marking the buttonhole slightly longer than the button to guarantee a proper fit.
Use a fabric pen or pencil to draw a center line and mark the ends of the buttonhole, positioning the long edges about 1/8 inch (3mm) from the center line. If you’re making multiple buttonholes, calculate the total distance between them, subtracting one for spacing, and divide evenly using a tailor’s square.
Don’t forget to baste around the buttonhole area to secure the fabric layers and prevent shifting during cutting and stitching. Also, you might want to adjust the edge distance based on your fabric weight and button size for the best results.
Stitch Buttonholes With Precision
Once you’ve secured the fabric layers with basting, you’re ready to stitch the buttonholes with precision. Start by measuring and marking the buttonhole placement; make sure it’s slightly longer than the button itself.
Use a sharp seam ripper to open the buttonhole, then employ small scissors to cut to the marked ends.
Use a buttonhole stitch similar to a blanket stitch. Bring the needle up from the back, forming a loop.
Space your stitches closely along the edges for durability. Finish with a bar tack at both ends to prevent fraying.
It’s a good idea to practice on scrap fabric since hand-stitching buttonholes gets easier with experience. Remember, your first stitch really sets the tone for a clean finish along the edge of the coat.
How to Nail Your Buttonhole Technique
Nailing your buttonhole technique starts with choosing the right materials and tools. Use a silk buttonhole twist thread for durability; it’s thicker than regular thread, giving your buttonhole a firm finish.
Mark the placement accurately, making sure the hole’s slightly longer than the button for a secure fit. As you stitch, keep your spacing consistent — about 12 to 15 stitches per inch. This helps strengthen the buttonhole and stops it from fraying.
Don’t forget to add a gimp, like Agreman gimp by Gutermann. It adds firmness and keeps the buttonhole from stretching out.
When you get to the end, pass the needle back through carefully, and baste around the buttonhole to hold things in place. Finish up with a bar tack at both ends, using three tight stitches close together for extra security and durability.
Frequently Asked Questions
What Type of Fabric Is Best for Sewing Buttonholes?
Cotton and linen work best for sewing buttonholes, as they’re sturdy yet easy to manipulate. Avoid stretchy fabrics like knits; they can distort.
Always test on a scrap piece to guarantee the outcome meets your expectations. It’s a simple step that can save you a lot of trouble later!
Can I Use Regular Thread for Buttonholes?
You can absolutely use regular thread for buttonholes, but it might fray like a cat in a bathtub!
Instead, opt for stronger thread like polyester or silk for durability and a polished finish. Trust me, your buttonholes will thank you!
How Do I Prevent Fraying When Cutting?
To prevent fraying when cutting, you can use fray check or a similar product along the edges. It’s pretty easy and really helps keep things neat.
Alternatively, you could zigzag stitch around the cut area to secure the fibers. This way, you minimize fraying and your fabric stays looking good for longer.
What Needle Size Is Ideal for Buttonholes?
For buttonholes, you’ll want to use a size 7 or 8 needle. These sizes are ideal for most fabrics, allowing you to create clean, precise stitches without damaging the material.
It really makes a difference in how your buttonholes turn out. Happy sewing!
How Do I Choose the Right Button Size?
When selecting a button size, think of it as finding the perfect key for a lock. Aim for a diameter that matches your fabric’s thickness and the buttonhole’s dimensions, ensuring a snug but smooth fit.
It’s all about balance. Too big, and it might look odd or get caught. Too small, and it won’t hold the fabric securely. Just the right size makes everything work seamlessly.
Conclusion
Now that you’ve mastered the art of hand-sewing buttonholes, you might just be tempted to ditch your sewing machine altogether. Who needs the convenience of modern technology when you can revel in the satisfaction of painstaking precision?
After all, why rush through life when you can enjoy the meditative rhythm of needle and thread? Embrace your newfound skills, and remember: in a world of instant gratification, it’s the slow, deliberate stitches that truly stand out.
Hand sewing buttonholes isn’t just a skill—it’s an experience. Each stitch you make adds a personal touch that machines simply can’t replicate. So, whether you’re sewing a buttonhole on a favorite garment or starting a new project, take pride in your handiwork. With patience and practice, your buttonholes will be neat, durable, and beautifully crafted. Keep enjoying the process, and let your hand-sewing buttonhole skills shine in every stitch you make!