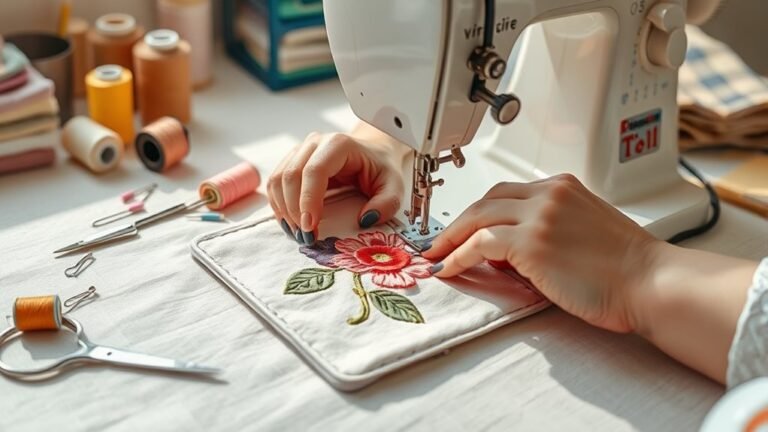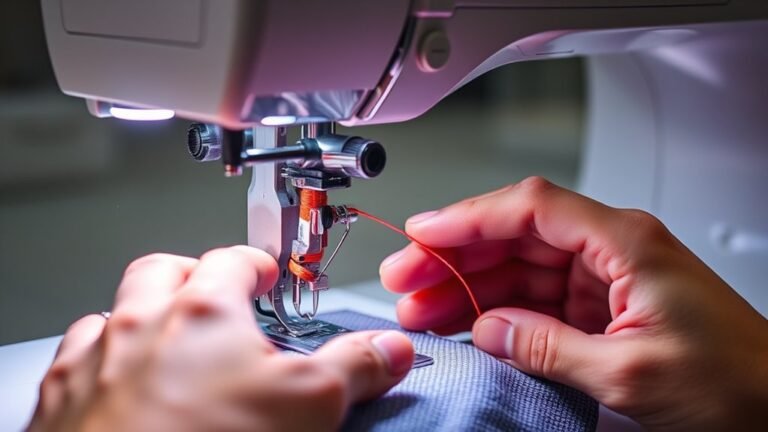
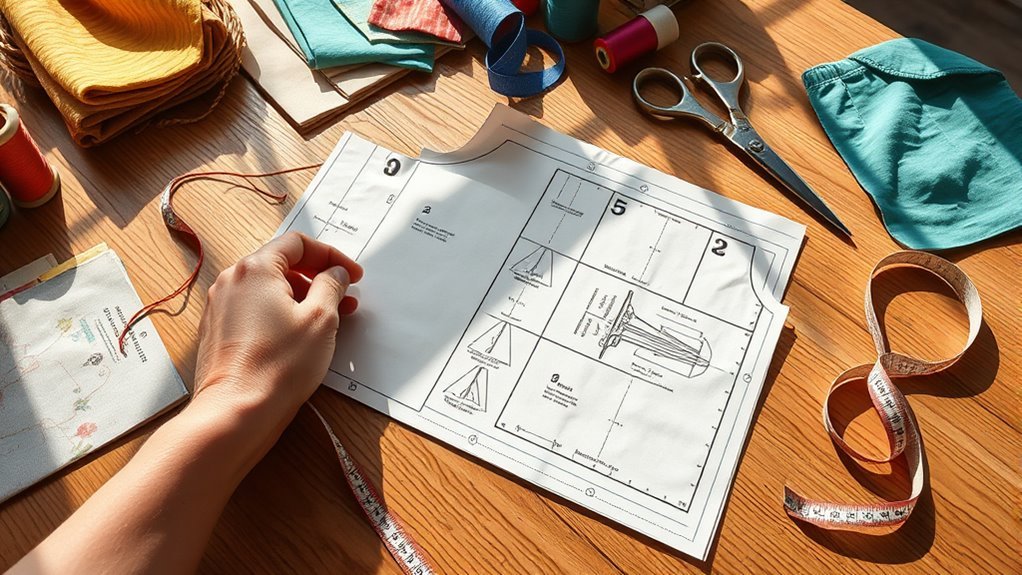
How to Follow a Sewing Pattern in 7 Easy Steps
To follow a sewing pattern in seven easy steps, start by choosing the right pattern that’s labeled for beginners. Picking a beginner-friendly pattern makes the whole process less intimidating and much more enjoyable.
Next, gather your essential tools, like scissors and pins, so you have everything ready before you begin.
Prepare your fabric by pre-washing it and aligning the grain lines carefully. This step helps your finished project look professional and last longer.
Then, lay out your pattern pieces carefully and cut them out, making sure to include seam allowances.
Follow the instructions step-by-step while sewing. Don’t rush—taking your time will give you better results.
Enjoy the journey and feel free to make adjustments as needed. There’s always more to explore to enhance your sewing skills further!
Key Takeaways
- Choose beginner-friendly patterns with fewer pieces and suitable fabrics like cotton for easier sewing experiences.
- Gather essential sewing tools, including scissors, pins, and a reliable sewing machine, to streamline the process.
- Prepare fabric by pre-washing and aligning grain lines to ensure accurate measurements and proper fit.
- Thoroughly read and understand pattern instructions, highlighting sizes and following the cutting layout carefully.
- Embrace mistakes as learning opportunities, focusing on the joy of sewing rather than just the final product.
Choose the Right Sewing Pattern for Your Project
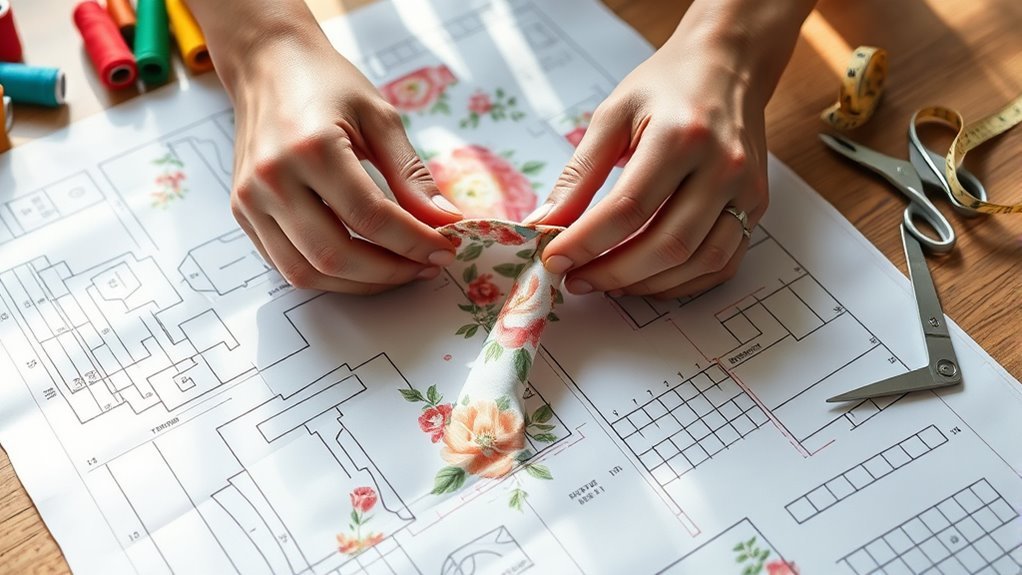
Choosing the right sewing pattern for your project can make a big difference in your experience, especially if you’re new to sewing. Look for patterns labeled as “beginner” or “easy” to match your skill level.
Also, check the size chart on the envelope to choose the correct size based on your measurements, not your usual ready-to-wear size. It’s a small step that really helps.
Opt for patterns with fewer pieces and simpler constructions to boost your confidence and simplify the process. Trust me, less can definitely be more when you’re starting out.
When selecting fabric types, stick to beginner-friendly options like cotton broadcloth or quilting cotton for an easier experience. These fabrics are easier to work with and more forgiving.
Finally, review the visuals and instruction booklet to guarantee the pattern aligns with your project vision and capabilities before diving in. It’s always good to be prepared!
Gather Your Sewing Materials and Tools
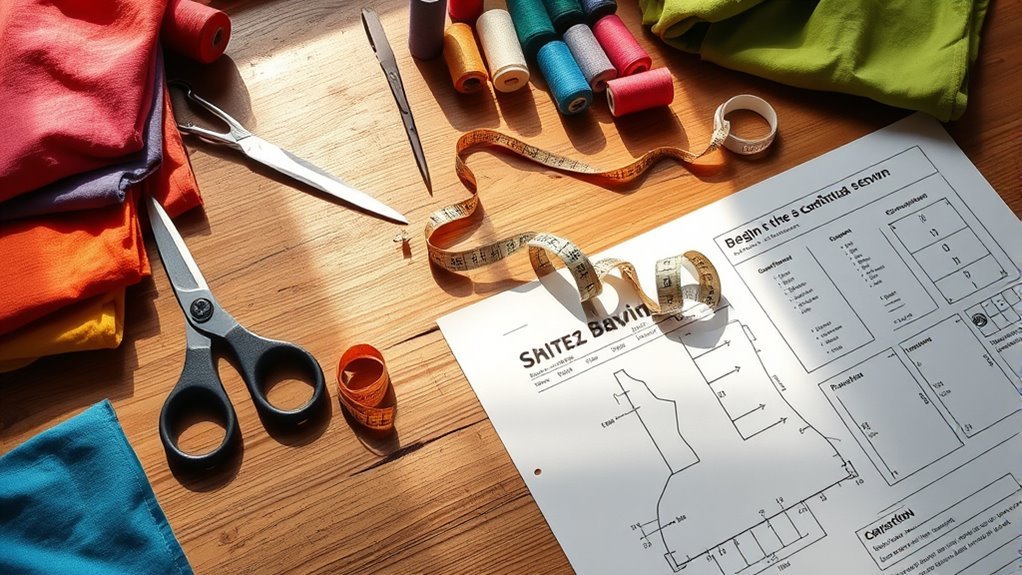
To get started, you’ll need to gather essential sewing tools like sharp scissors, pins, and a measuring tape. Choosing the right fabric based on your pattern’s suggestions is just as important, so keep that in mind.
Finally, organizing your workspace will help you stay focused and make the sewing process smoother. It’s all about setting yourself up for success right from the beginning!
Essential Sewing Tools
Gathering the right tools is essential for a successful sewing project. Start with sharp fabric scissors or a rotary cutter for clean cuts in your fabric, ensuring accuracy with your sewing patterns.
You’ll also need a soft measuring tape to take precise body measurements, helping you achieve the perfect fit. Pins or sewing clips are vital for securing fabric layers together, preventing any shifting during cutting and sewing.
Don’t forget a reliable machine to bring your project to life. An iron and ironing board will help you press seams flat, enhancing your overall finish.
Finally, a seam ripper is a handy tool for correcting mistakes, allowing you to easily remove stitches without damaging your fabric. It really saves the day when things don’t go as planned!
Fabric Selection Tips
Selecting the right fabric can make a huge difference in your sewing project. For beginner sewing, always check the patterns for sewing recommendations, as they specify ideal fabrics like cotton or linen.
Opt for medium-weight materials; they’re easier to handle and sew, especially if you’re new to the craft. Avoid slippery or stretchy fabrics like silks or jerseys, which can complicate your process.
Always purchase extra fabric—about 1/4 to 1/2 yard—to account for mistakes. This is essential for building your confidence.
Don’t forget to use important tools, like sharp fabric scissors, pins, and a measuring tape, to guarantee accurate cutting and assembly. Following these fabric selection tips will set you up for success!
Organizing Your Workspace
A well-organized workspace can make all the difference in your sewing experience. Start by gathering essential tools like sharp fabric scissors, pins, a measuring tape, and an iron.
Clear a flat surface and guarantee good lighting to minimize distractions. It really helps to have everything visible and within reach.
Organizing your workspace means keeping your sewing materials sorted. Use bins or baskets for fabric, thread, and notions so you can grab what you need easily.
Lay out your pattern pieces on the fabric according to the layout guide. Pay close attention to the grainline markings—they’re key for getting that accurate drape.
Set up a small ironing station nearby to press seams as you work. This step not only keeps your project looking sharp but also helps everything run smoothly and efficiently.
Prepare Your PDF Patterns
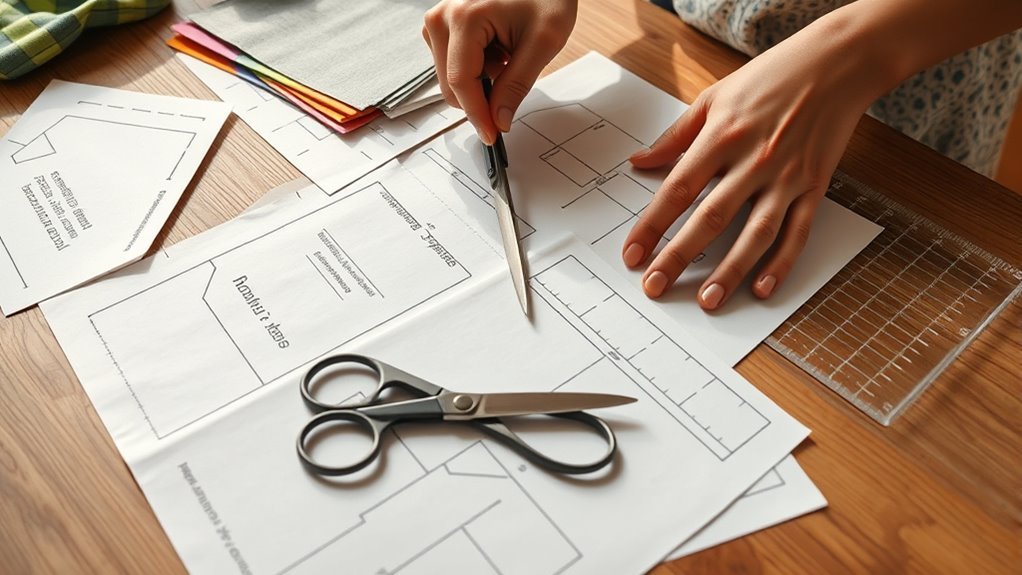
Preparing your PDF patterns is a crucial step in ensuring a smooth sewing experience. Follow these easy steps:
- Print your patterns at 100% scale. Check that the test square measures exactly 4 inches by 4 inches for accuracy.
- Cut out each pattern piece along the dashed lines. Use sharp scissors or a rotary cutter for clean edges, and label them with corresponding numbers and triangles for easy assembly.
- Tape the pattern pieces together using the alignment markings, ensuring that edges align perfectly for a seamless shift.
Once assembled, be sure to store flat or hang your PDF pattern to prevent creasing. This will keep everything accessible for your future projects!
Lay Out Your Fabric and Understand Grain Lines
Before you cut, lay your fabric flat on a clean surface to prevent wrinkles.
Next, identify the grain lines on your pattern pieces, as these are essential for getting the right fit and drape.
Finally, secure the pattern to your fabric using weights or pins to keep everything in place while cutting.
Fabric Preparation Tips
To guarantee your sewing project starts off right, pre-washing your fabric is essential for preventing shrinkage and achieving accurate measurements.
Here are some fabric preparation tips to keep in mind:
- Lay out your fabric on a flat, clean surface. Make sure it’s wrinkle-free to maintain the integrity of your pattern pieces.
- Identify the grain lines on your pattern pieces. These lines show you how to align the fabric for the best drape and fit.
- Pin or weight down your pattern pieces so they don’t shift while you cut. This helps you follow the cutting lines and include the seam allowances as the pattern instructions say.
With these steps, you’ll set a solid foundation for your sewing project!
2. Identifying Grain Line
With your fabric prepped and ready, understanding the grain line is your next step. The grain line, marked as an arrow on the pattern, indicates the fabric’s weave direction, which is essential for proper drape and fit.
Always align the grain line parallel to the selvage, the fabric’s finished edge, to guarantee your pattern pieces hang correctly. Cutting against the grain can distort the fabric, so accuracy is key.
Familiarize yourself with the lengthwise grain, running parallel to the selvage, and the crosswise grain, running perpendicular. Also, pay attention to any additional markings on the pattern, as they may indicate whether pieces should be cut on the fold or require mirrored images for the best results.
3. Cutting Techniques Explained
Lay out your fabric flat and wrinkle-free, setting the stage for precise cutting. To master cutting techniques, follow these steps:
- Understand Grain Lines: Always align your fabric pieces with the grain lines indicated in the pattern instructions. Cutting against the grain distorts shapes and affects drape.
- Secure the Pattern: Use weights or pins to hold the pattern in place, preventing any shifting while you cut.
- Check Seam Allowances: Double-check for seam allowances noted in the pattern. Some patterns might not include them, which can impact the final fit.
If you’re cutting on the bias, remember it offers extra stretch, perfect for garments requiring ease of movement. This attention to detail helps maintain accuracy.
Cut Out Your Pattern Pieces, Including Seam Allowances
Cutting out your pattern pieces accurately sets the foundation for a successful sewing project. Start by adding seam allowances of 1/2 to 1 inch outside the cutting lines to accommodate stitching.
Use sharp fabric scissors or a rotary cutter for clean cuts, which helps prevent frayed edges. Pay close attention to the grain lines marked on the pattern; cutting along these guarantees your fabric drapes properly.
For pieces needing a right and wrong side, mirror the pattern by flipping it over before cutting. Finally, double-check that all pattern markings, including notches and dots, are transferred onto the fabric.
This guarantees proper alignment during assembly, making your sewing experience smoother and more enjoyable. Easy, right? Just take your time, and you’ll do great!
Follow the Pattern Instructions to Bring Your Project to Life
Engage with your sewing project by carefully reading the entire pattern instructions. This step is essential for successful sewing, especially if you’re using sewing patterns for beginners.
Engage fully with your sewing project by reading the pattern instructions thoroughly for a successful experience.
Here’s how to proceed:
- Identify Your Size: Highlight the size you need on the pattern pieces before cutting. This guarantees accuracy and avoids mistakes.
- Follow the Cutting Instructions: Pay attention to the layout guide and cutting instructions to prepare your fabric pieces correctly.
- Stick to Step-by-Step Sewing: Follow the pattern instructions in the order given, noting any pressing or finishing directions.
Keep your workspace organized, and don’t hesitate to refer back to the pattern as needed. This approach will help you maintain clarity and confidence throughout your sewing journey.
Enjoy the Process and Make Adjustments as Needed
Sewing can be a joyful journey, especially when you embrace the creative process and allow yourself to make adjustments along the way. Don’t shy away from altering patterns; adjusting seam allowances or lengths can help create a fit tailored to your body shape.
Use muslin or inexpensive fabric to test adjustments before cutting into your final fabric. This way, you can refine your pattern without waste.
Remember to document changes for future reference; this builds your personalized sewing library, making future projects easier. Each step you take contributes to your skills, so enjoy the process and celebrate progress, no matter how small.
Embrace mistakes as valuable insights and watch your confidence grow with every project. It’s all part of learning and having fun!
Frequently Asked Questions
What Type of Fabric Is Best for My Pattern?
Cotton’s a great choice for most patterns; it’s easy to work with and breathable.
If you’re aiming for something flowy, try rayon or silk.
For structured looks, consider denim or canvas.
Choose what suits your project best!
How Do I Choose the Right Size for My Pattern?
Sizing starts with measuring your body’s bust, waist, and hips. Then, compare those figures to the pattern’s size chart.
Choose the closest match, and don’t hesitate to adjust if your measurements vary—fit’s fundamental! It’s all about feeling comfortable and confident in what you make.
Can I Modify a Pattern for a Different Style?
Yes, you can modify a pattern for a different style! Adjust the neckline, sleeves, or length to create your unique look.
Just remember to keep your measurements in mind for the best fit.
What Tools Are Essential for Beginners?
You’ll need a few essential tools: sharp scissors, fabric pins, measuring tape, a rotary cutter, and a cutting mat.
Don’t forget a reliable sewing machine and quality thread to make your projects easier and more enjoyable.
These basics will set you up nicely, and once you get comfortable, you can add more tools to your kit. It’s all about starting simple and having fun!
How Do I Fix Mistakes While Sewing?
You can fix mistakes while sewing by carefully unpicking stitches with a seam ripper, adjusting fabric tension, or re-cutting pieces. Don’t worry; every sewer makes mistakes—just learn and keep going!
It happens to everyone! Just take your time, and remember that fixing mistakes is part of the sewing journey. You’ll get better with practice, promise.
Conclusion
As you stitch your final seams, think of each thread as a bridge connecting imagination to reality. You’ve transformed fabric into something uniquely yours, much like a painter brings color to a blank canvas.
Embrace the journey; each mistake is merely a stepping stone, guiding you toward mastery. Just as a flower blooms with care, your project flourishes with patience and creativity.
So, take a moment to admire your work—every stitch tells your story. Following a sewing pattern can feel challenging at first, but with practice, it becomes second nature. Remember, patience and attention to detail are key when you follow a sewing pattern. Each step brings you closer to creating something beautiful and uniquely yours. Keep going, and enjoy the rewarding process of bringing your ideas to life through sewing!