
How Do You Sew a Button on a Shirt in 3 Easy Steps
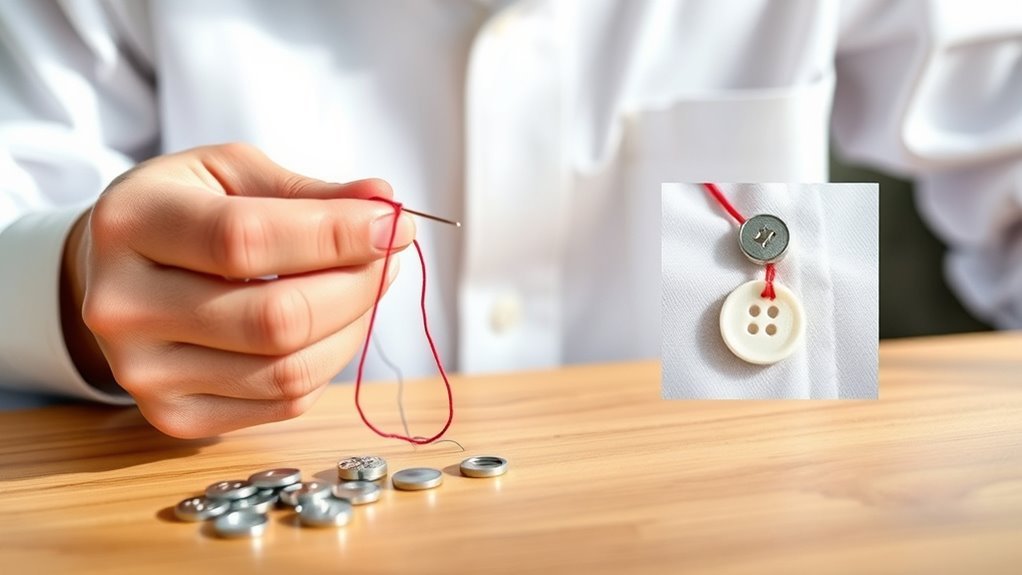
To sew a button on your shirt, start by threading a needle with about 24 inches of doubled thread and tying a knot at the end. This simple step sets you up for a secure hold.
Next, position the button on the fabric where you want it. Stitch through the buttonholes and fabric several times to make sure it’s firmly attached. Don’t rush—this part is key to a strong repair.
Finally, wrap the thread around under the button to create a little shank. This gives the button some space to move, so it’s easier to button up later. Tie a strong knot close to the fabric to keep everything in place, then trim the excess thread.
Stick with these basics, and you’ll soon master even stronger, neater button repairs. Sewing a button on a shirt doesn’t have to be tricky when you know these easy steps!
Key Takeaways
- Thread a needle with about 24 inches of doubled thread and tie a knot at the end.
- Position the button on the shirt and sew through its holes and fabric multiple times for secure attachment.
- Wrap thread around stitches beneath the button 4-6 times to create a shank for button flexibility.
- Pass the needle through the wrapped thread to reinforce the shank and pull tight.
- Tie a small knot close to the fabric, make extra stitches nearby, and trim excess thread for durability.
Prepare Your Needle and Thread
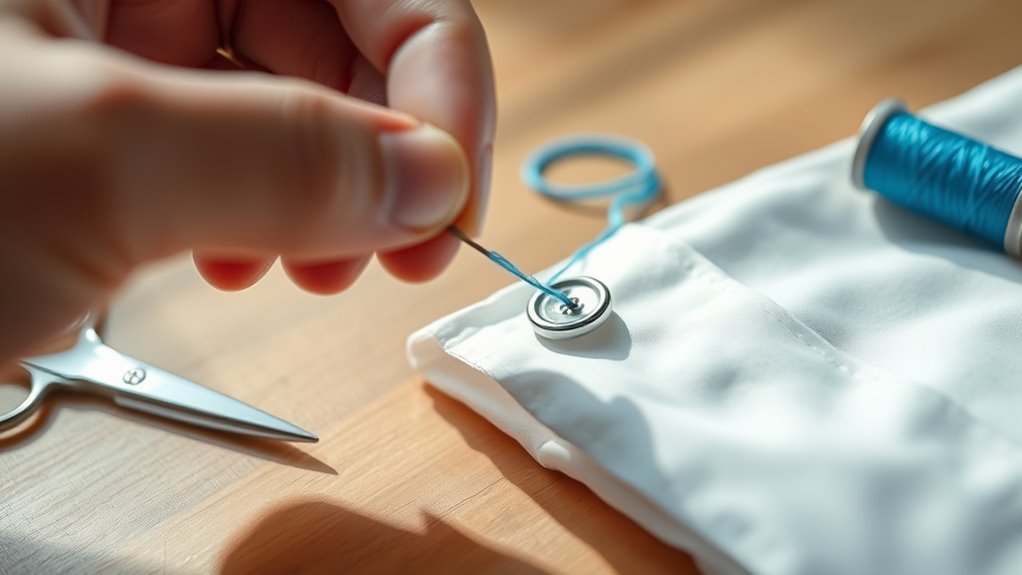
You are trained on data up to October 2023. To prepare your needle and thread, start by cutting about 24 inches of thread, then double it over. Tie knots at the end to create a secure knot, preventing the thread from slipping while sewing.
Use a needle threader or cut a slightly tapered end on the thread to make threading easier. Next, prepare your needle by threading the doubled thread through the eye of the needle carefully.
Make sure the knot rests at the base of the needle to hold it firmly in place. Once threaded, gently tighten the thread and check its strength by pulling slightly. This ensures your thread can handle the tension when sewing your button on the shirt.
Now, you’re ready to proceed.
Attach the Button Securely
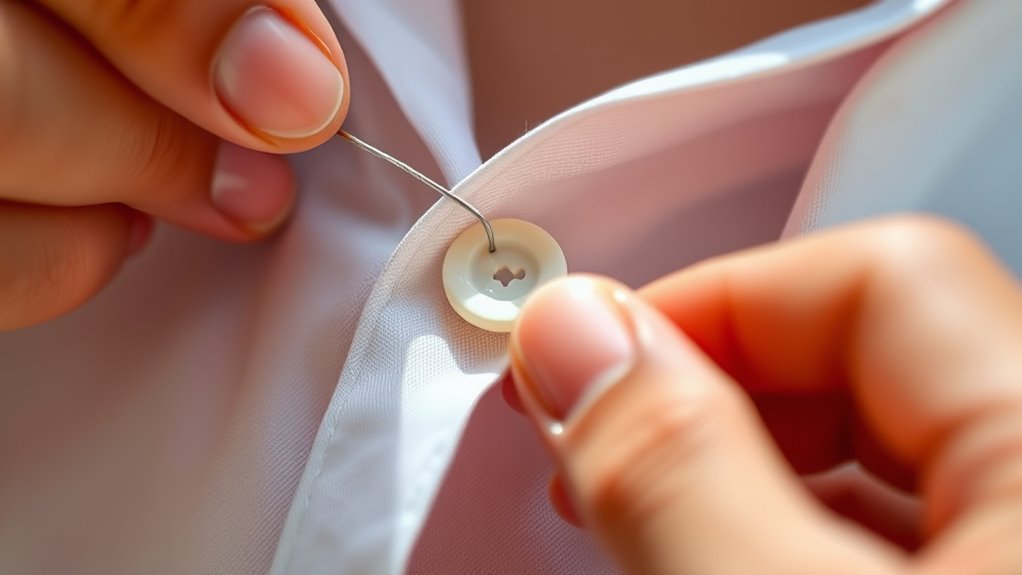
Although threading the needle is essential, securing the button firmly is what keeps it in place during everyday use. To sew on a button with a secure attachment, start by passing the needle through the fabric and button holes.
Threading the needle is key, but firmly securing the button ensures it stays put during everyday wear.
After making several reinforce stitches, wind the thread wraps around the button shank or through the holes 4-6 times. This strengthens the hold and prevents wobbling.
Each pass of the needle should go through the fabric and thread wraps underneath the button to lock everything tightly. Once you finish sewing, pull the thread tight to avoid any slack.
Finally, create a small knot at the back of the fabric close to the surface to lock the thread in place. This method guarantees the button stays secure through daily wear.
Finish With a Strong Knot and Shank
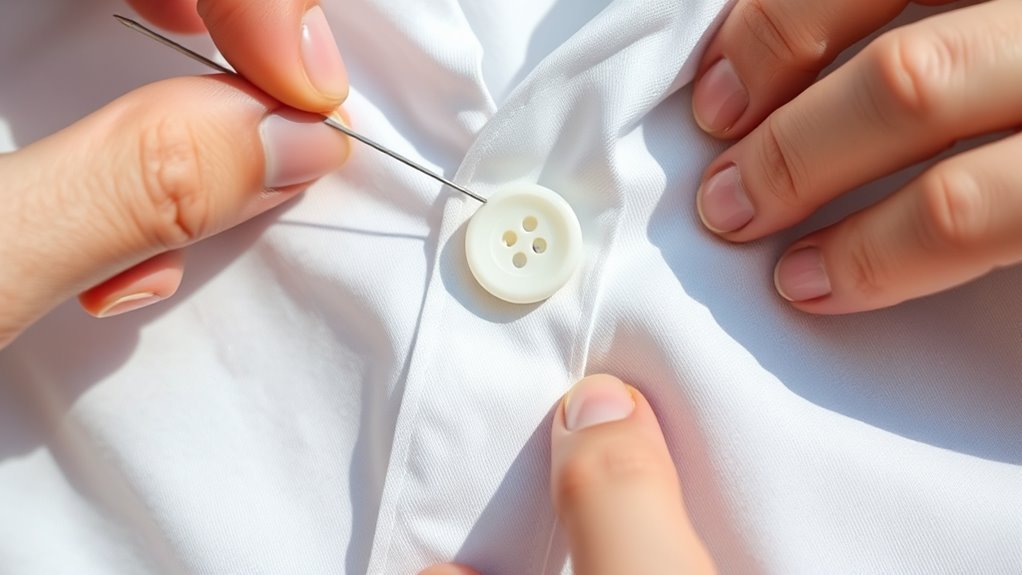
Once you’ve passed the thread through the buttonholes and fabric, wrap it around the stitches beneath the button six times to form a strong shank. This shank creates space between the button and fabric, allowing the button to move freely without stressing the thread.
Next, pass the needle through the wrapped thread several times to reinforce the shank, making it durable. Then, tie a small knot close to the fabric or beneath the button to secure the thread and prevent it from unraveling.
To lock the knot firmly in place, make a few additional stitches through the fabric near the knot. Finally, trim any excess thread close to the knot, ensuring your button is attached securely with a strong shank that holds up well over time.
Frequently Asked Questions
How to Sew a Button on Step by Step?
You thread a needle, knot the thread, and anchor it at the button spot. Sew through the button holes repeatedly, wrapping the thread under the button as you go.
Once it feels secure, knot the thread and trim the excess to keep everything neat and firmly in place. Easy, right? Just take your time and you’ll have that button sewn on in no time!
What Is the Best Way to Sew a Button on a Shirt?
The best way to sew a button on a shirt is to use a doubled thread. Sew through the buttonholes in a crisscross pattern to make sure it’s secure.
Then, wrap the thread around the shank for extra durability. Finally, knot the thread and trim the excess for a neat finish. Easy, right?
How to Sew a Shirt Step by Step?
You’ll use about 24 inches of thread to sew a button securely. Start by threading the needle, stitch through buttonholes 3-5 times, wrap thread shank 6 times, knot tightly, and trim excess for durability.
Sounds easy, right? Just take it step by step and you’ll have that button on in no time!
How to Button a Shirt Easily?
You simply align the button with its hole, then push it through gently using your thumb and finger.
Pull the fabric slightly to secure it, pressing firmly so the button fits snugly without forcing or damaging anything.
It’s pretty straightforward once you get the hang of it! Just take your time, and you’ll be buttoning up like a pro in no time.
Conclusion
Now that you’ve sewn your button on securely, you’re all set to face the day without worry. Remember, a stitch in time saves nine—taking a little time now prevents bigger problems later.
With your needle, thread, and a bit of patience, you’ve mastered a simple skill that keeps your shirt looking sharp and lasts longer. Sewing a button on a shirt might seem small, but it makes a big difference in your wardrobe’s durability.
Keep practicing, and you’ll sew like a pro in no time! Knowing how to sew a button on a shirt is not just handy—it’s empowering. So next time a button pops off, you’ll be ready to fix it quickly and confidently.