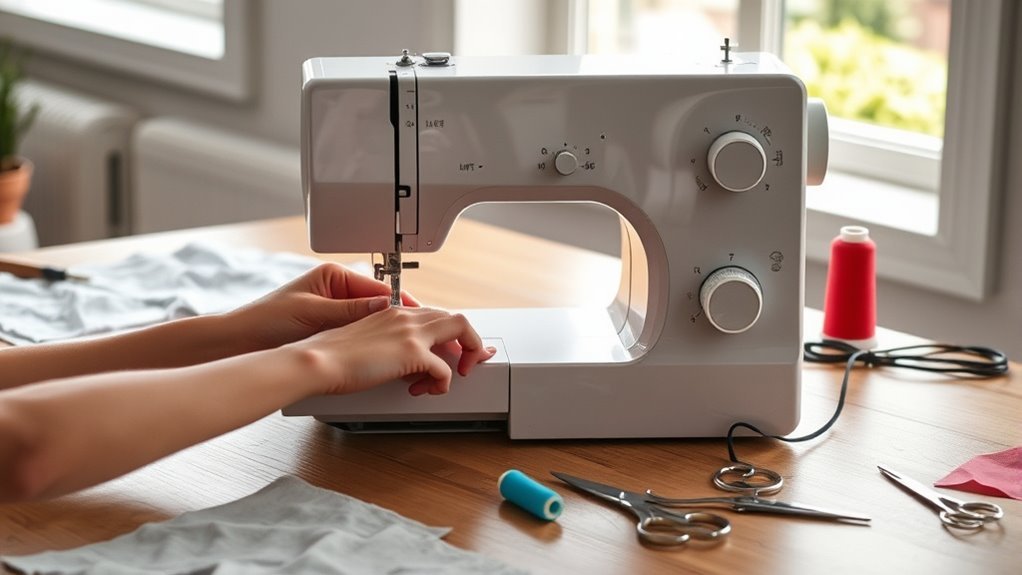
How Do You Set Up a Sewing Machine in 7 Easy Steps?
Place your sewing machine on a stable, flat surface with good lighting. This setup is important to ensure accurate stitching and comfortable working conditions.
Attach the presser foot securely, then insert and tighten the needle correctly with its flat side facing back.
Next, wind a full bobbin and insert it properly into the machine.
Thread the machine, guiding the thread through all necessary guides and tension discs.
Adjust the thread tension based on your fabric type to avoid puckering or loose stitches.
Finally, test stitch on scrap material to guarantee smooth, balanced stitches.
Follow these simple steps, and you’ll soon master your sewing machine’s setup with confidence and ease!
Key Takeaways
- Place the sewing machine on a stable, well-lit surface. Make sure the power cord reaches comfortably.
- Attach the presser foot. Then, install the needle with the flat side facing the back and tighten it securely.
- Wind the bobbin evenly. After that, insert it correctly into the machine’s bobbin case.
- Thread the machine by following the guides, tension discs, and take-up lever as shown in the threading diagram.
- Adjust the tension settings. Test stitches on scrap fabric, and make any final tweaks before you start sewing your project.
Place the Sewing Machine on a Stable Surface
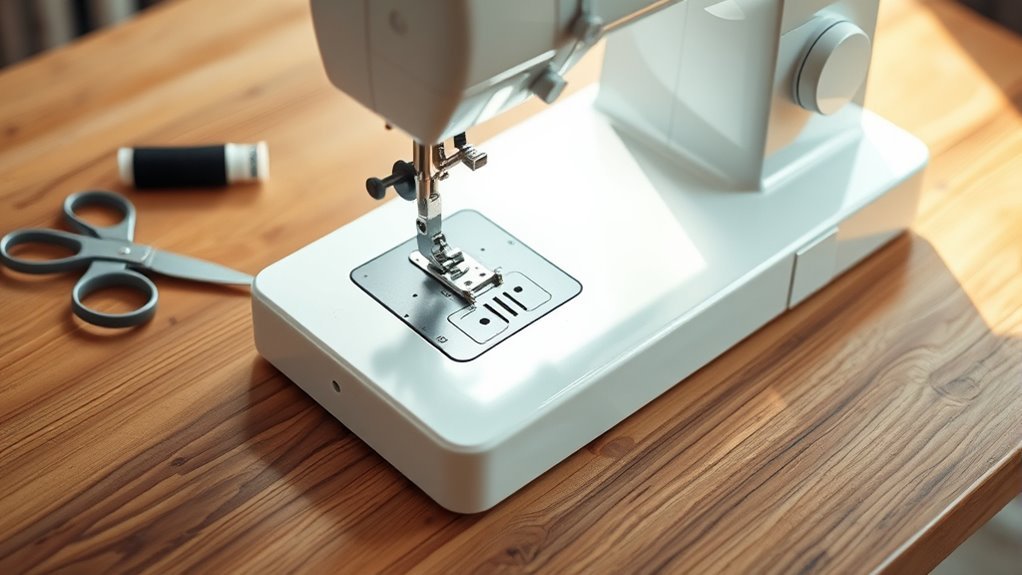
Before you start sewing, place your machine on a flat, sturdy surface that can support its weight without wobbling. Choose a sturdy table or countertop with reliable table support to ensure stability throughout your sewing session.
Make sure the surface is level by checking for any uneven spots and performing proper leveling if needed. This prevents your machine from sliding or vibrating excessively.
Set up your sewing machine in a well-lit workspace, free of clutter, to keep tools accessible and reduce the risk of accidents. Secure placement is key, so position the machine where the power cord reaches comfortably without stretching.
Attach the Presser Foot
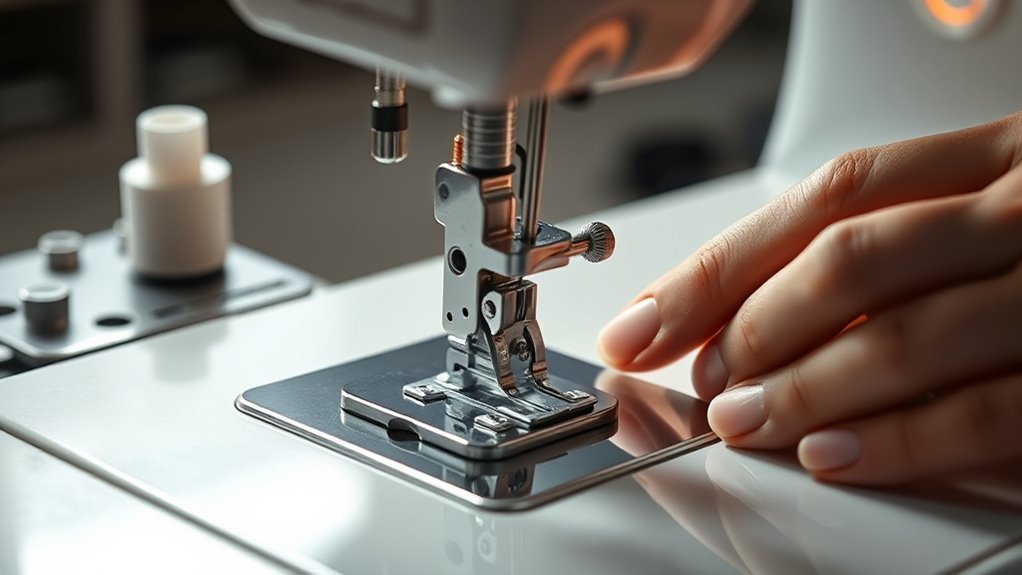
Now it’s time to attach the presser foot, which comes in different types depending on your sewing needs. You’ll align the bar on the presser foot with the groove on the foot holder and use the lever to snap it securely into place.
Make sure it’s firmly attached and properly aligned before you start sewing. This will help you avoid any mishaps while stitching. Easy, right?
Presser Foot Types
Although presser feet come in various types for different sewing tasks, attaching them is a straightforward process. To attach a presser foot, align the bar on the foot with the groove in the foot holder.
Most presser feet snap onto the holder easily. Once aligned, press the small lever behind the foot holder to clip the presser foot securely in place and lock it. Lower the presser foot holder gradually to ensure it’s firmly attached.
You’ll find several presser foot types to suit your project: the standard presser foot for general sewing, the zipper foot for inserting zippers, the buttonhole foot for creating buttonholes, and the walking foot designed to feed multiple fabric layers evenly.
Each type snaps on quickly, making it easy to switch between tasks. It’s pretty handy when you’re juggling different sewing jobs.
Attachment Mechanism
How do you attach a presser foot to your sewing machine quickly and securely? First, align the bar on the presser foot with the groove in the foot holder. Most presser feet snap on easily, so position the foot carefully to match the mechanism.
Then, gently press down the lever behind the holder to clip the foot in place. Use the lever on the side to gradually lower the presser foot holder until you hear a click, indicating it’s securely locked.
Before you start sewing, give the presser foot a gentle tug to make sure it’s firmly attached. Since attachment mechanisms can vary, always check your machine’s manual for specific instructions. That way, you can avoid any mishaps and guarantee smooth operation.
Securing the Foot
Securing the presser foot properly guarantees smooth sewing and prevents any interruptions. To attach the foot, first align the small bar on the presser foot with the groove in the presser foot holder.
Then, press the lever at the back of the holder to clip the foot securely into place. Gradually lower the foot holder using the lever to ensure the foot is firmly attached.
Before you start sewing, double-check that the foot doesn’t wobble or come loose. Since different feet may have specific attach mechanisms, always check your manual if you’re unsure how to secure your particular foot.
Taking these steps ensures your presser foot stays secure and your sewing goes smoothly every time.
Insert and Secure the Needle
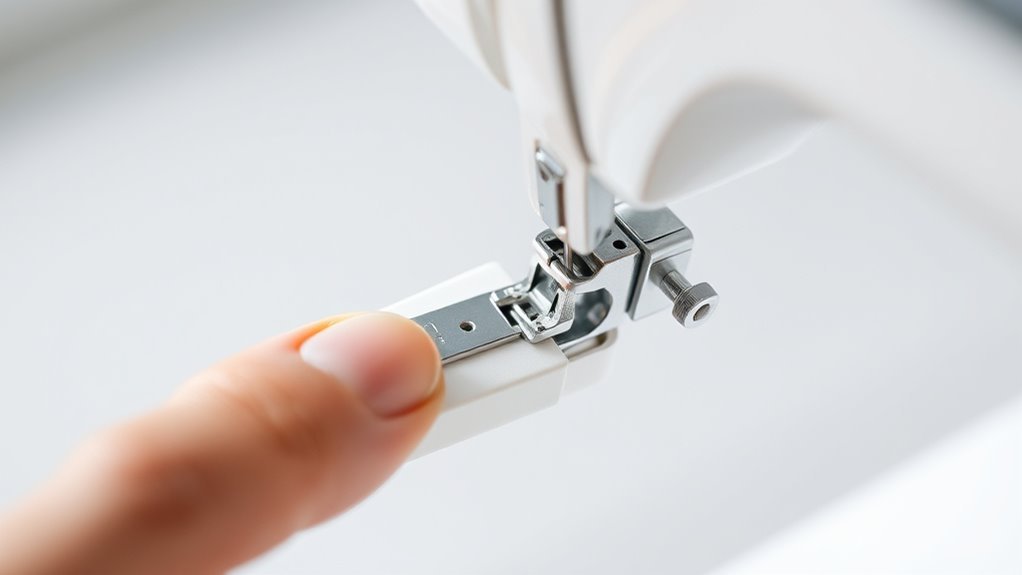
Before inserting the needle, raise the needle holder to its highest position using the control handle. Make sure the flat side of the needle faces the back of the machine for proper orientation.
Next, loosen the needle clamp screw so you can insert the needle fully. Once it’s in place, tighten the screw securely to keep the needle steady.
Needle Orientation
When you insert the needle, make sure the flat side faces the back of the machine to guarantee proper alignment. Proper needle orientation is essential for smooth sewing machine setup and to avoid stitching problems.
Before you insert the needle, loosen the needle clamp screw carefully to prevent damage. Push the sewing machine needle all the way up into the needle holder, ensuring the correct needle placement.
Once the needle is fully seated, tighten the needle clamp screw securely to hold it firmly in place. Double-check that the needle is straight and stable to ensure proper needle position during stitching.
Correct needle installation not only supports easy threading the needle but also prevents skipped stitches or needle breakage. This way, your sewing experience will be hassle-free.
Loosening and Tightening
After positioning the needle with the flat side facing the back, you need to loosen the needle clamp screw to insert it fully into the holder. Carefully slide the needle up until it reaches the top of the needle holder. Then, tighten the needle clamp screw firmly to secure the needle in place.
Proper loosening and tightening are vital for securing the needle to prevent it from loosening during sewing, which could cause breakage or accidents. Always double-check that the needle is firmly secured before you start stitching.
Remember to use the correct needle size and needle type for your fabric to guarantee proper sewing and avoid damage. Mastering this step is essential in your sewing machine setup for smooth, efficient stitching.
Needle Holder Position
Although it might seem straightforward, raising the needle holder to its highest position guarantees you can insert the needle correctly and securely. To do this, twist the control handle or knob until the needle holder is fully raised.
Insert the needle with the flat side facing the back of the sewing machine setup, making sure it’s fully seated in the needle holder. Next, tighten the needle clamp screw firmly to keep the needle from loosening while sewing.
Before you start stitching, confirm the needle is straight and properly aligned for a smooth straight stitch. After securing the needle, lower the presser foot to hold both the needle and fabric in place.
Proper needle positioning ensures precise threading and reliable sewing every time. It really helps you avoid any hiccups while working on your projects.
Wind and Insert the Bobbin
Since the bobbin holds the thread for your sewing machine’s lower stitch, you’ll need to wind it correctly before inserting it. Start by placing the spool of thread on the spool pin and guide the thread through the upper thread guides according to your machine’s diagram.
To prepare your sewing machine’s lower stitch, wind the bobbin by threading the spool through the guides.
Next, wind the thread around the bobbin tension spring to maintain proper tension. Pass the thread through the hole in the bobbin, wrapping it clockwise.
Push the bobbin onto the bobbin winder spindle until it clicks into place. Then, engage the bobbin winder by pushing it to the winding position.
Press the foot pedal or start button to wind the thread evenly onto the bobbin. Once it’s full, cut the thread and remove the bobbin.
Now, you’re ready to insert it into the machine following the correct placement. Easy, right?
Thread the Machine and Needle
With the bobbin properly wound and inserted, you can now focus on threading the machine and needle. Start by pulling the thread from the spool and looping it around the upper thread guide, making sure it stays secure.
Follow the machine’s threading diagram carefully, guiding the thread through all necessary guides and the tension discs from right to left. This ensures even tension when you sew your fabric.
Next, pass the thread through the eye of the take-up lever, allowing it to move smoothly as you sew. Finally, thread the needle from front to back, using a needle threader if needed, making sure the thread passes completely through the eye of the needle.
Proper threading guarantees smooth stitching and prevents thread breaks. So take your time — it really makes a difference!
Adjust Thread Tension and Settings
Once you’ve threaded the machine correctly, adjusting the thread tension is crucial for achieving balanced stitches. Use the tension dial, usually numbered 0-9, to control the tightness of the needle thread. Start around 3 or 4 for general sewing.
Make sure the thread is properly positioned between the thread discs to ensure even tension control. For delicate fabric types, lower the tension slightly toward 2, while heavier fabrics require increasing it toward 6 or 7.
Keep an eye on stitch quality; thread bunching or loose stitches signal the need for tension adjustment. Although you’ll run a test stitch on scrap fabric to perfect settings, initially set your tension dial carefully to match your fabric.
Proper tension settings are essential for smooth, professional results. So, take your time with this step—it really makes a difference!
Test Stitching on Scrap Fabric
How do you know if your sewing machine settings are just right? The answer lies in test stitching on scrap fabric.
Before working on your main fabric, run the sewing machine using a piece of scrap fabric that matches your project’s weight and type. This helps you check if the tension, stitch length, stitch type, needle, and thread are properly set.
Test your settings on scrap fabric matching your project to ensure tension, stitch, needle, and thread are just right.
Watch the stitches closely for evenness and tightness. If you spot skipped stitches, loose threads, or puckering, make necessary adjustments to tension or stitch settings.
Recheck the needle and threading too. Keep testing on scrap fabric until the stitches look smooth and balanced.
This ensures your sewing machine is perfectly tuned and your final project will have a professional finish.
Frequently Asked Questions
How to Set up a Sewing Machine for Dummies?
You’ll place your sewing machine on a stable surface and plug it in. Next, install the needle, wind and insert the bobbin.
Then, thread the machine following the guides, pull up the threads, and test on scrap fabric before sewing.
It’s a good idea to make sure everything feels smooth and tight before you start your project!
How to Assemble a Sewing Machine Step by Step?
You’re basically building a tiny textile spaceship! Start by placing your machine steady.
Snap on the presser foot, insert the needle facing back, wind and load the bobbin.
Then thread it carefully through all guides. Easy, right? Just take it step by step!
How to Set up the Machine?
You start by placing your sewing machine on a stable surface and plugging it in. Then, attach the presser foot and insert the needle correctly.
Next, wind and insert the bobbin. After that, thread the machine carefully, following the threading path step by step.
How Do You Use a Sewing Machine Step by Step?
Using a sewing machine is like riding a bike—you start slow but soon glide smoothly. You thread it, wind the bobbin, pull up the thread, place fabric, lower the presser foot, and gently press the pedal.
Once you get the hang of these steps, sewing becomes second nature. Just take your time, and before you know it, you’ll be stitching like a pro!
Conclusion
Now that you’ve mastered setting up your sewing machine in just seven easy steps, you’re basically a textile wizard. Who knew threading a needle and winding a bobbin could feel like launching a spaceship?
With your machine humming and stitches ready, you’re all set to conquer fabric chaos. Just don’t forget to keep that scrap fabric handy, because perfection is overrated.
After all, every sewing pro’s journey starts with at least one tangled mess! Setting up your sewing machine correctly is key to smooth sewing, so these easy steps will help you create beautiful projects without frustration. Keep practicing, and soon sewing will feel like second nature.