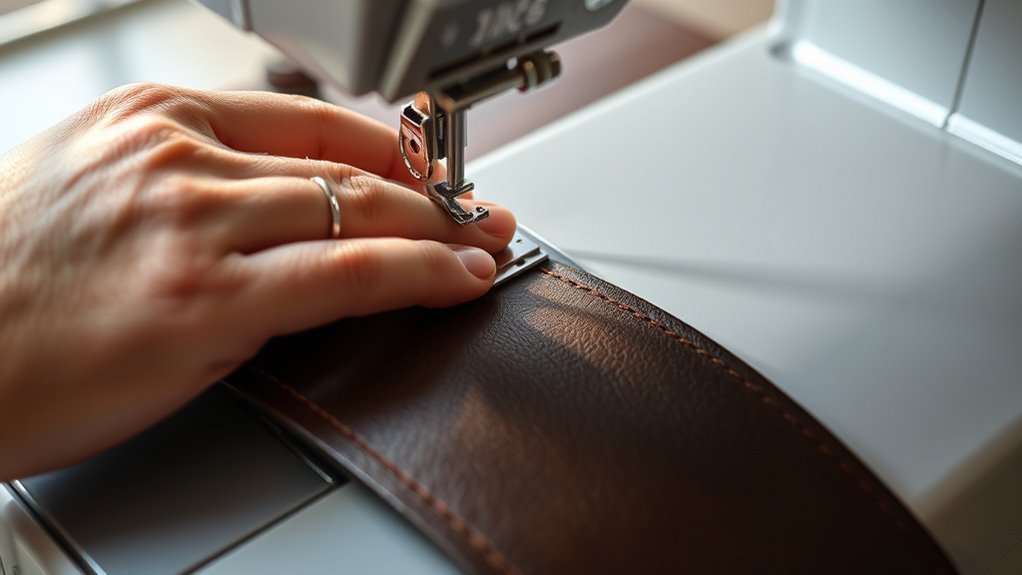
How to Sew Leather on a Regular Sewing Machine
To sew leather on a regular sewing machine, start by picking the right tools. Use a heavy-duty leather needle, size 90/14 or 100/16, and strong polyester or nylon thread. These choices help your machine handle the tough material without breaking needles or thread.
Choose lightweight, soft leather under 3 oz to avoid stressing your machine. Heavier leather can be tricky and might damage your machine or result in uneven stitches.
Adjust your stitch length to about 3-4 mm, and loosen the tension slightly for smoother sewing.
Using a Teflon or roller presser foot is a game-changer because it prevents the leather from sticking to the foot as you sew. Also, lightly dampen the leather to make it more pliable, but avoid using pins as they can leave permanent holes.
Keep at it, and soon you’ll get the hang of creating clean, durable leather seams with ease!
Key Takeaways
– Use leather or heavy-duty needles (size 90/14 or 100/16) and durable polyester or nylon thread for strong, consistent stitches.
These materials really help make sure your stitches hold up well over time.
– Select lightweight, soft leather under 3 oz (1.5–2 mm thick) for easier handling on a home sewing machine.
Thicker leather can be tricky, so starting with something lighter makes the process smoother.
– Employ a Teflon or roller presser foot to reduce friction and prevent leather sticking or damage during sewing.
This little tool is a game-changer because it helps your leather glide under the needle without getting stuck.
– Lengthen stitch length to 3–4 mm and slightly loosen machine tension to avoid puckering and uneven seams.
Adjusting these settings keeps your seams looking neat and professional.
– Lightly dampen leather and secure pieces with binding clips instead of pins to maintain material integrity and flexibility.
Pins can leave holes or marks, so clips are a much safer bet when working with leather.
Selecting the Right Needle and Thread for Leather
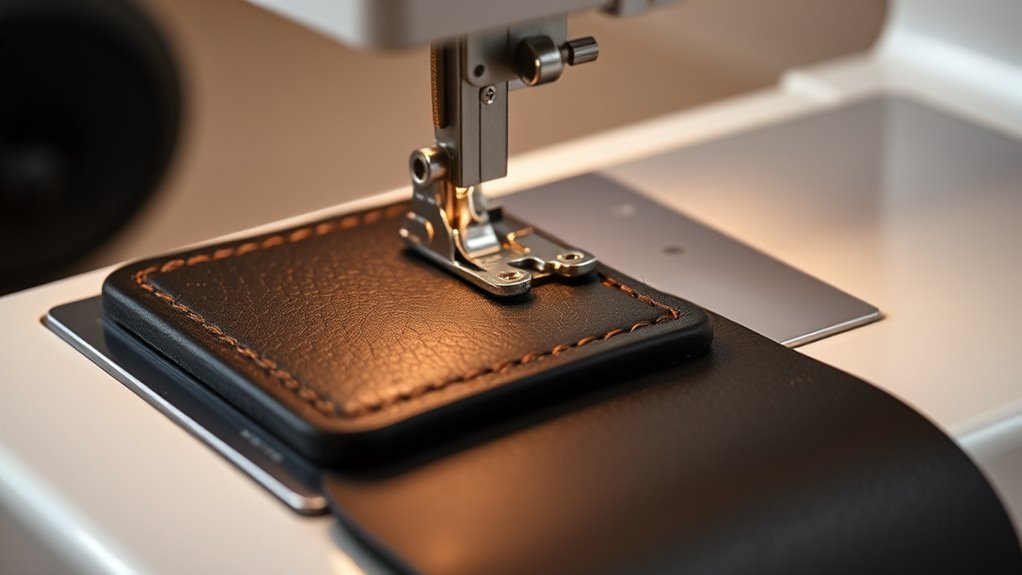
When sewing leather, choosing the right needle and thread is essential for a strong, clean stitch. Use a leather or heavy-duty needle, like size 90/14 or 100/16, in your sewing machine. This helps penetrate the tough material without bending or breaking.
Pick a strong polyester thread, such as upholstery or waxed thread, to ensure durability and minimize breakage. Match your thread weight to the thickness of the leather. Thicker leather demands heavier thread for secure stitching.
Before you start your main project, always test your needle and thread combination on scrap leather. This helps avoid damage and guarantees smooth sewing. Also, slightly pre-wetting the leather can make needle penetration easier. It improves the overall stitching quality when using your sewing machine.
Preparing Leather for Sewing on a Home Machine
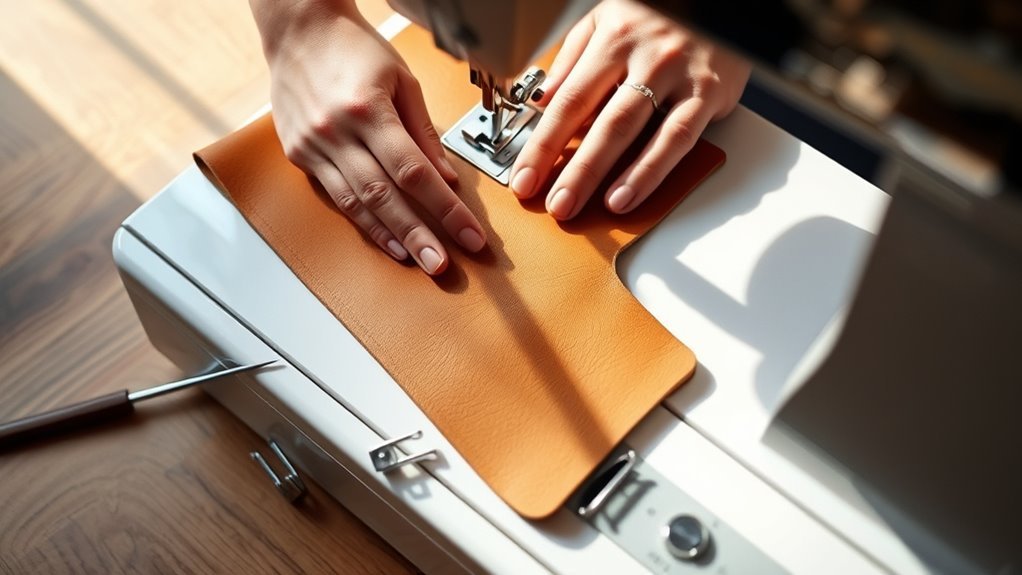
Before you start stitching, make sure your leather is properly conditioned and the weight suits your project for smoother sewing. Lightly dampening the leather with a sponge can make it more flexible and easier to handle on your home machine.
This simple step helps reduce needle resistance and guarantees neat, even stitches. It really makes a difference when you’re working with tougher materials like leather! Just give it a try before you get going.
Leather Conditioning Techniques
Although leather can be tough to sew on a home machine, lightly dampening it with a sponge or fine mist helps reduce resistance and makes stitching smoother.
To condition your leather properly, follow these steps:
- Use a spray bottle or damp sponge to apply a fine mist of water, avoiding soaking the leather to prevent warping or damage.
- Let the leather dry slightly after wetting; it should remain flexible but not too wet to handle.
- Always test this process on scrap leather to find the right moisture level for your specific material.
This technique helps the needle penetrate more smoothly, reduces skipped stitches, and decreases strain on your machine when sewing leather.
Conditioning your leather this way sets you up for better results. Give it a try!
Choosing Suitable Leather Weight
Lightly dampening your leather helps with stitching, but choosing the right leather weight makes an even bigger difference when sewing on a home machine. Opt for light leather, under 3 oz (about 1.5-2 mm thick). Thinner leather reduces stress on your machine and allows smoother stitching without specialized tools.
This weight prevents needle breakage and keeps your project manageable. Using a rotary cutter on lightweight leather ensures cleaner edges and helps maintain your blade’s sharpness. Thinner leather also feeds more easily through your machine, improving stitch quality.
Sticking to suitable leather weights not only protects your sewing machine but also makes your leatherwork more enjoyable and precise. This is especially true if you’re stitching at home without heavy-duty equipment.
Moisture Application Benefits
Why does applying moisture make such a difference when sewing leather on a home machine? Moisture softens the leather, reducing resistance and making it easier for the needle to penetrate. It also helps keep the leather stable, preventing unwanted stretching or warping.
Here’s how moisture benefits your sewing process:
- Enhances stitch quality by allowing smoother needle movement and reducing skipped stitches.
- Minimizes strain on your sewing machine, protecting it from damage when working with thick or thin leather.
- Stabilizes the leather’s shape, ensuring your project maintains its form during stitching.
To get these benefits, lightly dampen the leather with a clean, damp cloth or a light spray before sewing. Moisture application is a simple yet effective step to improve your leather sewing experience. Give it a try!
Adjusting Machine Settings for Leather Stitching
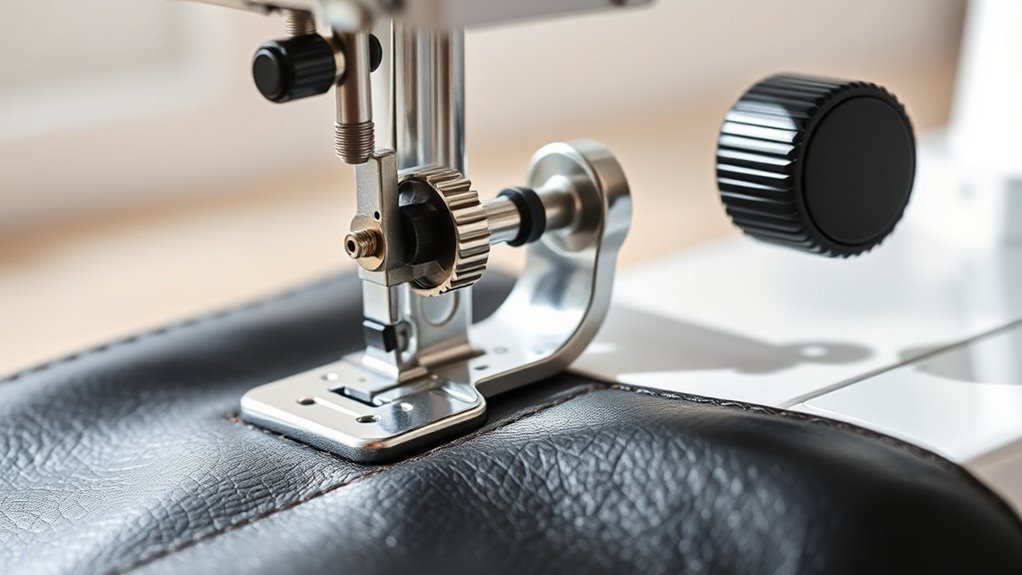
When sewing leather, you’ll want to modify your machine settings to handle the material’s thickness and toughness effectively. First, lengthen the stitch to around 3-4 mm to prevent puckering and accommodate leather’s bulk.
Use a heavy-duty or leather-specific needle, like size 90/14 or 100/16, to pierce the material cleanly. Loosen the tension slightly to ensure even stitches without damaging the leather surface.
If your machine allows, lower the presser foot pressure to reduce force on the leather, improving stitch quality. Choose a straight stitch or reinforced stitch for durability and strong seams.
These adjustments help you sew leather smoothly on a regular machine, ensuring your projects hold up well while maintaining professional-looking results. Easy, right? Just a few tweaks and you’re good to go!
Techniques to Prevent Leather Damage During Sewing
To protect your leather while sewing, always use leather-specific needles that pierce cleanly without tearing. Skip pins, since they can leave permanent holes or marks in the material.
Instead, rely on a Teflon or rolling foot to glide smoothly and prevent sticking as you sew. This helps keep your project looking flawless.
Use Leather-Specific Needles
Although sewing leather can be challenging, using leather-specific needles makes a significant difference in preventing damage. Standard needles often cause skipped stitches or tear the leather, but leather needles have a sharp, tapered point designed to penetrate fibers cleanly.
To guarantee the best results, follow these steps:
- Select a needle size suited to your leather thickness—use size 90/14 or 100/16 for lightweight leather under 3 oz.
- Test the needle on scrap leather before starting your project to confirm smooth movement without damage.
- Replace needles regularly to maintain sharpness and avoid uneven stitches or tearing.
Using the right leather-specific needle keeps your sewing smooth and protects your material from unnecessary harm. It really makes a difference!
Avoid Pinning Leather
Using the right leather-specific needles helps you sew smoothly without damaging the material, but securing leather pieces requires extra care too. Avoid using pins whenever possible, as they leave permanent holes or marks on leather.
Instead, opt for binding clips or sewing clips to hold pieces together safely. If you must use pins, choose flat-head or leather-specific pins to minimize damage.
Applying a light adhesive or leather glue can also keep pieces in place, reducing the need for pins. Always test your pinning or adhesive method on scrap leather before starting your project.
When working on home sewing leather projects with a regular machine to sew, taking these precautions ensures your material stays pristine. Good luck with your leather sewing adventure!
Employ Teflon or Rolling Foot
When you sew leather, a Teflon or rolling foot can make all the difference in preventing sticking and damage. These specialty feet reduce friction by gliding smoothly over leather surfaces, unlike standard presser feet.
To get the best results with your sewing machine, here’s what you should do:
- Attach a Teflon or rolling foot to minimize friction and prevent leather from bunching or scuffing.
- Use this foot especially when working with thick, coated, or textured leather for even stitch quality.
- If you have questions or need help finding the right foot, don’t hesitate to contact your machine’s address or phone support for advice.
Switching to a Teflon or rolling foot is a simple step that protects your leather and improves your sewing experience. It really makes sewing leather easier and smoother!
Essential Tools and Accessories for Sewing Leather
Since leather demands sturdy materials to handle its thickness and texture, you’ll need specialized tools and accessories to sew it effectively. First, use a leather or heavy-duty needle, like size 90/14 or 100/16, to penetrate thick leather fibers without breaking.
Next, switch to a Teflon or roller foot to prevent sticking and ensure smooth fabric movement. Choose high-quality polyester or nylon thread, as it provides superior strength and durability over cotton thread.
Instead of pins, which leave permanent holes, rely on binding clips or glue to hold leather pieces together while sewing. For cutting, grab a rotary cutter and metal ruler to make precise, clean cuts—scissors dull quickly on leather, so avoid using them for this task.
Recommended Leather Types for Home Sewing Machines
Although leather varies widely in thickness and texture, choosing the right type is crucial for successful sewing on a home machine. You’ll want to focus on lightweight leather options that your machine can handle without strain.
Choosing lightweight leather is key for smooth sewing on a home machine without causing strain.
Here’s what to keep in mind:
- Select lightweight leather under 3 oz, like veg-tan or chrome tan, which is ideal for home sewing machines.
- Leathers less than 4 oz (around 1.5–2 mm thick) usually sew well on standard machines, offering good flexibility.
- Opt for thinner, softer leathers such as lamb or goatskin for easier stitching and better results.
Avoid thick or stiff leather unless you have a heavy-duty machine. Testing scrap leather first helps guarantee your machine can handle the material smoothly.
Tips From the Leather Sewing Community
Choosing the right leather for your home sewing machine sets you up for success, but using the right tools and techniques makes all the difference.
Tips from the leather sewing community, shared years ago, highlight the need to utilize a heavy-duty needle—like a 90/14 or 100/16 leather needle—to be able to sew through tough material without breakage. They also recommend a Teflon or roller presser foot to prevent sticking and ensure smooth stitching.
High-quality polyester thread, such as Gutterman or Mettler, is essential to handle tension and wear. Another need to know tip is to lightly dampen the leather to ease needle penetration.
Before starting your project, open a new account with scrap leather to test these tips and avoid costly mistakes. It’s a smart move to get comfortable with your materials first!
Frequently Asked Questions
What Sewing Machine Will Sew Leather?
You can sew leather on machines like the Janome 3000 HD or older Singer models with metal gears. Just use a leather needle, strong thread, and adjust settings to handle light to medium-weight leather effectively.
These machines are built tough enough to handle the thicker material without struggling. Plus, tweaking the tension and stitch length really helps get a clean finish. Give it a try, and you’ll see it’s not as tricky as it seems!
What Type of Thread Is Best for Sewing Faux Leather?
Think of thread as the backbone of your faux leather project; you’ll want heavy-duty polyester or nylon thread, like upholstery or 138 thread. It’s strong, durable, and won’t snap under pressure, keeping your seams sturdy.
These types of thread are designed to handle tough materials, so they’re perfect for faux leather. Plus, they give your project a professional, long-lasting finish.
Do I Need a Special Sewing Machine Needle for Leather?
Yes, you’ll need a special leather needle with a sharp, tapered point to guarantee damage and skipped stitches. It ensures cleaner seams and smoother sewing, especially with heavier leather.
Always test on scrap material first. This way, you can avoid any surprises and get the best results before working on your actual project.
Can a Brother Sewing Machine Sew Leather?
Yes, your Brother sewing machine can sew lightweight leather if you use a leather needle, adjust stitch length, and try a Teflon foot.
Moistening leather slightly also helps it feed smoothly through your machine. Give these tips a shot, and you’ll see better results when sewing leather!
Conclusion
Sewing leather on a regular machine might seem like riding a bike uphill at first, but with the right needle and thread, you’ll glide smoothly in no time. Just like a cyclist adjusts gears, tweaking your machine settings prevents damage and keeps stitches perfect.
Remember, even pros started with simple tools—your patience and practice turn every stitch into a masterpiece. Keep at it, and soon leather sewing will feel as natural as your favorite hobby.
When sewing leather on a regular sewing machine, using a leather needle and strong, durable thread is key. Also, adjusting the machine’s tension and using a walking foot can help the leather feed evenly without puckering. With these tips, sewing leather won’t just be a challenge—it’ll become an enjoyable craft you look forward to mastering. So, keep practicing and watch your skills improve stitch by stitch!