How You Sew Leather With a Regular Sewing Machine
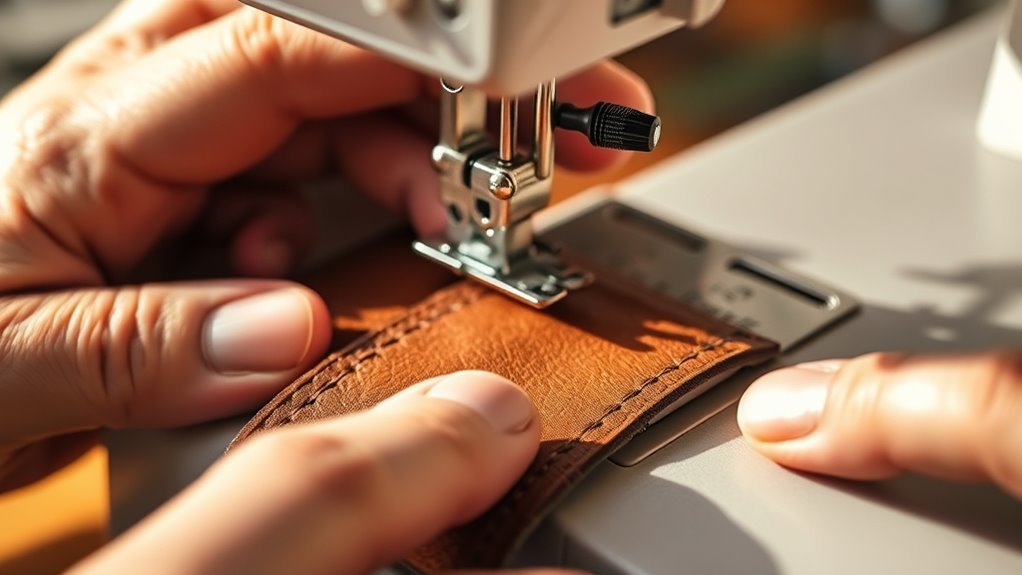
To sew leather with a regular sewing machine, you need the right tools and techniques to get professional results. Start with heavy-duty, leather-specific needles, usually sizes 14–18, which can handle the thickness without breaking. Use strong bonded polyester threads designed for leather to ensure durability and strength.
Swap in a Teflon or roller presser foot to prevent your leather from sticking or dragging as you sew. Also, set a longer stitch length, around 3–4mm, to avoid perforating and weakening the leather.
Before sewing, lightly dampen and condition your leather to make it more pliable and easier to work with.
Don’t forget to adjust your machine’s tension so the stitches come out balanced and neat.
Keep your needles fresh by replacing them regularly — dull needles can cause skipped stitches or damage the leather.
With the right setup and a bit of practice, you’ll find sewing leather on a regular machine is totally doable and even enjoyable!
Key Takeaways
– Use a heavy-duty leather needle (size 90/14 or 100/16) and strong polyester or nylon thread for durability and smooth stitching.
This combo really helps your stitches last longer and look cleaner.
– Attach a Teflon or roller presser foot to your regular machine to prevent leather from sticking and ensure even feeding.
It makes sewing leather way easier since it glides smoothly.
– Set stitch length between 3-4mm to avoid perforating leather and adjust thread tension for balanced, neat stitches.
Getting this right keeps your leather from tearing and your stitches looking sharp.
– Lightly dampen and condition leather before sewing to reduce resistance and improve flexibility without damaging the material.
This step helps the leather behave better under the needle.
– Pre-punch holes with an awl or overstitch wheel to guide stitches and avoid skipped or uneven sewing on thick leather.
It’s a handy trick, especially when working with tougher leather.
Essential Tools for Sewing Leather With a Home Machine
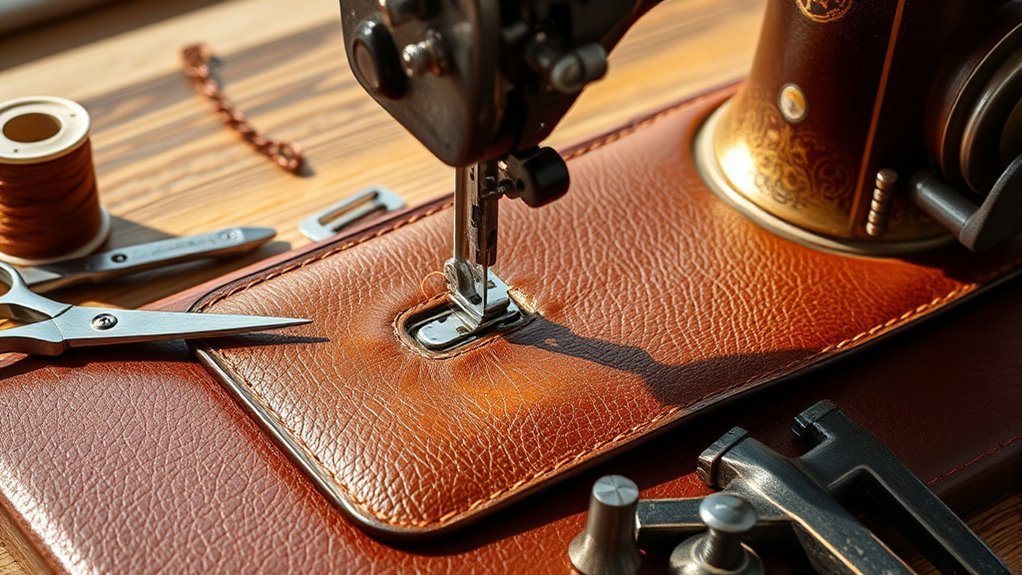
Although sewing leather can seem intimidating, having the right tools makes all the difference when using a regular home sewing machine. Start by choosing heavy-duty needles, like size 90/14 or 100/16, with a sharp or cutting point designed specifically for leather. These needles pierce through tough material without breaking.
Use strong, high-quality threads such as bonded polyester or nylon, preferably Tex 70 or higher, to ensure durability in your stitches. Equip your home sewing machine with a Teflon or roller presser foot to prevent sticking and feed leather smoothly.
Don’t forget essential hand tools: an awl, leather punch, overstitch wheel, and ruler help you mark and prepare leather precisely. Proper preparation guarantees your sewing leather project looks professional and lasts long.
Selecting the Appropriate Leather for Sewing
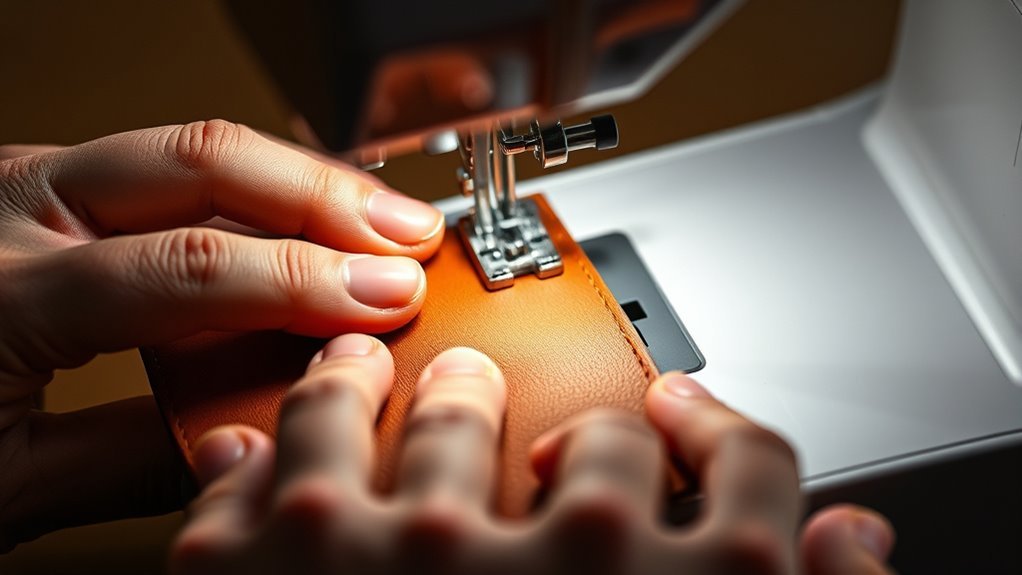
When selecting leather for your project, focus on lightweight options up to 4 oz. that your home machine can manage smoothly.
Look for full-grain or vegetable-tanned leather that’s supple and free of imperfections.
Verifying the thickness and quality ensures your sewing goes smoothly and your finished piece looks professional.
Leather Types Overview
Choosing the right leather is essential for successful sewing on a regular machine. For your leather project, opt for light to medium weight leather, up to 4 oz., as it’s easier to handle with home machines.
Full-grain and top-grain leathers offer durability, perfect for wallets or bags. On the other hand, softer options like lambskin or deerskin make your sewing journey smoother since they need less prep.
Vegetable-tanned leather can be stiff initially but softens after working it. Using a Teflon foot helps the leather glide effortlessly under your needle, preventing sticking.
Avoid thick, heavy leather like chrome-tanned or very stiff veg-tanned types unless you have an industrial machine. Picking the right leather guarantees your regular sewing machine performs well and your project turns out great.
Quality and Thickness
Understanding the quality and thickness of leather helps you match the material to your sewing machine’s capabilities. To take your sewing skills to the next level, make sure you choose light to medium weight leather up to 4 oz. for home machines.
Heavier leather, like chrome-tanned or veg-tanned over 4 oz., usually demands industrial machines. You can lightly wet the leather to make it more pliable and easier to stitch.
Always select high-quality, supple leather with minimal defects to avoid frustrating jams. Before starting your project, test your setup on scrap leather to ensure your machine and needle can handle the thickness.
If you’re new to this, consider creating a new account on sewing forums to exchange tips and troubleshoot challenges as you progress. It’s a great way to learn and get support!
Preparing Leather Before Stitching
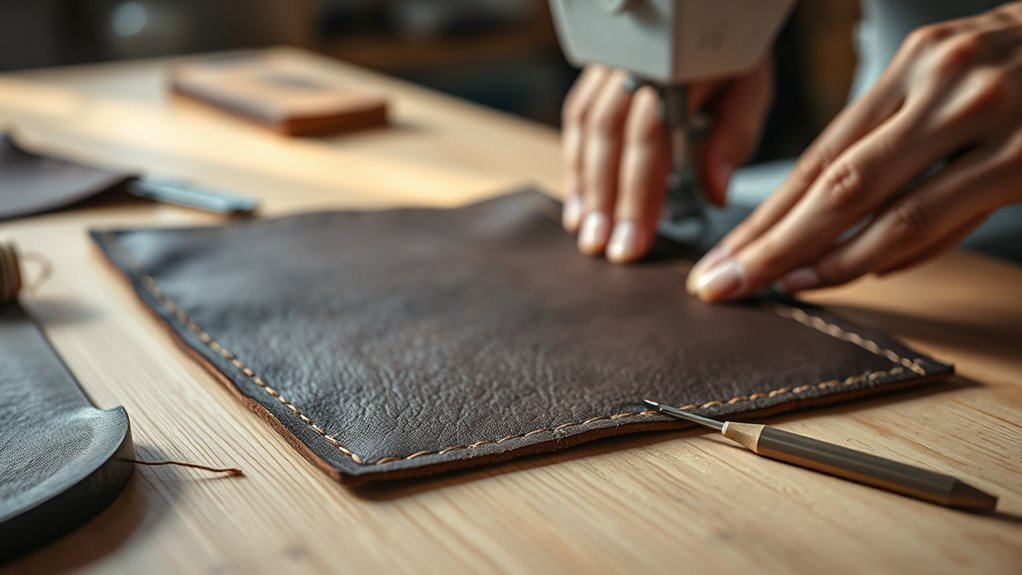
Before you start stitching, preparing the leather properly makes the process smoother and protects your material. Begin by lightly wetting the leather with a damp cloth; this reduces resistance and helps the needle penetrate more easily.
Next, condition the leather to boost its flexibility and prevent cracking during sewing. When cutting, use a sharp blade and follow the grain for clean edges that resist fraying.
Mark your stitching lines clearly with pens or tracing tools to keep your stitches even and accurate. For even better results, pre-punch holes using a leather punch or an overstitch wheel.
This step guarantees smoother sewing and consistent spacing, making your stitching look professional and neat every time. It really makes a difference!
Choosing the Right Needle and Thread
Since leather is tougher than most fabrics, you’ll need a heavy-duty, sharp leather needle—typically size 14 to 18 with a triangular point—to pierce through without damaging your material or machine.
Choose the needle size based on your leather’s thickness; thicker hides call for larger needles to ensure smooth stitching.
Pair this with a strong, bonded polyester or nylon thread, Tex 70 or higher, to handle wear and minimize stretch.
Make sure your needle and thread work well with your machine’s tension settings to avoid skipped stitches or thread breakage.
Always test your chosen needle and thread on a scrap piece first, so you can confirm your setup sews smoothly before moving on to your actual project.
This careful selection sets the foundation for durable, professional-looking seams.
Setting Up Your Regular Sewing Machine for Leather
Once you’ve picked the right needle and thread for leather, it’s time to adjust your sewing machine to handle the material properly. Start by installing a leather needle sized 14 to 18, designed to pierce thick hides without damage.
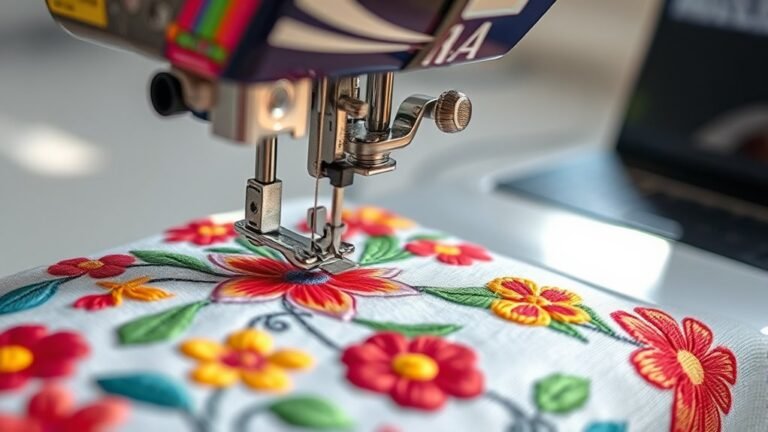
Swap your standard presser foot for a Teflon or roller foot to help the leather glide smoothly and avoid sticking or bunching. Set your stitch length between 3 and 4mm; shorter stitches can perforate and weaken the leather.
Regularly sharpen or replace your needle to prevent skipped stitches and guarantee clean penetration. Finally, test your machine’s tension and settings on scrap leather before beginning your project. This ensures ideal stitch quality and protects your material from damage.
Techniques for Sewing Leather by Machine
When sewing leather by machine, choosing the right stitch type and setting up your machine properly are key to strong, clean seams. You’ll want to use a longer stitch length and a heavy-duty needle designed for leather to avoid damaging the material.
Plus, using a Teflon or roller presser foot helps the leather feed smoothly without sticking. These little tweaks make a big difference!
Stitch Types Overview
Although sewing leather can be challenging, choosing the right stitch type makes a big difference in both durability and appearance.
For strong, decorative seams, try saddle stitching with two needles—it’s perfect for leather projects. Keep your stitch length between 3-4mm to avoid perforating the leather and to maintain seam strength.
When sewing close to zippers or edges, use a zipper foot to ensure neat, secure joins. A Teflon or roller presser foot prevents sticking and helps the leather glide smoothly under the needle.
Don’t forget to backstitch at the beginning and end of your seams; this locks stitches in place and boosts durability.
Picking the right stitch type and tools keeps your leather projects looking professional and lasting longer.
Machine Setup Tips
Since leather is thicker and tougher than fabric, you’ll need to set up your sewing machine properly to handle it without issues. First, use a heavy-duty or industrial sewing machine with a strong motor to manage the material’s thickness.
Next, install a leather needle—size 16 to 18—with a triangular or cutting point to prevent needle damage and skipped stitches. Finally, adjust your stitch length to 3–4mm; this avoids perforating the leather, which weakens it.
Here’s a quick setup checklist:
- Attach a Teflon or roller foot to reduce sticking and ensure smooth feeding.
- Test all settings on scrap leather to fine-tune tension, stitch length, and foot pressure.
- Replace needles regularly to maintain clean, precise stitches.
Handling Common Sewing Challenges With Leather
Mastering leather sewing means tackling common challenges head-on to guarantee smooth, professional results. Start by using a leather-specific needle like 120/19 or 130/15 to reduce skipped stitches and prevent breakage.
Lightly wet the leather before sewing to make it more pliable and ease feeding, cutting down on machine jams. Set your stitch length between 3 and 4mm to avoid perforations that weaken the leather and cause uneven seams.
Swap your presser foot for a Teflon or roller type to minimize sticking and ensure smooth fabric movement. Keep needles sharp and replace them regularly, and adjust your machine’s tension properly.
These steps will help you overcome typical sewing hurdles and produce clean, durable stitches on leather every time. Give them a try, and you’ll see how much easier sewing leather can be!
Tips for Maintaining Your Sewing Machine During Leatherwork
To keep your sewing machine running smoothly while working with leather, you’ll want to focus on proper needle care, regular cleaning, and lubrication.
Adjusting your machine’s tension is also essential since leather requires a bit more control than fabric. These simple steps will help you avoid skipped stitches and machine wear.
Needle Care Tips
Although leather is tough, your sewing machine needle needs gentle care to keep stitching smoothly. Using the right needle and maintaining it properly prevents skipped stitches and damage to both your project and machine.
Here are three essential needle care tips for sewing leather:
- Replace needles often—ideally after every few projects—to avoid dullness or bending that can cause breakage or uneven stitching.
- Use leather-specific needles with sharp, triangular points (sizes 14–18) that pierce leather cleanly without stressing your machine.
- Regularly inspect and clean your needle to remove dust, oil, or debris that might affect performance. Also, switch to heavier-duty needles when working with thick leather for smoother operation.
Following these steps guarantees your needle stays sharp and your machine runs efficiently while sewing leather. Easy, right? Just a little care goes a long way!
Cleaning And Lubrication
Since sewing leather generates more dust and debris than fabric, you’ll need to clean and lubricate your machine regularly to keep it running smoothly. Focus on removing lint and leather dust from the bobbin case, feed dogs, and tension discs.
Use a brush or compressed air to clear out debris around the motor, bobbin area, and presser foot. Apply lightweight sewing machine oil to moving parts following the manufacturer’s guidelines to prevent wear and ensure smooth operation.
Check your needle often and replace it after sewing thick leather to avoid skipped stitches or damage. Before starting your project, test your machine on scrap leather to confirm proper lubrication and functionality.
This routine maintenance will keep your machine in top shape for leatherwork. It’s definitely worth the effort to protect your investment and make your sewing experience smoother!
Adjusting Machine Tension
How do you achieve smooth, even stitches when sewing leather? The key is adjusting your machine tension carefully. Leather’s thickness and rigidity demand precise tension settings to avoid puckering or skipped stitches.
Here’s how to fine-tune your machine tension:
- Reduce the upper thread tension slightly to prevent puckering and ensure smooth stitching on leather surfaces.
- Regularly check and adjust bobbin tension to keep stitches even and avoid skipped stitches.
- Use test scraps to experiment with tension settings, especially when changing leather types or thicknesses. Make small incremental adjustments until stitches look balanced and secure.
Advanced Methods to Enhance Leather Sewing Projects
When you want to take your leather sewing projects to the next level, using the right tools and techniques makes all the difference. Start by swapping in a leather-specific needle with a triangular point, size 14–18. This helps pierce thick leather cleanly and protects your machine.
Reinforce handles and stress points with double stitching, rivets, or cross-stitch patterns to boost durability. Adding these details really helps your project last longer.
Add zippers, pockets, or embellishments using specialized presser feet like zipper or piping feet. These tools give you precise results and make your work look professional.
Don’t hesitate to experiment with decorative stitching—zigzag or X patterns not only look great but strengthen your pieces. It’s a fun way to add character while improving function.
For a unique touch, try embossing, tooling, or carving to personalize your leather items. These intricate designs really help your pieces stand out from the crowd.
Caring for and Finishing Leather Creations
Although sewing leather with a regular machine can yield impressive results, caring for and finishing your creations properly guarantees they stay durable and attractive over time.
Sewing leather with a regular machine looks great, but proper care ensures lasting durability and beauty.
To maintain your leather projects, focus on these key steps:
- Clean and condition the leather regularly to preserve its flexibility and appearance.
- Reinforce stress points with heavier thread or rivets, and apply topstitching for added strength.
- Finish edges by burnishing and seal your work with leather finishers to achieve a polished look.
Additionally, store your leather items in a cool, dry place to prevent damage.
Don’t forget to keep your sewing machine in top shape by cleaning it and checking thread tension regularly. These practices ensure your leather creations remain professional and long-lasting.
Frequently Asked Questions
How to Sew Leather With a Sewing Machine?
You’ll need a heavy-duty needle, set stitch length to 3-4mm, and use a Teflon foot. Lightly dampen the leather, sew slowly, and test on scraps first to avoid damaging your project or machine.
Sewing leather can be tricky, but taking these steps really helps. Just go slow and steady, and you’ll get the hang of it in no time!
Do I Need a Specific Sewing Machine for Leather?
You don’t need a specific machine for leather if it’s under 4 oz. Just use a heavy-duty needle and strong thread.
But for thicker leather, a specialized machine will save you frustration and guarantee cleaner stitches. Trust me, it makes a big difference!
What Type of Thread Is Best for Sewing Faux Leather?
You should use heavy-duty polyester or nylon thread, like bonded Tex 70 or higher, for sewing faux leather.
It’ll give you the strength and durability you need, preventing breakage and ensuring your project holds up well over time.
Trust me, this kind of thread makes all the difference when you’re working with materials like faux leather. It keeps everything secure and looking professional!
What Is the Best Way to Cut Leather by Hand?
Cutting leather by hand is like crafting your path—grab a sharp rotary cutter, steady your hand on a self-healing mat, mark your lines clearly, and slice slowly, ensuring each cut is as bold and precise as your vision.
Take your time with each slice; rushing can lead to mistakes. Keep your tools sharp and your workspace steady to make the process smoother and the results cleaner.
Conclusion
You might think sewing leather with a regular machine is too tricky, but with the right tools and setup, you can definitely do it. Just pick the proper needle, thread, and leather type, and prepare your materials carefully.
Adjust your machine’s settings and take it slow to avoid jams or skipped stitches. Once you get the hang of it, sewing leather at home becomes a rewarding and creative skill you’ll love to use.
Sewing leather with a regular sewing machine might seem intimidating at first, but it’s totally doable. The key is using the correct needle and thread designed for leather, and ensuring your machine is properly adjusted. Taking your time and practicing will help you avoid common issues like skipped stitches or jams. Once comfortable, sewing leather can open up a whole new world of creative projects right from your own home. So don’t hesitate to try leather sewing with your regular machine—it’s a skill worth mastering for unique, handmade leather goods!