How You Sew Iron-On Patches Step by Step
To sew iron-on patches step by step, start by choosing a patch and fabric that bond well. Make sure your garment is clean and wrinkle-free before you begin. This helps the patch stick better and look neat.
Next, set your iron to the correct temperature without using steam. Position the patch accurately on the fabric, using pins or chalk to keep it in place. It’s important to get it right the first time so your patch looks perfect.
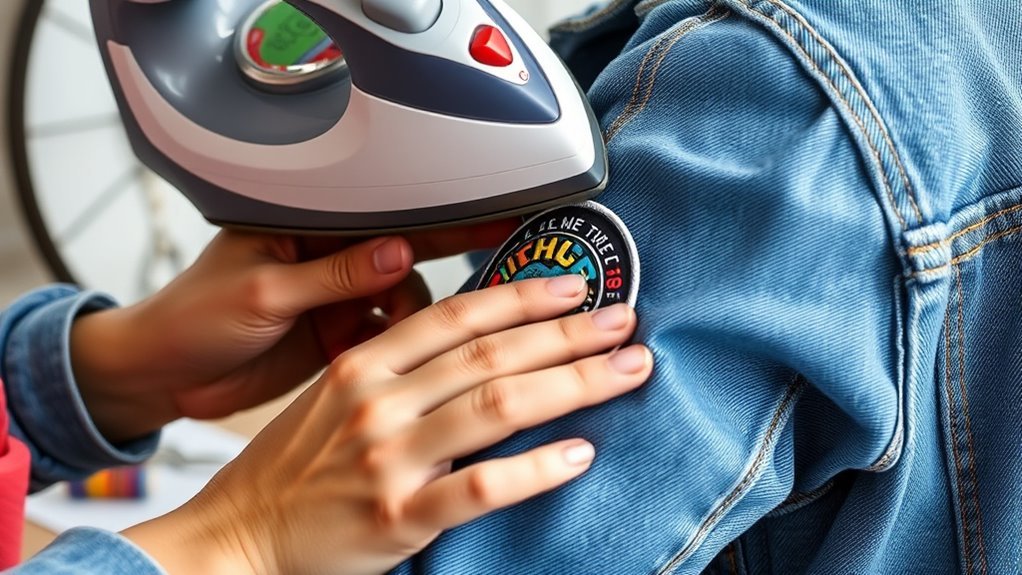
Now, place a protective barrier like a thin cloth over the patch. Apply even heat with the iron for about 60-90 seconds. Then, let it cool completely before touching it—that helps the adhesive set properly.
Once the patch is bonded, reinforce it by sewing around the edges. This adds durability and keeps your patch secure over time. Follow these basics, and you’ll soon master all the details for a perfect finish.
Key Takeaways
- Prepare the garment by cleaning, drying, and ensuring a wrinkle-free surface before positioning the patch.
- Preheat the iron to the fabric’s recommended temperature, avoiding steam unless specified.
- Place the patch adhesive side down, cover with parchment paper, and press firmly with the iron for 60-90 seconds.
- Allow the patch to cool completely for 10-15 minutes before checking adhesion by gently tugging the edges.
- Reinforce the patch by sewing around the edges with matching thread for durability and washability.
Choosing the Right Patch and Garment Fabric
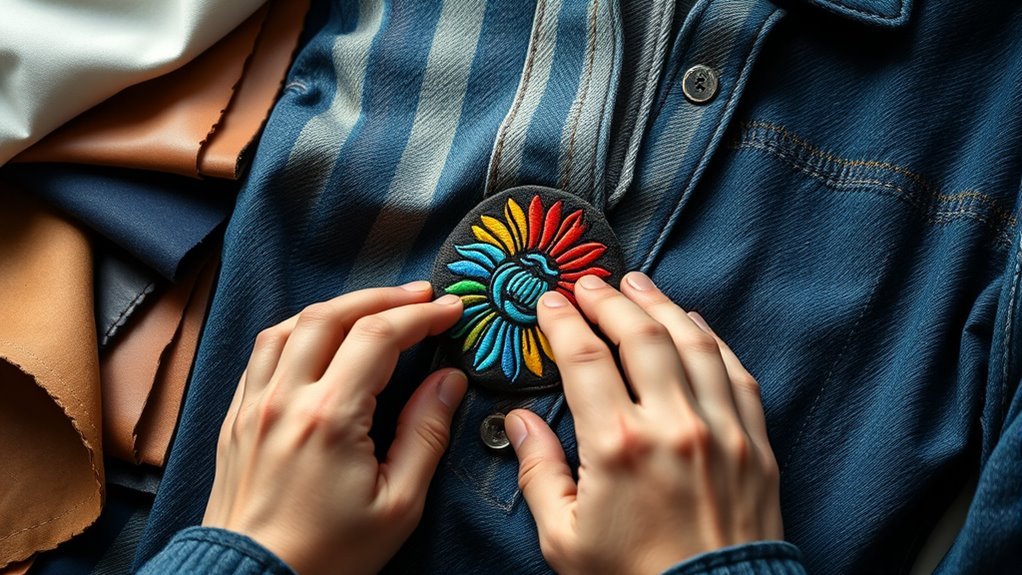
When choosing the right patch and garment fabric, you’ll want to pick a fabric patch with a shiny adhesive side for proper bonding and a durable garment fabric like cotton, denim, or canvas to support the patch securely.
Make sure your iron-on patches match the size of the repair area for a clean, lasting fix. Lightweight fabrics won’t hold the patch well, so steer clear of them.
When applying, place parchment paper over the patch before ironing to protect the fabric and adhesive. If you’re working with synthetic fabrics, remember they need lower heat settings to avoid damage.
Preparing Your Garment for Patch Application
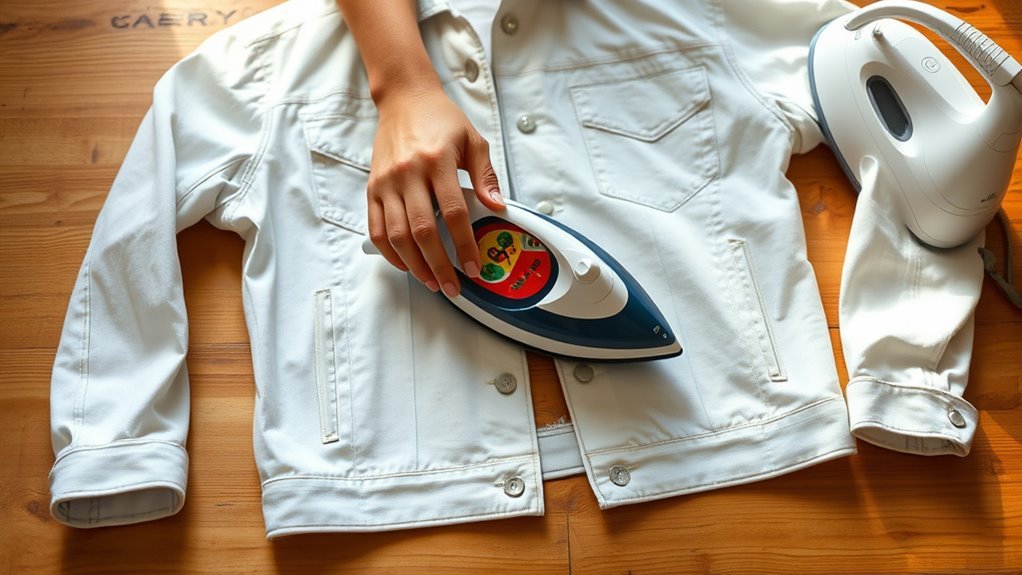
Before you apply your patch, make sure the garment is clean, dry, and free of wrinkles to help the adhesive bond properly. I’m sure you want your iron-on patch to stick perfectly, so start by turning the garment inside out to access the area where the patch will go.
Choose a flat, smooth fabric spot for the best adhesion. Check the care label to confirm the right ironing temperature for your garment fabric—this step prevents damage.
Also, clear any hairs, lint, or debris from the patch’s adhesive side to ensure a clean attachment. Taking these simple steps prepares your garment properly, setting you up for a successful patch application every time.
Setting the Iron to the Correct Temperature
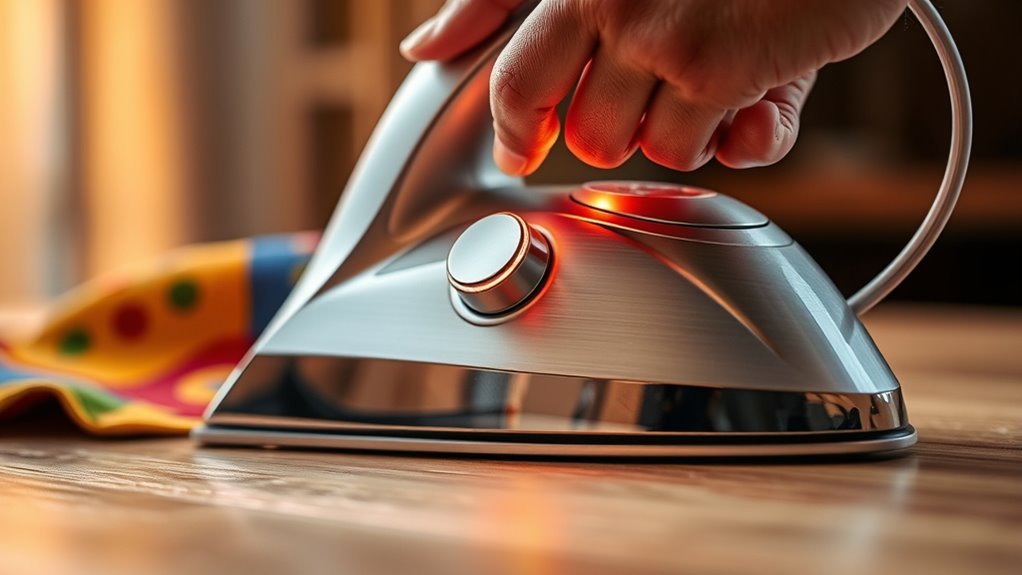
Although it’s tempting to crank up the heat for a quick bond, you should always check your garment’s care label to set the iron to the correct temperature. This guarantees your fabric won’t get damaged during the patch application.
Follow these steps:
- Identify the fabric type on the care label and select the corresponding iron setting (e.g., cotton, linen, synthetic).
- Use a low or synthetic setting for delicate fabrics like polyester or nylon, and avoid steam unless the label specifies.
- Allow your iron to preheat fully before pressing the patch, increasing heat gradually if needed but never exceeding the recommended maximum.
Taking it slow here really pays off — your patch will stick well without ruining your clothes.
Positioning the Patch Accurately on the Fabric
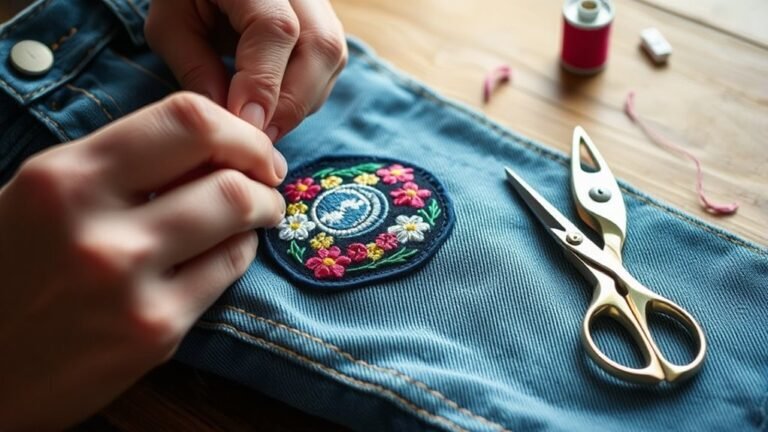
Before you iron on your patch, make sure to position it exactly where you want it on the fabric, covering any holes or damage completely. Use pins or clips to keep it steady while you check that the shiny adhesive side is facing down.
Taking these steps guarantees a neat, secure bond once you apply the heat. It’s a simple trick that really makes a difference!
Aligning Patch Placement
When you want your patch to look perfect, start by marking its exact spot on the fabric with chalk or a fabric marker. This guarantees precise alignment before you apply heat.
Next, follow these steps for flawless placement:
- Fold the fabric to double-check the patch covers the right area evenly.
- Secure the patch with pins or fabric clips to keep it from shifting during ironing.
- Adjust the patch so it aligns flush with seams or design elements for a natural look.
Before pressing, confirm the placement from various angles and distances. Taking these careful steps helps your patch sit perfectly on your garment, giving you a neat and professional finish every time.
Surface Preparation Importance
After aligning your patch perfectly on the fabric, the next step is preparing the surface to guarantee it adheres well. Proper surface preparation assures full coverage of the damaged area and a clean, polished look.
Carefully match the patch to the fabric’s pattern or design to create a seamless repair. Use pins or fabric chalk to hold the patch temporarily and confirm its position before ironing.
Double-check placement from multiple angles to avoid misalignment and promote even adhesion. Taking these precautions reduces the need to reposition the patch later, saving time and preventing damage.
Securing Patch Position
Although it might seem simple, securing your patch’s position accurately is essential to a clean, lasting repair. To make sure your patch stays put and looks great, follow these steps:
- Carefully align the patch over the damaged area, ensuring it fully covers the spot and is oriented correctly if it has a design.
- Use pins or fabric clips to hold the patch in place, preventing any shifting when you iron it on.
- Lightly mark the patch’s edges with fabric chalk or a washable marker, then double-check the placement from different angles to confirm it’s centered and straight.
Taking these steps will help you achieve a neat, professional finish that lasts through wear and washing. It’s worth the little extra effort!
Using a Protective Barrier While Ironing
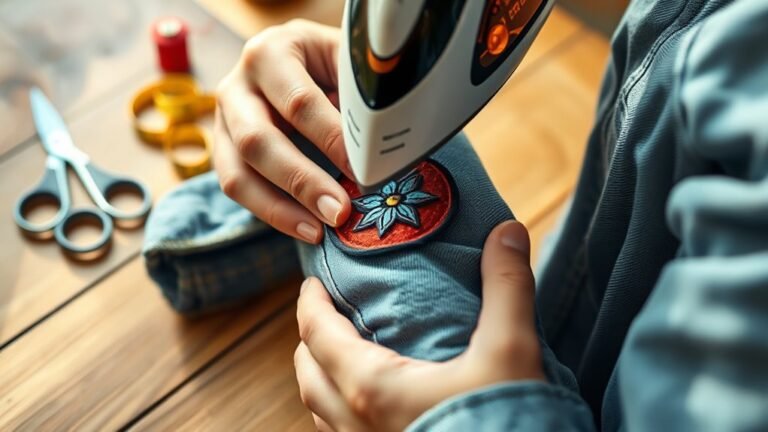
To protect both your patch and fabric from direct heat damage, always place a protective barrier like parchment paper, a pillowcase, or a thin tea towel over the patch before ironing. Make sure the barrier fully covers the patch to avoid scorching or melting any synthetic fibers.
Before placing the barrier, adjust your iron to the appropriate temperature setting to prevent accidental damage. Keep the barrier in place while you apply heat for 60-90 seconds, pressing firmly to activate the adhesive beneath.
Once you finish, don’t rush to remove the barrier. Allow both the fabric and patch to cool completely to ensure the bond sets securely. This simple step helps keep your fabric and patch looking great and prevents heat-related issues.
Applying Heat to Secure the Patch Properly
When you apply heat to secure your patch, start by covering it with parchment paper or a thin towel. This protects both the patch and fabric from direct contact with the iron.
Next, set your iron to the fabric’s recommended temperature, usually low to medium heat, and turn off steam. Then, follow these steps to guarantee a strong bond:
Set your iron to the fabric’s recommended low to medium heat and be sure to turn off steam for best results.
- Use the iron’s tip to apply gentle pressure on the patch’s center for 60-90 seconds.
- Move the iron in circular motions, distributing heat evenly across the entire patch.
- Focus on the edges last to seal the patch firmly without burning the fabric.
This method helps the adhesive melt properly, securing your patch neatly and durably. Just take your time, and you’ll get a great result!
Cooling and Inspecting the Patch Bond
After applying heat, let the patch cool completely for 10-15 minutes before checking the bond.
Carefully inspect the edges and corners to make sure they’re firmly attached and lying flat. If you notice any lifting, reapply heat with a protective layer and let it cool again. Easy, right? Just take your time to get it right.
Patch Cooling Time
How long should you wait before checking your iron-on patch? You need to let the patched area cool completely for at least 10-15 minutes. This cooling time allows the adhesive to set firmly, creating a strong and lasting bond.
Here’s what to do during cooling time:
- Avoid touching or pulling the patch immediately after ironing to keep the bond intact.
- After cooling, gently touch the patch edges to ensure they feel cool and securely adhered.
- Visually check the edges and corners to confirm they lie flat and are fully bonded.
Waiting patiently during this phase is key to a durable patch attachment that won’t peel off easily later on. So, hang tight and let it cool properly—you’ll be glad you did!
Bond Inspection Methods
Although it’s tempting to check your patch right away, you should let the garment cool completely before inspecting the bond. This helps avoid smudging or shifting the patch.
Once cooled, gently lift the edges of the patch to make sure it’s securely adhered without damaging the fabric. Give the edges a light tug; if the patch resists peeling or lifting, the bond is strong.
Carefully examine the entire perimeter for any spots where the adhesive hasn’t fully fused with the garment. For a thorough check, turn the garment inside out and press lightly on the patch’s reverse side.
If it stays firmly attached, you’ve successfully bonded your patch. This careful inspection helps guarantee your patch will stay put through wear and washing.
Reinforcing the Patch With Sewing for Durability
While iron-on patches stick quickly, sewing around the edges guarantees your patch stays put and resists lifting over time. To reinforce your patch effectively, follow these steps:
- Choose a needle and thread that matches your fabric, preferably strong polyester or cotton, to blend in seamlessly.
- Sew about 1/8 inch from the patch edge using either a straight or zigzag stitch, especially around high-stress areas like knees or elbows.
- Hand sew for better control around curves and corners, ensuring the patch remains firmly attached through washing and wear.
This method creates a durable bond that protects your patch from peeling and keeps your garment looking great longer.
Testing the Patch Adhesion and Strength
Once the patch has cooled, gently tug at the edges to check if it’s firmly attached.
Next, perform a strength pull test by stretching the patched area to see if it holds up under normal wear.
If you notice any lifting, you’ll need to re-press the patch to secure it properly.
Adhesion Cooling Period
Give the patched area at least 10 to 15 minutes to cool completely before you test its adhesion. This cooling period ensures the adhesive sets properly, preventing a misleading sense of security if tested too soon.
Once cooled, follow these steps to check the bond:
- Turn the garment inside out to access the patch’s underside.
- Gently tug on the patch edges to see if they lift or peel away.
- Confirm the patch feels securely bonded without any movement.
Avoid testing while the patch is still warm; it may seem stuck but could easily come loose later. Trust me, it’s better to wait.
And remember, for the best durability, wait 24 hours before washing or stressing the garment to let the adhesion fully cure. This way, your patch will stay put for the long haul.
Strength Pull Test
Before you trust that your patch is securely attached, you’ll want to perform the strength pull test by gently tugging on its edges to check for any lifting or peeling. After the patch has cooled, apply a uniform pull across its surface to assess the adhesive bond’s durability.
A properly adhered iron-on patch should resist moderate tension without lifting or detaching. If you notice any edges starting to peel or the patch loosening during this test, it’s a sign you need to reapply heat or press it again to strengthen the bond.
Consistent resistance during the pull test means your patch is securely attached and ready to handle regular wear and washing without coming off. This simple test ensures lasting adhesion and patch durability.
Tips for Maintaining Patched Garments
Although iron-on patches are designed to be durable, you’ll want to take specific steps to keep them looking fresh and securely attached. Proper care helps maintain the patch’s adhesive and fabric integrity.
Here’s how to do it: wash the garment inside out on a gentle cycle using mild detergent. Avoid bleach because it can weaken the adhesive.
Also, try not to iron directly on the patch or expose it to high heat repeatedly. That kind of heat can cause the patch to peel.
When you’re storing the garment, hang it up or fold it carefully to avoid stressing the patch area. It’s a good idea to check the edges every now and then—if you see any lifting, just re-iron it to keep the bond secure.
Following these tips will help your patched garments stay vibrant and intact for longer. Easy, right?
Frequently Asked Questions
How to Set an Iron-On a Patch?
You set the iron to the temperature recommended on your patch or garment’s care label, usually medium or high heat without steam.
This guarantees the adhesive melts properly and bonds the patch securely to your fabric.
It’s pretty simple, but following the right heat setting makes all the difference!
How Are Iron-On Patches Typically Made?
Iron-on patches are typically made by applying a heat-activated adhesive to fabric, cutting the fabric into shapes, and sometimes adding a protective backing.
You’ll find the adhesive melts when heated, bonding the patch to your clothing. It’s a pretty straightforward process that makes customizing clothes super easy.
How to Sew Your Own Patch?
Imagine stitching your patch like painting a frame around a picture—you’ll sew carefully around its edges with tight, even stitches.
Don’t forget to reinforce corners and tie off securely, so your patch stays vibrant and strong.
Can You Sew on Iron in Patches?
Yes, you can sew on iron-on patches to reinforce their bond. Just use a sharp needle and matching thread to stitch around the edges.
This helps ensure the patch stays secure, especially through frequent washing or heavy use. It’s a simple way to make your patches last longer!
Conclusion
Did you know that 70% of iron-on patches come loose within a year without sewing? To make your patch last, always reinforce it with stitching after ironing. This simple step boosts durability and keeps your garment looking sharp.
By choosing the right fabric, prepping carefully, and sewing the patch on, you’ll enjoy a stylish, long-lasting result. Sewing your iron-on patch adds strength that ironing alone can’t provide.
So, don’t skip the sewing—you’ll thank yourself every time you wear your patched piece! Reinforcing iron-on patches with stitches ensures they stay secure and maintain their look over time. It’s a small effort that makes a big difference in durability and style.