How Do You Quilt on a Sewing Machine in 10 Simple Steps
To quilt on a sewing machine, first pick a project and quilting method that match your skill level and the size of your machine. This choice is key because it helps you work comfortably and achieve the best results.
Next, prepare your quilt sandwich by layering the backing, batting, and top evenly. Then, baste them securely using pins or spray adhesive to keep everything in place.
Make sure to install the right needle for quilting and test your stitches on scrap fabric. This step ensures balanced tension and prevents any surprises while you quilt.
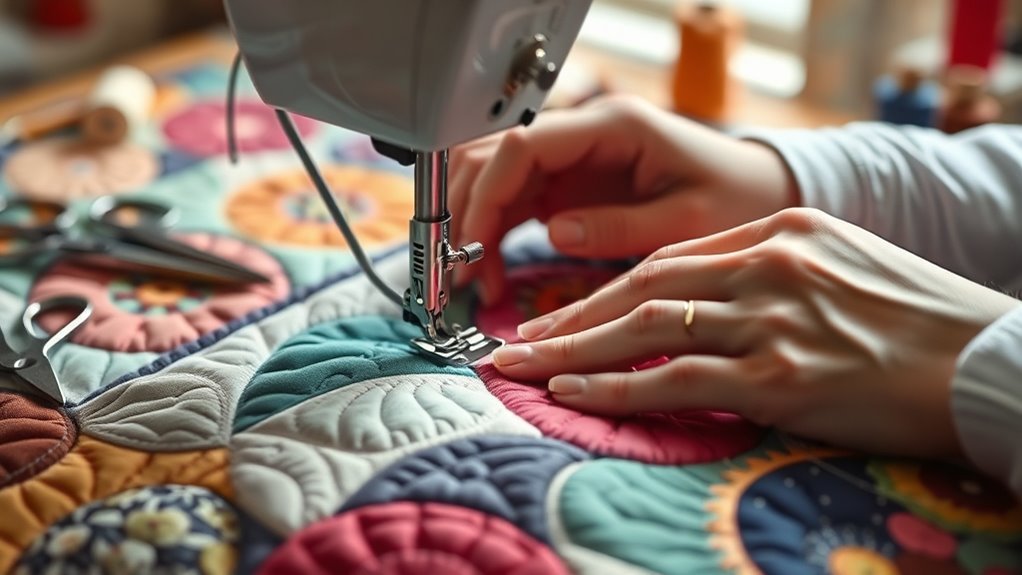
When you’re ready, start quilting from the center of your quilt, stitching evenly as you guide the fabric smoothly through the machine.
Don’t forget to finish by locking your stitches and securing the threads to keep your work intact.
Following these steps sets you up for a great quilting experience, and as you get more comfortable, deeper techniques are waiting for you to explore!
Key Takeaways
- Prepare the quilt sandwich by layering backing, batting, and quilt top, then secure with pins or spray adhesive.
- Select and attach the appropriate needle and walking foot, then test stitches on scrap fabric for tension and stitch quality.
- Mark the quilt center and start quilting from the middle, stitching straight lines outward while keeping layers smooth and flat.
- Maintain a steady, slow sewing speed and guide the fabric gently to avoid puckering and ensure even stitches.
- Finish each quilting line by backstitching or locking stitches, tying off loose threads, and securing knots for durability.
Choose Your Quilting Project and Technique
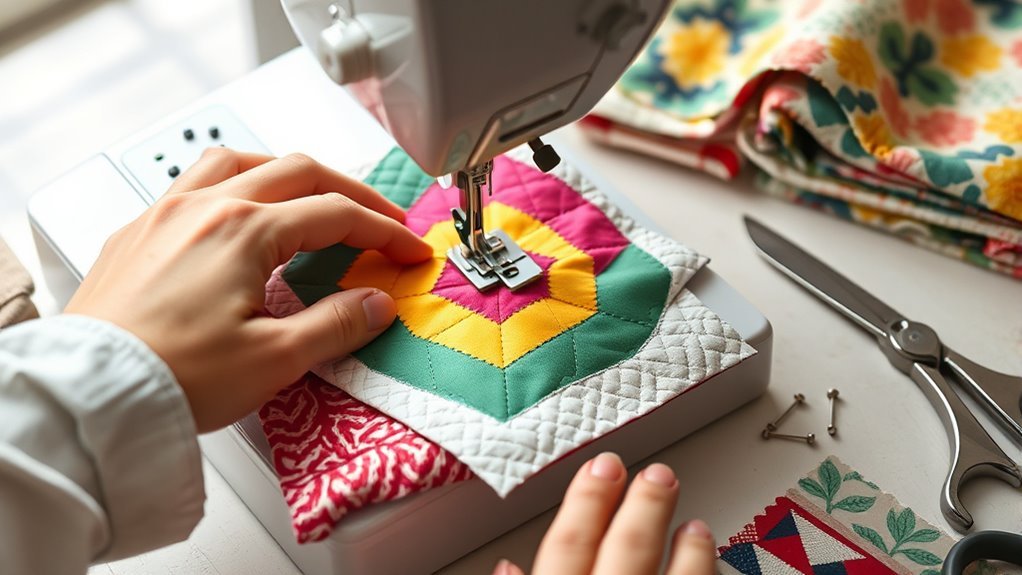
Before you begin quilting on your sewing machine, choose a project that suits your skill level and machine capabilities. If you’re new to quilting, start with small projects like placemats or wall hangings. These help you build confidence without overwhelming you.
Next, decide on a quilting technique. Straight-line quilting is great for beginners; use a walking foot and mark evenly spaced lines to guide your stitches. If your machine supports it and you want more intricate designs, try free-motion quilting.
This method requires dropping the feed dogs and practicing smooth fabric movement. Always pick a project that fits your machine’s size and can handle multiple fabric layers comfortably.
This way, you’ll enjoy quilting and create beautiful, well-crafted quilts with ease.
Gather Essential Tools and Supplies
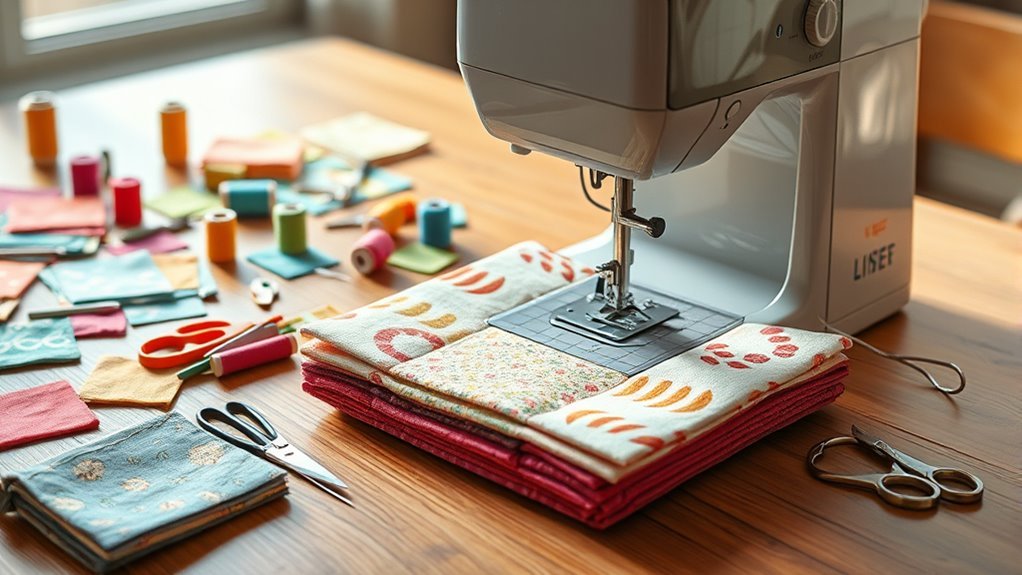
Once you’ve picked your quilting project and technique, gather the right tools and supplies to make the process smoother. Start with a reliable sewing machine that offers enough throat space for maneuvering quilt layers comfortably.
Attach a walking foot to help feed the layers evenly as you sew. Don’t forget essential marking tools like Hera markers or water erasable pens to guide your stitching with straight lines.
Use a walking foot for even feeding and marking tools like Hera markers for precise stitching guidance.
Collect quilting supplies such as quilting gloves with textured grips to control fabric movement and reduce hand fatigue. You’ll also need basting supplies—safety pins or spray adhesive—to secure the quilt layers before quilting.
Finally, have long rulers with grid markings and rotary cutters ready to ensure precise cuts and accurate quilting lines throughout your project.
Prepare Your Quilt Sandwich
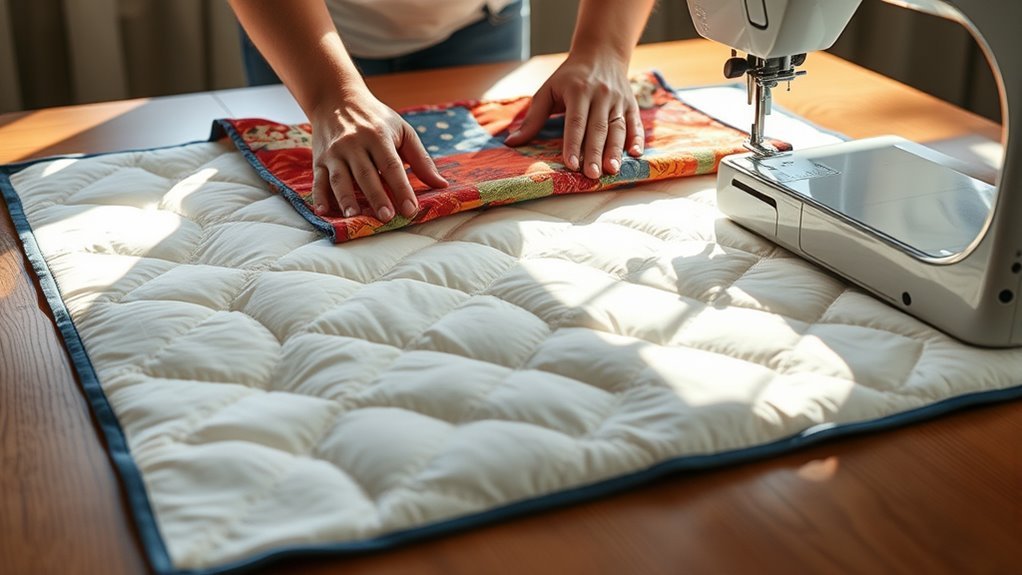
As you prepare your quilt sandwich, start by laying the backing fabric right side down on a flat surface. Make sure it extends beyond the quilt top.
Next, place the batting evenly over the backing fabric. Smooth out any wrinkles so the layer stays nice and even.
Then, position the quilt top right side up on the batting. Align all edges carefully to guarantee perfect layering.
To keep your quilt sandwich stable during assembly, pin or tape the backing fabric securely to your work surface. This will help everything stay in place.
If needed, press seams and starch the quilt top with an iron. This keeps the layers stiff and smooth.
Taking these steps helps maintain your quilt sandwich’s alignment. It makes quilting on your sewing machine easier and more precise.
Baste the Quilt Layers Securely
To keep your quilt layers from shifting during sewing, you’ll need to baste them securely using spray adhesive or safety pins. Start by spreading the backing fabric right side down on a flat surface. Smooth out any wrinkles before layering the batting and quilt top carefully on top.
As you layer, align all edges precisely to ensure an even finish. Use spray basting or safety pins to hold the quilt layers firmly together. Work gradually to avoid puckers or bunching.
If your quilt is large, re-roll or fold it as you go. Apply more spray or pins to maintain a secure hold throughout. This careful basting process ensures your quilt layers stay perfectly in place during stitching.
Select and Install the Appropriate Needle
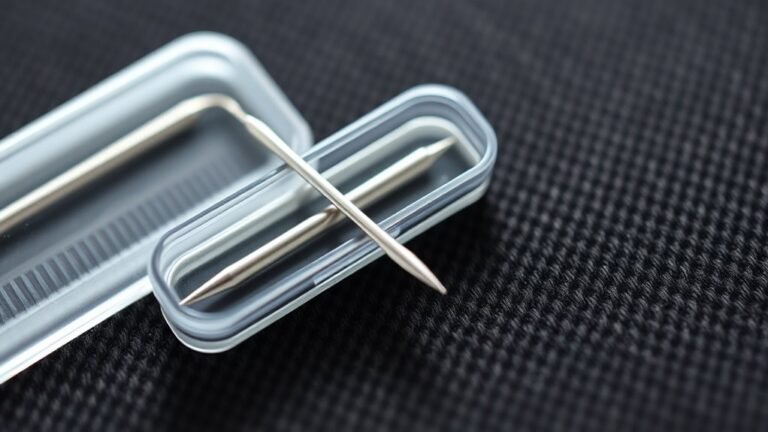
Choosing and installing the right needle plays a crucial role in achieving smooth, even stitches when quilting. Start by selecting a sharp, high-quality needle designed for quilting, like a Schmetz Microtex 80/12, which easily penetrates multiple fabric layers.
Always install a new needle on your machine before beginning to avoid skipped stitches and maintain stitch quality. Match the needle size to your fabric; thicker or layered fabrics, such as T-shirt quilts, need a larger size like 80/12.
Also, choose the appropriate needle type—universal, Microtex, or quilting—based on your fabric and thread to prevent damage. Remember to replace your needle regularly, either after a few hours of quilting or after completing a quilt, to keep your machine stitching smoothly throughout your project.
Set Up Your Sewing Machine and Workspace
After installing the right needle, the next step is setting up your sewing machine and workspace for quilting. First, clear and organize your workspace, making sure you have ample room around your sewing machine to easily maneuver fabric during your quilting project.
Place your machine on a sturdy, flat surface to prevent wobbling. Adjust your chair height so your arms bend comfortably at 90 degrees, reducing fatigue.
Attach a walking foot to your sewing machine; this helps feed multiple layers evenly. Make sure your machine is clean and ready to go.
Finally, set your stitch length longer than usual—this adjustment is essential for quilting projects to ensure strong, even stitches. Proper setup ensures smooth, accurate quilting from start to finish.
Test Stitches on Scrap Fabric
Before you start quilting, pick a scrap fabric that matches your quilt’s layers to test your machine settings. Adjust stitch length, tension, and foot pressure while sewing a few inches to see how the stitches look.
Take a close look at your test stitches to make sure they’re even and smooth. Then, jot down the settings that work best for you. This way, you’ll be all set before you begin your actual quilting project.
Choose Appropriate Fabric
When you test your thread and needle on a scrap piece of fabric that matches your quilt, you can quickly spot tension issues, puckering, or stitch problems. Choosing the right test fabric is essential—it should match your quilt’s weight and fiber content.
This lets you experiment with stitch length and thread without risking your quilt. Use your test fabric to make trial stitches, noting how your needle and thread interact. Keep track of any adjustments needed before working on the actual quilt.
| Fabric Type | Needle Size | Suggested Stitch Length | Thread Type | Notes |
|---|---|---|---|---|
| Cotton | 80/12 | 2.5 mm | Polyester | Smooth for quilting |
| Batting | 90/14 | 3.0 mm | Cotton-wrapped | Prevents puckering |
| Linen | 80/12 | 2.0 mm | Cotton | May need tension tweak |
| Denim | 100/16 | 3.5 mm | Heavy-duty | Use strong needle |
| Silk | 70/10 | 1.5 mm | Fine polyester | Delicate, adjust gently |
Adjust Machine Settings
Testing your machine settings on a scrap piece of fabric similar to your quilt layers helps you fine-tune stitch length and tension for the best results. Use the same thread and needle you plan for your quilt to get an accurate feel.
Set your stitch length between 3.0 and 4.0 mm for clear, even stitches. Sew test stitches on the scrap fabric, then check for smoothness, consistent tension, and no skipped stitches or puckering.
If you notice any issues, adjust your machine settings incrementally—either the tension dial or stitch length—and test again. This process guarantees your quilting will look neat and professional before you start sewing on your actual quilt layers.
Taking these steps saves time and prevents frustration down the line. It’s worth the little extra effort to get everything just right!
Inspect Stitch Quality
Although you’ve adjusted your machine settings, you still need to inspect the stitch quality on a scrap piece of fabric to make sure everything is balanced.
Testing on fabric similar to your quilt helps you check tension, stitch length, and overall stitch quality before working on the actual project. Follow these steps:
- Use the same needle and thread for your test stitches as you’ll use on your quilt.
- Sew multiple test stitches on the scrap fabric and observe stitch consistency.
- Check both the top and underside for even stitches and balanced tension.
- Adjust tension, stitch length, or presser foot pressure as needed based on your test results.
This process ensures your stitching is durable, uniform, and avoids skipped or broken threads during quilting. It’s a simple step that really saves you headaches later on!
Start Quilting From the Center of the Quilt
Starting from the center of your quilt helps you maintain even tension and prevents puckering as you sew. Begin by locating the exact center and marking it clearly.
Start stitching straight lines outward from this point, keeping an even distance between each line for a balanced design.
As you sew, roll or fold the quilt fabric outward from the center to manage the bulk and maintain smooth layers. This approach helps you keep control over the quilt, preventing bunching or uneven stitching.
Continuously adjust the fabric to ensure the layers lie flat, which improves overall stitch quality.
Maintain Steady Speed and Smooth Movements
You’ll want to keep your stitching speed steady and slow to create even stitches without puckering. Gently guide the fabric with smooth, controlled movements to avoid jerks or pulls.
Practice using your foot pedal carefully to maintain this consistent rhythm throughout your quilting. It really helps to keep things looking neat and professional. Just take it slow and steady!
Control Stitching Speed
When you control your stitching speed, you keep your quilting smooth and consistent. Mastering sewing speed means maintaining a steady pace that prevents uneven stitches and puckering.
Here’s how you can take control:
- Gently press the pedal to regulate sewing speed, avoiding sudden starts or stops.
- Use your machine’s speed control feature, if it has one, to set a consistent stitching pace.
- Stitch slowly and deliberately to improve your control and stitch quality.
- Regularly pause to adjust your grip and keep your movements fluid.
Guide Fabric Smoothly
Although controlling stitching speed is important, guiding your fabric smoothly plays an equally vital role in achieving even, professional-looking quilting. To guide fabric smoothly, keep the fabric flat and free of puckers by gently steering it with your hands.
Use your non-dominant hand to lightly direct the quilt while your dominant hand presses gently, maintaining fabric tension and preventing folds. Make steady movements without rushing, matching your pace to the quilt pattern for consistent stitching.
Regularly pause to adjust fabric tension or reposition the quilt to keep it smooth throughout sewing. By combining steady movements with careful fabric handling, you’ll create a smooth quilt surface and guarantee your quilt pattern comes out clean and precise every time.
Finish and Secure Your Quilt Stitches
Securing your quilt stitches is essential to keep your work intact over time, so start by backstitching at the beginning and end of each quilting line to prevent unraveling.
To finish and secure your quilt stitches effectively, here’s what you can do:
- Use the backstitch or locking stitch feature on your machine to lock stitches at start and finish points. It really helps keep everything in place.
- Regularly check and adjust your machine’s tension to maintain consistent, secure stitches. This little step makes a big difference.
- Tie off any loose threads on the quilt’s backside to avoid stitches coming undone. Don’t forget those hidden spots!
- For extra security, especially on larger projects, hand-tie knots at the beginning and end of quilting lines. It adds an extra layer of protection.
Following these steps ensures your quilt stays durable and beautiful, protecting your hard work from wear and tear over time. You’ll be proud of how long-lasting your quilt turns out!
Frequently Asked Questions
How to Quilt With a Regular Sewing Machine for Beginners?
You’ll want to use a walking foot, choose a longer stitch length, and mark quilting lines. Quilt slowly, adjust fabric often, and practice on scraps first.
This helps you sew even, smooth stitches confidently every time. Give it a try, and you’ll get the hang of it before you know it!
What Setting Do You Use on a Sewing Machine for Quilting?
You might think a short stitch works best, but actually, set your machine to a longer stitch length, around 3.0 to 4.0 mm.
Use a straight stitch for smooth, secure quilting results every time. It really helps keep everything neat and holds your layers together nicely.
What Are the Basic Steps of Quilting for a Beginner?
You layer backing, batting, and quilt top, then baste them. Mark your quilting lines, set your machine with a walking foot, start quilting from the center, stitch slowly, and finish by trimming and adding binding.
First, get your three layers ready: the backing, the batting, and the quilt top. Then, baste them together so they stay in place.
Next, mark the quilting lines on your fabric. This will guide your stitching. After that, set your sewing machine with a walking foot—it helps feed all the layers evenly.
When you start quilting, begin from the center of your quilt. Take your time and stitch slowly to keep everything neat. Finally, trim any excess fabric and add the binding to finish your quilt.
What Is the Easiest Quilting Method?
The easiest quilting method is straight-line quilting—it’s like drawing with a sewing machine.
You’ll just sew parallel lines, use a walking foot, and follow guides. It’s perfect for beginners who want simple, clean designs.
Conclusion
Now that you’ve mastered these simple steps, your quilting journey is just beginning. Imagine the unique patterns and textures you’ll create, stitch by stitch, turning fabric into art.
But here’s the twist—each quilt holds a story only you can tell. Ready to uncover yours? Grab your sewing machine, take a deep breath, and start quilting with confidence.
With every stitch, you’re not just sewing fabric; you’re crafting memories and beautiful designs. Quilting on a sewing machine allows you to bring your creativity to life in amazing ways.
Your masterpiece is waiting, and it’s more incredible than you think. So, dive into your quilting adventure today and watch your skills and projects flourish!