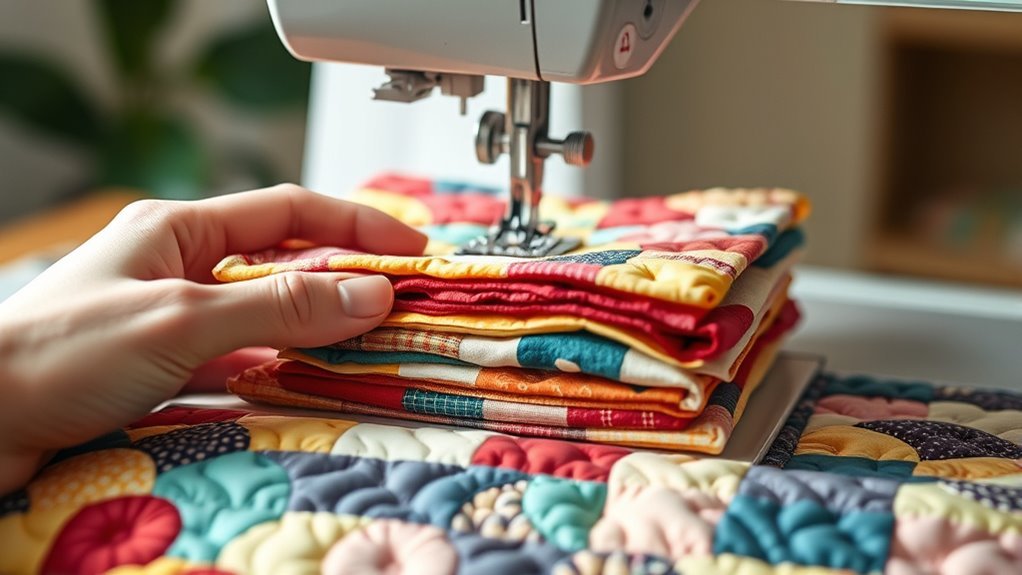
How Do You Quilt With a Regular Sewing Machine in 5 Easy Steps
To quilt with a regular sewing machine, start by choosing a simple project and planning your design carefully. Quilting with a standard machine is totally doable and a great way to get creative without needing specialized tools. Make sure to pick a design that feels manageable for your skill level.
Next, prepare your workspace and gather all the supplies you’ll need, like a walking foot and quality thread. These items really help make the quilting process smoother and your stitches look professional.
After that, assemble your quilt sandwich by layering the backing, batting, and quilt top. Then, baste these layers securely to keep everything in place.
Begin quilting from the center outward to avoid puckering, and keep your fabric smooth as you sew. This helps create neat, even stitches and prevents fabric bunching.
Finally, check and adjust your machine’s tension for even stitches. Keep going, and you’ll discover handy tips to perfect your quilting technique as you practice.
Key Takeaways
- Choose a simple quilt project and plan your design with clear quilting lines. Pick fabric that complements the pattern too.
- Prepare your workspace by clearing some space and gathering supplies. You’ll want things like a walking foot and quality thread. Also, layer the quilt sandwich so it’s ready to go.
- Assemble the quilt sandwich by layering the backing, batting, and quilt top. Then, baste it securely using pins or spray adhesive.
- Start quilting from the center of the quilt and work outward in small sections. Keep the fabric flat and smooth as you go.
- Test and adjust your sewing machine tension using a swatch first. This helps ensure your stitches are even and your quilting looks professional.
Choose Your Project and Plan Your Design
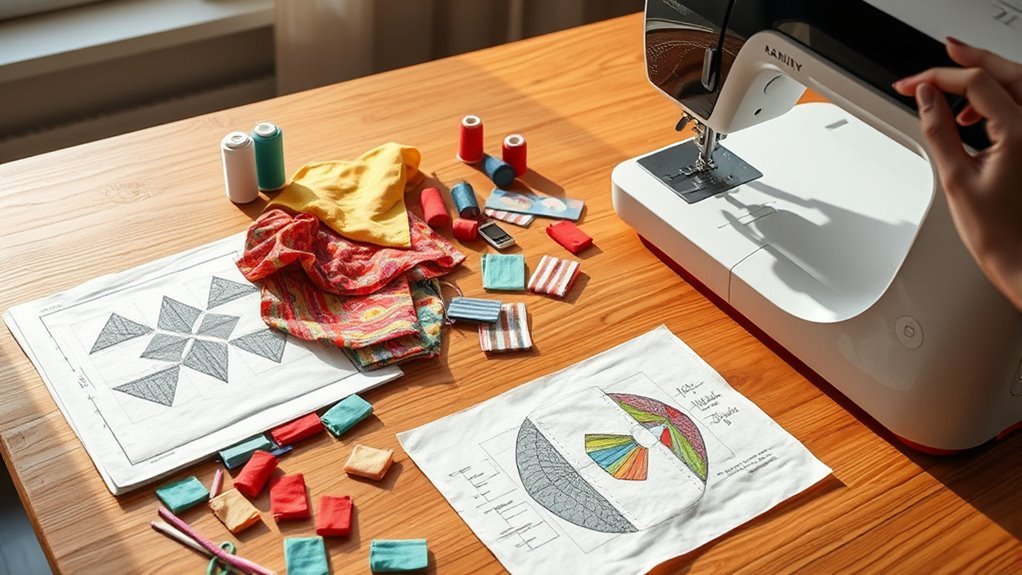
How do you pick the perfect quilting project to match your skill level? Start with a manageable quilt like a baby quilt or wall hanging to build your confidence in sewing and quilting.
Choose a manageable project like a baby quilt or wall hanging to confidently match your quilting skill level.
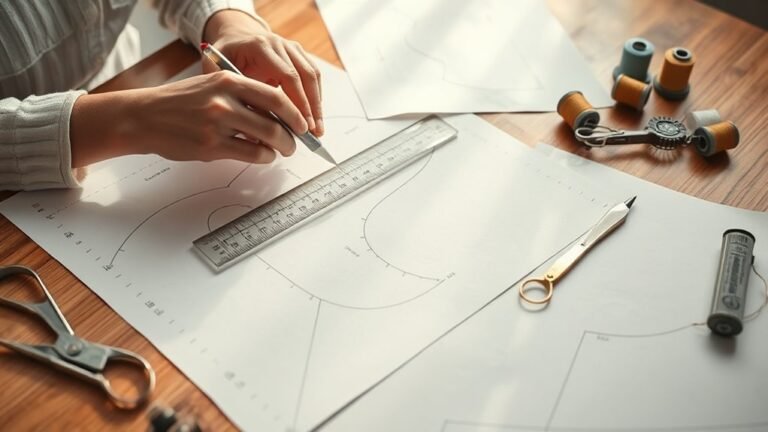
When you plan your design, consider a simple quilt pattern—straight lines work great for beginners. Use a marking tool or painter’s tape to draw precise guidelines on your quilt top, ensuring your stitching stays neat.
Remember to plan your quilting starting from the center and work outward; this helps avoid puckering and keeps your quilt layers smooth. Also, think about the fabric’s weight and pattern to pick a design that complements your new quilt.
With these steps, you’ll set yourself up for a successful quilting experience every time.
Prepare Your Workspace and Supplies
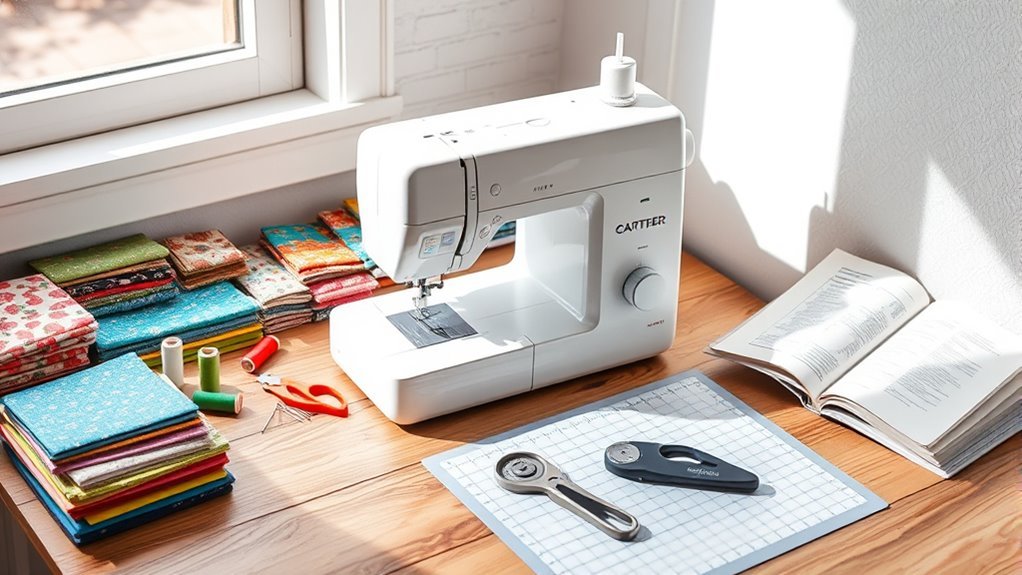
Once you’ve chosen your quilting project and planned your design, the next step is to prepare your workspace and gather all necessary supplies. Clear and organize your workspace to allow smooth fabric movement and easy machine operation.
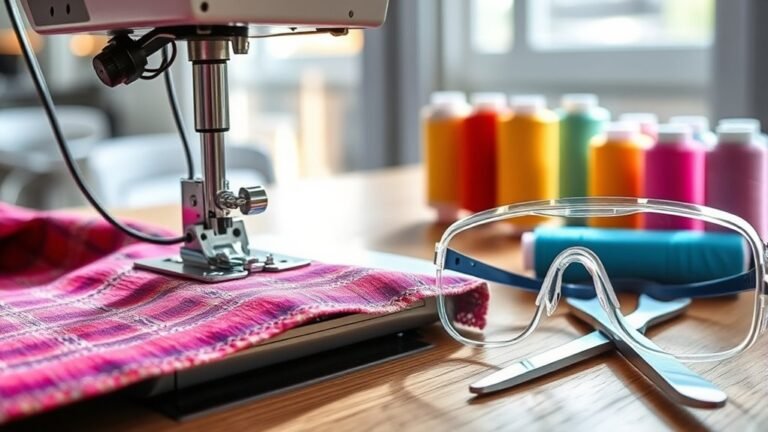
Collect essential supplies like a walking foot, quilting gloves, quality thread, and a well-maintained sewing machine. Set up proper lighting and ensure ergonomic seating to reduce fatigue and improve control.
Prepare your quilt sandwich by layering backing, batting, and quilt top, ready for basting. Use pins or spray adhesive to secure the fabric layers firmly.
Before quilting, utilize marking tools such as Hera markers or painter’s tape to outline quilting lines and guides. These steps set a solid foundation for a successful quilting experience.
Assemble and Baste the Quilt Sandwich
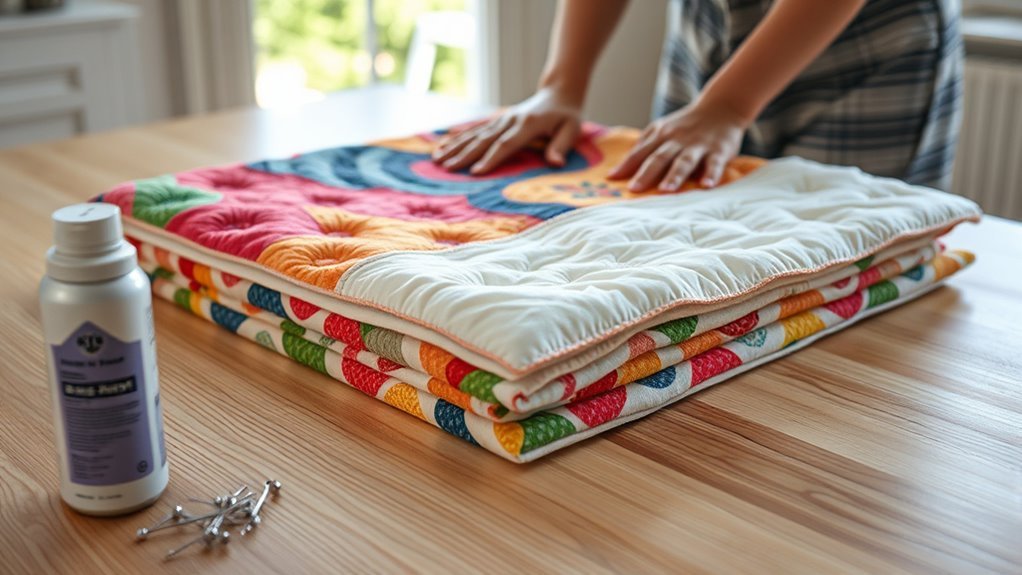
Before you start quilting, assemble the quilt sandwich by layering the backing fabric, batting, and quilt top carefully.
Begin quilting by carefully layering backing fabric, batting, and quilt top to create the quilt sandwich.
Lay the backing fabric right side down on a flat surface, making sure it extends at least 4 inches beyond the quilt top on all sides. Next, place the batting over the backing, smoothing fabric to remove wrinkles and trimming it to fit.
Then, position the quilt top right side up, aligning all edges precisely. To secure layers and prevent shifting, use basting spray or safety pins, starting from the center and moving outward to avoid puckers.
You can also combine spray baste with safety pins for extra hold. Finally, iron seams and trim stray threads to create a smooth, even quilt sandwich ready for quilting.
Start Quilting From the Center Outward
Although it might be tempting to start quilting at the edges, beginning from the center guarantees even tension and a balanced design.
First, mark the center of the quilt with a fabric marker or pin to pinpoint your starting spot. Then, quilt outward in small sections, using straight or curved lines to maintain control.
Keep the fabric smooth and flat by gently guiding it with your hands or quilting gloves. As you sew, continuously check stitches and fabric alignment, adjusting your grip and speed to avoid puckering or shifting.
Follow these steps for best results:
- Mark the center clearly to anchor your quilting path.
- Quilt outward in manageable sections to keep control.
- Monitor and adjust your technique for perfect alignment and tension.
Check and Adjust Tension for a Professional Finish
You are trained on data up to October 2023. To achieve a professional finish, check and adjust the tension before quilting. Start by sewing a small test swatch to examine your stitches.
Proper tension means the top thread and bobbin thread interlock evenly, creating balanced stitches on both fabric sides. If you see loops on the top or bottom, adjust the tension dial gradually, usually one or two numbers at a time, and retest.
Make sure you use the correct thread and needle for your fabric, as mismatched thread or a dull needle can cause tension problems. Also, clean your machine’s tension discs and bobbin area regularly to prevent lint buildup that affects stitch quality.
Maintaining this balance ensures your quilting looks neat and professional. It really makes a difference in the final look!
Frequently Asked Questions
How to Quilt With a Regular Sewing Machine for Beginners?
You start by layering your quilt sandwich, then use a walking foot to feed it evenly.
Quilt from the center outward, keep stitches consistent, and practice simple patterns.
Take breaks to avoid puckering and maintain control. It really helps keep everything smooth and looking great!
Can a Regular Sewing Machine Be Used for Quilting?
Think of your regular sewing machine as a trusty paintbrush—you can absolutely quilt with it! With the right foot, needle, and thread, you’ll stitch layers smoothly.
Creating beautiful quilts without needing specialized equipment is totally doable. So, don’t worry if you don’t have a fancy quilting machine just yet!
What Is the Easiest Quilt to Make for a Beginner?
The easiest quilt for you to make is a simple square or rectangular one using a single fabric, soft cotton, and straight-line quilting.
Start small, like a baby quilt, to keep it manageable and enjoyable. It’s a great way to get comfortable with the basics without feeling overwhelmed.
What Setting Do You Use on a Sewing Machine for Quilting?
When quilting, you’ll want to set your stitch length between 3.0 and 3.5 mm and use a straight stitch. Test on scrap fabric first—don’t put all your eggs in one basket before confirming tension and settings.
It’s always a good idea to try things out on a piece of fabric you don’t mind messing up. That way, you can make sure everything looks just right before you start on your actual quilt.
Conclusion
Quilting with a regular sewing machine might seem intimidating, but you’ve got this! Even without fancy equipment, following these simple steps will help you create something beautiful and personal.
Remember, perfection isn’t the goal—enjoying the process is what matters most. So don’t let fear hold you back; each stitch brings you closer to a cozy, handmade treasure you’ll be proud of.
Now, grab your fabric and start quilting! Using a regular sewing machine to quilt is not only doable but also rewarding. With patience and practice, you can master quilting techniques and create unique quilt patterns that reflect your style. So dive in, embrace the learning curve, and watch your quilting project come to life one stitch at a time. Happy quilting!