How to Do Darts in Sewing in 3 Easy Steps
To do darts in sewing, start by marking your darts precisely on the fabric’s wrong side with chalk. This step is crucial because accurate markings guide your stitching and ensure the darts shape your garment perfectly.
Next, fold the fabric right sides together, aligning the dart legs. Pin them securely, but make sure not to cover the dart lines. This keeps your sewing precise and easy to follow.
When you stitch, begin at the widest part of the dart and work towards the tip. Backstitch at the start to lock your stitches, but don’t backstitch at the end to avoid bulky seams.
Finally, press the darts for a polished look. Pressing helps the darts lay flat and shapes the fabric beautifully.
There’s more to perfecting this technique, so let’s explore further!
Key Takeaways
- Mark the dart points and lines on the fabric’s wrong side for precise alignment before folding.
- Fold the fabric right sides together and pin the dart legs securely, ensuring notches align.
- Sew from the widest part to the tip using a straight stitch, backstitching at the start only.
- Press darts in the appropriate direction using steam for a smooth finish.
- Ensure accurate marking and alignment for a polished and well-fitted garment.
Step 1: Marking Your Darts for Precision
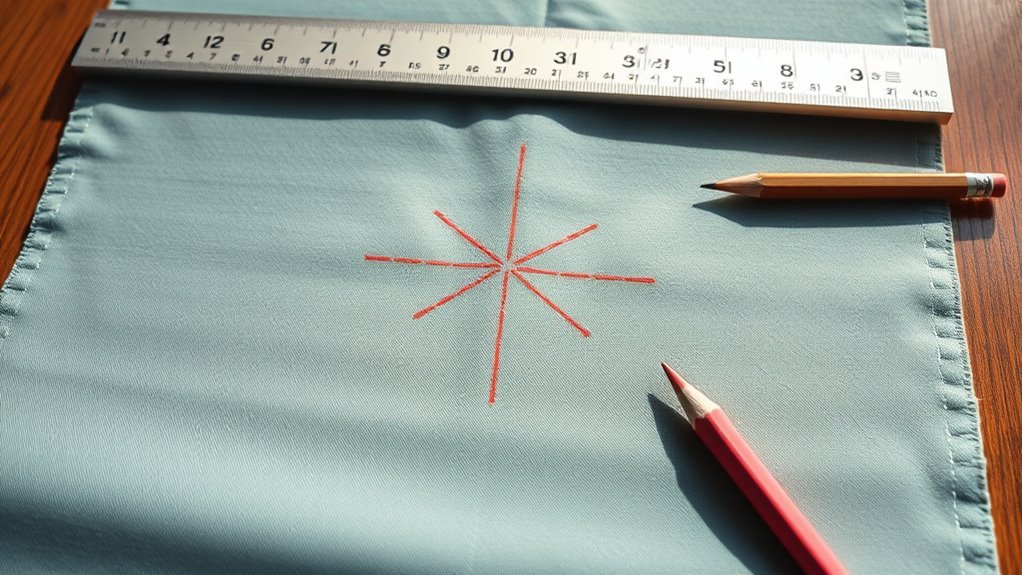
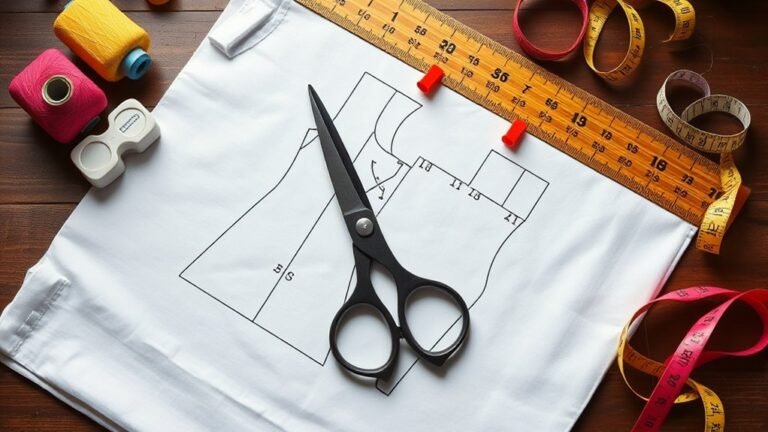
To guarantee your darts are perfectly aligned, start by marking them with chalk or a fabric pencil on the wrong side of the fabric. This confirms precision in your dart lines.
First, identify the dart’s starting point, tip, and finishing points before tracing the shape. Using a ruler, draw straight lines to enhance clarity and avoid confusion during sewing.
Next, fold the fabric right sides together along the central dart line to visualize the dart shape, pinning it securely in place. If necessary, snip the dart lines up to the point, but only halfway through the seam allowance to prevent raw edges from showing.
Proper marking lays the foundation for accurate dart construction, leading to a polished finished product. It might feel a bit detailed now, but trust me, it makes sewing so much easier later on!
Step 2: Folding and Pinning Darts: Tips for Accurate Alignment
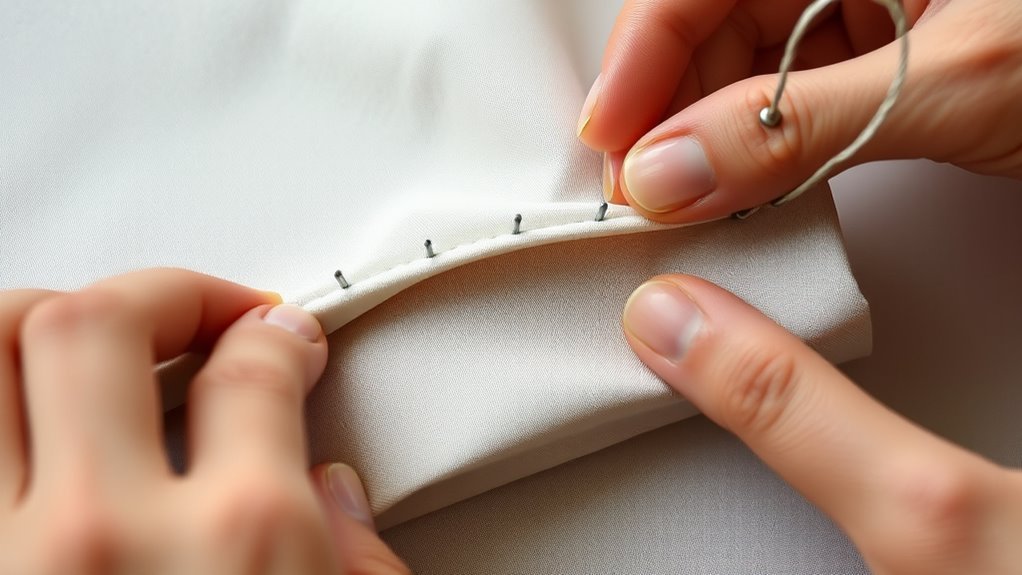
Once you’ve marked your darts, it’s time to fold the fabric right sides together along the central dart line for accurate alignment. This step is essential for guaranteeing your dart edges meet perfectly.
Use pins to secure the dart legs together, placing them at the start, middle, and point. Make sure the notches on both sides line up for precise alignment.
Try to avoid pinning directly over the dart lines—that way, your sewing will go nice and smooth. Pin securely to keep the dart’s shape and stop the fabric from shifting while you sew.
Step 3: How to Stitch and Press Darts for a Polished Look
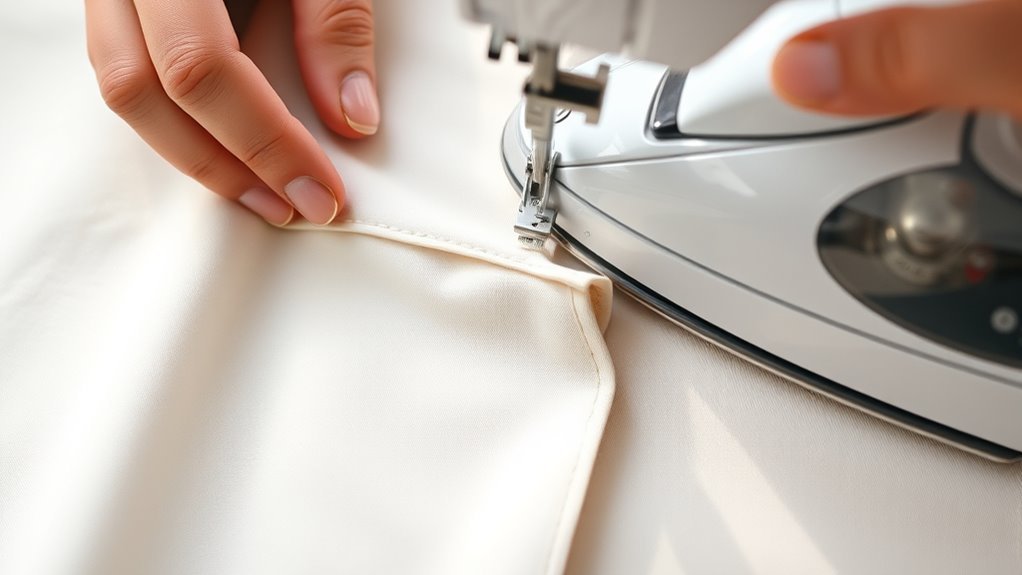
Stitching darts requires precision and technique to achieve a polished look in your garment. Start from the widest part of the fabric and sew toward the tip of the dart using a straight stitch with a stitch length of 2 to 2.5.
Remember to backstitch at the starting edge for reinforcement, but avoid backstitching at the tip to prevent lumps. Once you finish sewing, cut the threads, leaving enough to tie a double knot for a secured finish.
Next, press the darts: bust darts should be pressed downwards while waistline darts are pressed toward the center. Use steam and a tailor’s ham or rolled towel to shape the dart point, ensuring a neat, professional finish.
Frequently Asked Questions
What Fabric Types Are Best for Sewing Darts?
Light to medium-weight fabrics like cotton, silk, and linen work best for sewing darts. They shape well and maintain structure.
You’ll want to avoid heavy fabrics though. They can create bulk and distort the dart’s intended fit.
Can I Use Darts in Knit Fabrics?
Yes, you can use darts in knit fabrics! Just make certain you choose the right dart style and maintain the fabric’s stretch.
This way, your garment will fit well and move comfortably with your body. It’s all about keeping that balance between shape and flexibility.
How Do I Adjust Dart Size for Different Body Shapes?
Dart adjustments demand delicate determination. To fit different body shapes, measure your bust, waist, and hips.
Then, modify dart size by adding or subtracting fabric, ensuring smooth curves that contour your silhouette beautifully.
It’s all about making those curves flow just right. That way, your garment hugs you perfectly where it should!
What Tools Do I Need for Marking Darts?
You’ll need a fabric marking tool, like tailor’s chalk or a water-soluble pen, a ruler for precise lines, and a measuring tape to guarantee accuracy.
These tools make marking darts accurate and straightforward. It’s pretty simple once you have the right stuff!
How Can I Remove Darts if I Make a Mistake?
If you’ve made a mistake with darts, don’t fret. Just carefully unpick the stitches, and press the fabric flat.
It’s like erasing a line in a book—you’re crafting something beautiful, so embrace the process!
Conclusion
In sewing, mastering darts is like sculpting a masterpiece from a block of clay. With precision marking, careful folding, and skillful stitching, you’ll create flattering shapes that elevate your garment.
Don’t rush the process; each step is essential to achieving that polished look. Embrace the art of darts, and soon you’ll find your creations fitting like a glove.
So pick up that fabric, and let your sewing journey unfold beautifully! Learning how to do darts in sewing is a game-changer, making your garments look professional and tailored. With just a few simple steps, you can transform flat fabric into beautifully contoured pieces that enhance your style. Keep practicing your dart techniques, and watch your sewing projects come to life with perfect shape and fit every time.