How Do You Sew an Invisible Zipper in 5 Easy Steps
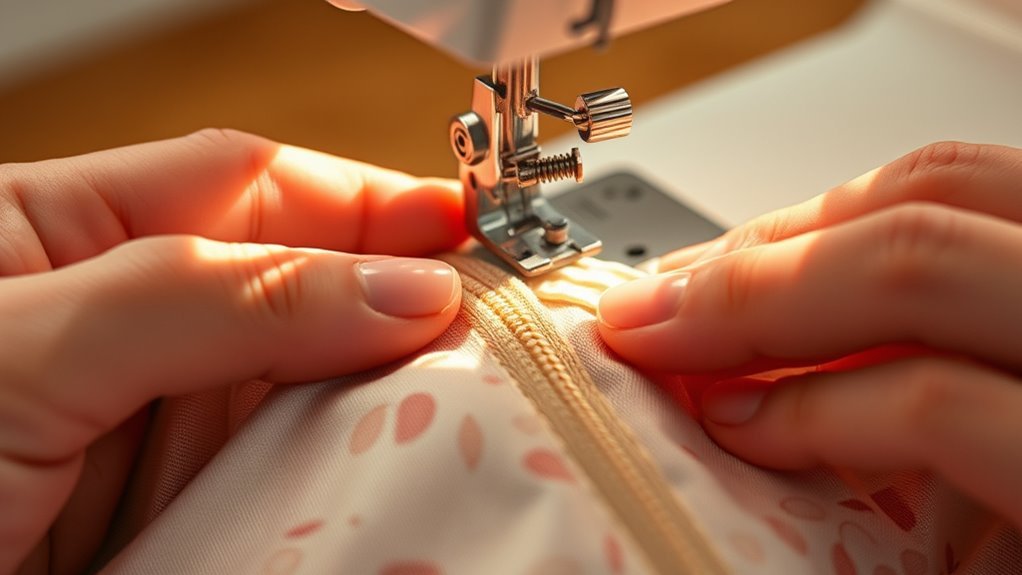
To sew an invisible zipper in five easy steps, start by marking and pinning the zipper precisely along the seam. This step is key to ensuring your zipper will sit perfectly hidden once sewn in.
Attach your invisible zipper foot and stitch about 1/4 inch from the teeth, keeping the seam neat and close.
Next, check the zipper alignment by zipping it up, making sure both sides match perfectly. This helps avoid any puckering or misalignment later on.
Secure the seam with pins and backstitches for a flawless fit that stays in place.
Finally, press the seam flat for a crisp, professional finish. This simple step really makes your invisible zipper blend seamlessly into your project.
Keep following these tips, and you’ll master sewing invisible zippers with ease in no time!
Key Takeaways
- Mark and pin the zipper along the center back or seam, making sure the teeth line up just right of the fabric edge. This helps the zipper open smoothly without any trouble.
- Attach an invisible zipper foot to your sewing machine and sew about 0.5 cm from the zipper teeth. Keep your needle perfectly aligned to create that invisible, even seam you’re aiming for.
- Next, secure the back seam up to 1-2 cm before the zipper starts. Match the seam allowances carefully and keep an even tension while sewing.
- Once that’s done, zip and unzip the zipper a few times to check the alignment. Look out for any puckering or gaps and adjust if needed to make sure the fabric edges lie flat.
- Finally, press the seam allowances flat and trim any excess fabric. Finish the top edge neatly to get that crisp, professional look you want for your project.
Marking and Pinning the Invisible Zipper

Before you begin sewing, mark the center back and waist seams to position the zipper accurately. Use chalk, a vanishing pen, or pins for precise marking, making certain the zip’s placement aligns perfectly with your fabric’s seams.
When pinning the zip, secure it at the top, center, and sides, keeping the teeth just right of the pins for perfect alignment. Leave a small gap between the zip tape and the fabric’s overlocked edge to maintain neatness.
Open the zip as you pin to check that it sits correctly beneath the fabric and remains invisible once fastened. This careful marking and pinning process ensures accuracy and smooth attachment, setting a solid foundation for sewing the invisible zipper flawlessly.
Sewing the Zipper With a Specialized Foot
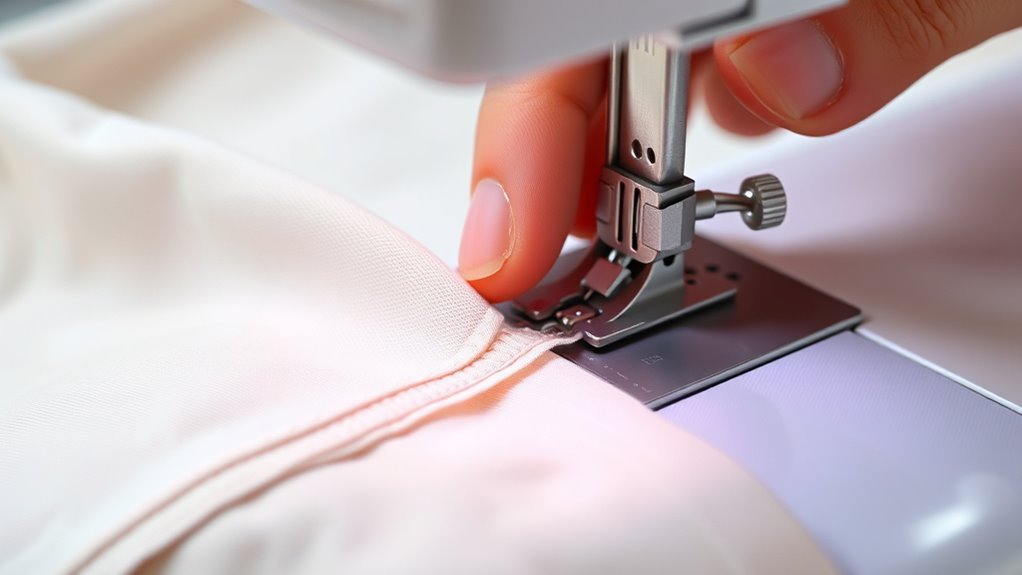
How exactly do you achieve a flawless stitch when sewing an invisible zipper? The key lies in using a specialized invisible zipper foot that guides your needle perfectly along the zipper tape.
Here’s how to sew the invisible zipper with precision:
Here’s the step-by-step method to sew an invisible zipper with perfect precision and a flawless finish.
- Attach the invisible zipper foot to your machine. Make sure the needle aligns with the foot’s groove for accurate stitching.
- Insert the zipper tape into the foot’s groove. Align the teeth with the foot’s center or edge depending on your machine’s design.
- Sew close to the zipper teeth—about 0.5 cm (1/4 inch). Keep the foot’s guide aligned to maintain invisibility and an even seam.
You can adjust the foot’s screw to set the needle position perfectly relative to the invisible zipper teeth. This way, you get professional results every time.
Checking Alignment and Zipper Function
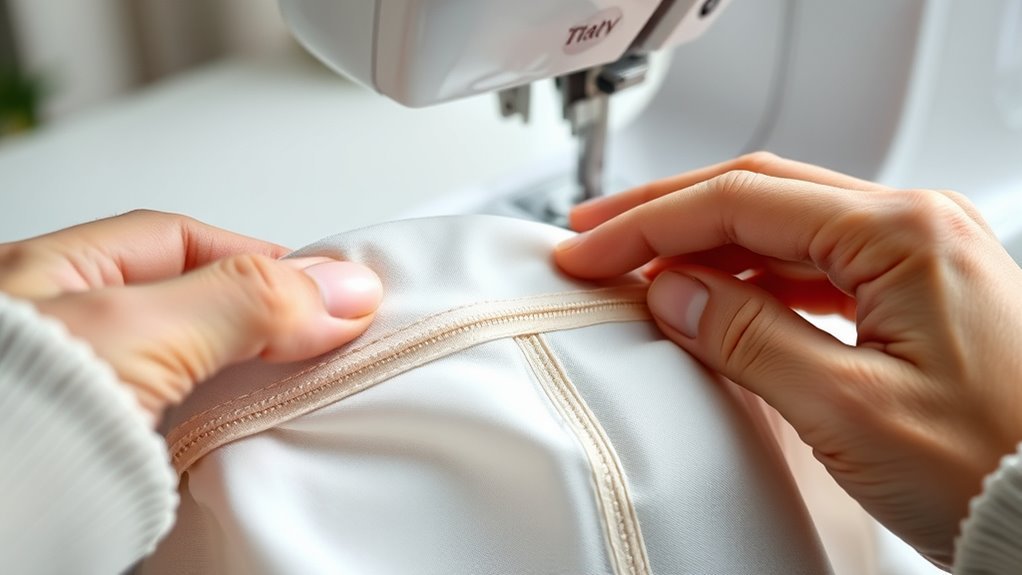
Once you’ve sewn the invisible zipper using the specialized foot, take a moment to zip it up and inspect the alignment. Check that the fabric edges align perfectly along the seam, ensuring a smooth finish without puckering or gaps.
Confirm that the seam lines on both sides of the zipper match within a few millimeters to maintain its invisible appearance. Next, test the zipper’s function by opening and closing it several times, making sure it moves smoothly without catching on the fabric.
If you notice any misalignment or unevenness, adjust and resew as needed. Proper alignment and flawless zipper function are key to achieving a professional, seamless look that blends perfectly with your fabric.
Securing the Seam for a Perfect Fit
To secure the seam for a perfect fit, sew the back seam up to about 1-2 cm before the zipper starts. This way, you can attach the zipper and fabric seamlessly.
When you reach this point, stop stitching with your sewing machine to prepare for the zipper insertion.
Follow these steps for precision:
- Match seam allowances on both sides of the zipper, making sure the fabric edges line up perfectly.
- Use pins or clips to hold the fabric securely along the zipper line. Keep the tension even so everything stays in place.
- Backstitch at the beginning and end of the seam. This reinforces the stitches and helps prevent unraveling.
Pressing and Finishing the Top Edge
Before pressing the top edge, press the seam from the inside to make certain it lies flat and crisp. Hold the seam taut while pressing to set it neatly, then let it cool completely for a sharp finish.
Trim any excess fabric to confirm the top edge is even and neat. You can press the seam allowances either outward or inward, depending on your project’s needs.
Finish the top edge of both the fabric and lining separately by sewing a small seam for a polished look. If you’re working with delicate fabrics, use a pressing cloth to prevent shine or damage during pressing.
Taking these steps guarantees a clean, professional appearance for your invisible zipper installation. It really makes a difference in the final look!
Frequently Asked Questions
How to Sew a Zipper Into Something?
You start by marking the zipper placement, pin it in place, and use a zipper foot to sew close to the teeth. Sew each side carefully, keep it unzipped, and finish by pressing the seam neatly.
It’s pretty straightforward once you get the hang of it. Just take your time with the pins and sewing close to the zipper teeth. You’ll have it looking great in no time!
Do You Need Interfacing for an Invisible Zipper?
You don’t always need interfacing for an invisible zipper, but using lightweight fusible interfacing helps stabilize lightweight or delicate fabrics. It prevents puckering, and guarantees the zipper lies flat for a clean, professional finish.
What Is a Semi-Concealed Zip?
You might think a semi-concealed zip is just a hidden zipper, but it’s actually partially visible with narrow tape showing at the top and bottom.
You’ll find it perfect when you want subtle, not fully hidden closures.
How to Sew a Two-Way Zipper?
To sew a two-way zipper, start by aligning the pullers at opposite ends. Sew one side from the top down.
Next, unzip the zipper and fold the fabric edges. Then, sew the other side from the bottom up.
Make sure to keep the teeth aligned throughout. Finally, press and topstitch for a smooth, accessible zipper operation.
Conclusion
Now that you’ve mastered these five simple steps, sewing an invisible zipper is no longer a mystery—it’s your new secret weapon. Like a magician’s sleight of hand, your zipper will disappear seamlessly into your garment, leaving everyone wondering how you did it.
Remember, practice makes perfect, so don’t be afraid to try again. With patience and precision, you’ll create flawless finishes that truly make your sewing projects shine. Sewing an invisible zipper might seem tricky at first, but once you get the hang of it, it’s a game changer.
Keep these easy steps in mind, and soon invisible zipper installation will feel natural. Your garments will look professional and polished every time!