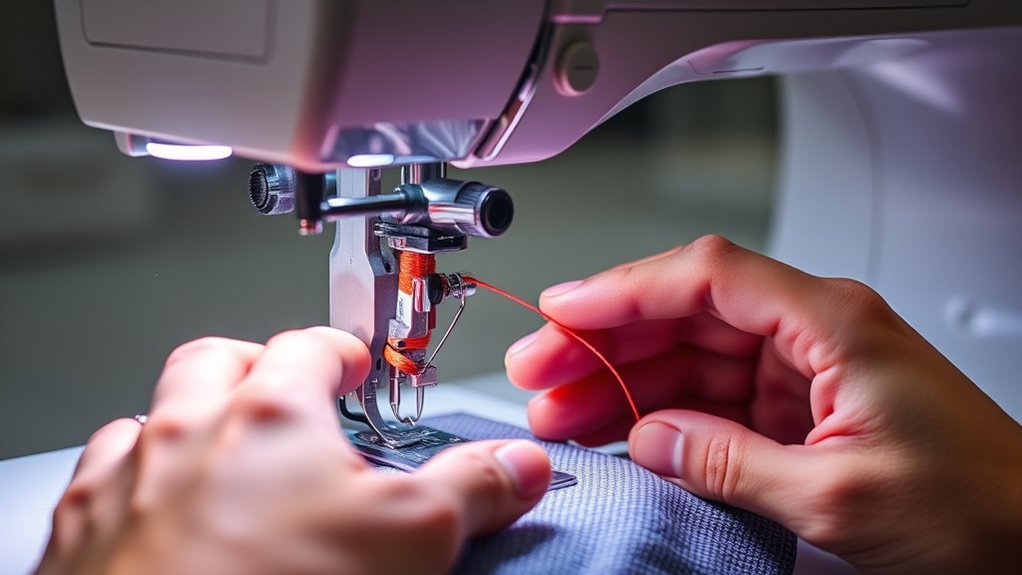
How to Do Thread Sewing Machine in 7 Easy Steps
To thread your sewing machine in 7 easy steps, start by getting familiar with the key parts like the spool pin, tension dial, needle, and bobbin. Understanding these basics will make the threading process much smoother and help you sew with confidence.
Next, prepare your supplies and power on your machine. Begin by winding the bobbin evenly, which is essential for smooth stitching. Then, insert the bobbin correctly into its case.
Carefully thread the upper path, following the guides on your machine. Make sure the tension discs are properly engaged, so your thread flows smoothly without snagging.
Finally, pull up the bobbin thread and test your stitching on a scrap piece of fabric. Keep practicing, and you’ll uncover more tips for flawless sewing every time. Happy sewing!
Key Takeaways
– Prepare sewing supplies by selecting the correct needle, thread, and bobbin matching your fabric type and project requirements.
Make sure everything is suitable for what you’re working on.
– Wind the bobbin evenly and insert it properly into the bobbin case to ensure smooth stitching.
This step helps avoid thread jams while sewing.
– Thread the upper thread path by following the machine’s threading guide, passing through tension discs and the take-up lever carefully.
Take your time here to get it right.
– Adjust the thread tension dial for balanced stitches, avoiding loose or tight thread loops during sewing.
Proper tension is key to neat stitches.
– Power on the machine, place the fabric under the presser foot, and use the foot pedal to control sewing speed.
Now you’re ready to start sewing!
Understand Your Sewing Machine Parts
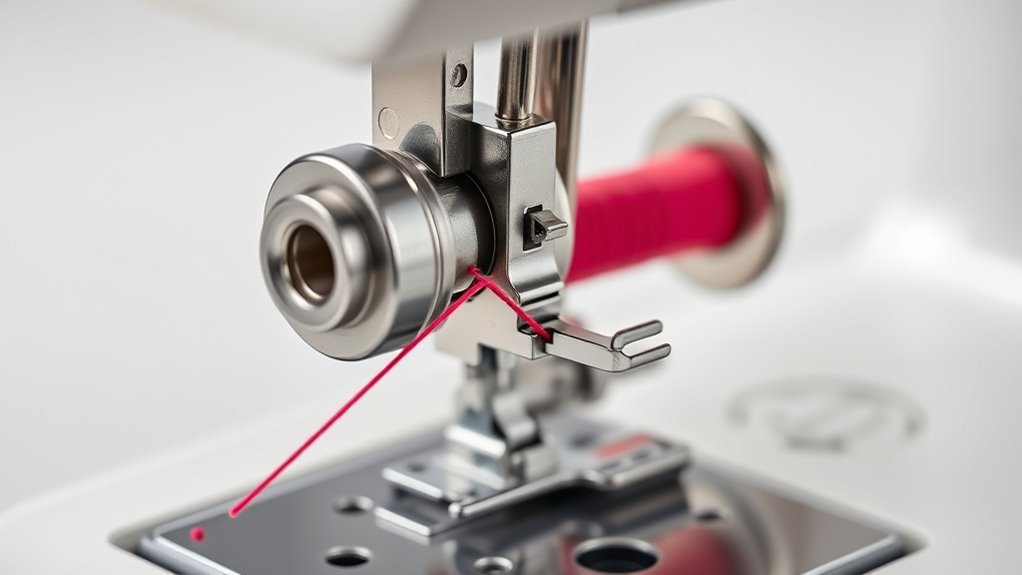
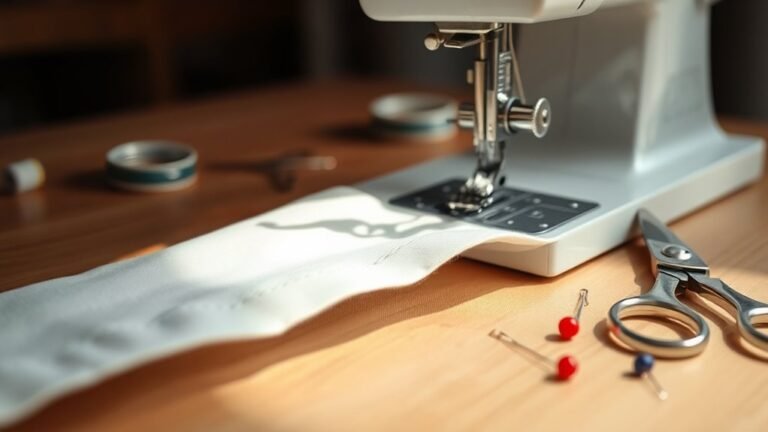
Before you start sewing, it’s important to understand your sewing machine parts. The presser foot plays a vital role by holding your fabric firmly in place as you sew.
Understanding your sewing machine parts is essential, starting with the presser foot that holds fabric securely while you sew.
You control it using the presser foot lever, which makes adjusting easy. Just beneath the presser foot, you’ll find the feed dogs—these metal teeth work together to smoothly move your fabric under the needle, ensuring even stitches.
The needle itself pierces the fabric to create stitches and is secured by the needle clamp screw. Don’t forget the bobbin, which supplies the bottom thread and fits into the bobbin case.
It works with the tension dial for balanced stitching. Finally, the power switch activates your machine, bringing all these parts to life for your sewing projects.
Prepare Your Sewing Supplies

Although gathering your sewing supplies might seem straightforward, having the right materials ready can make your project smoother and more enjoyable. Focus on proper needle selection to match your fabric, which ensures clean stitching and prevents damage.
Prepare your thread by securely placing the spool on the spool pin for easy threading. Don’t forget to wind a bobbin with even tension before starting.
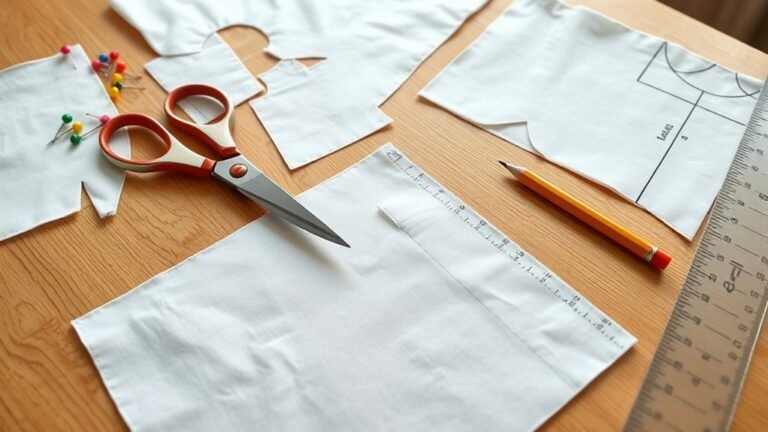
Keep scissors, pins, and measuring tools nearby to assist with adjustments.
| Sewing Supplies | Purpose | Tips |
|---|---|---|
| Needle | Penetrates fabric | Match size to fabric type |
| Thread & Bobbin | Holds stitches together | Use matching color |
| Scissors & Pins | Cutting and holding fabric | Keep sharp and handy |
Power On and Set Up Your Machine
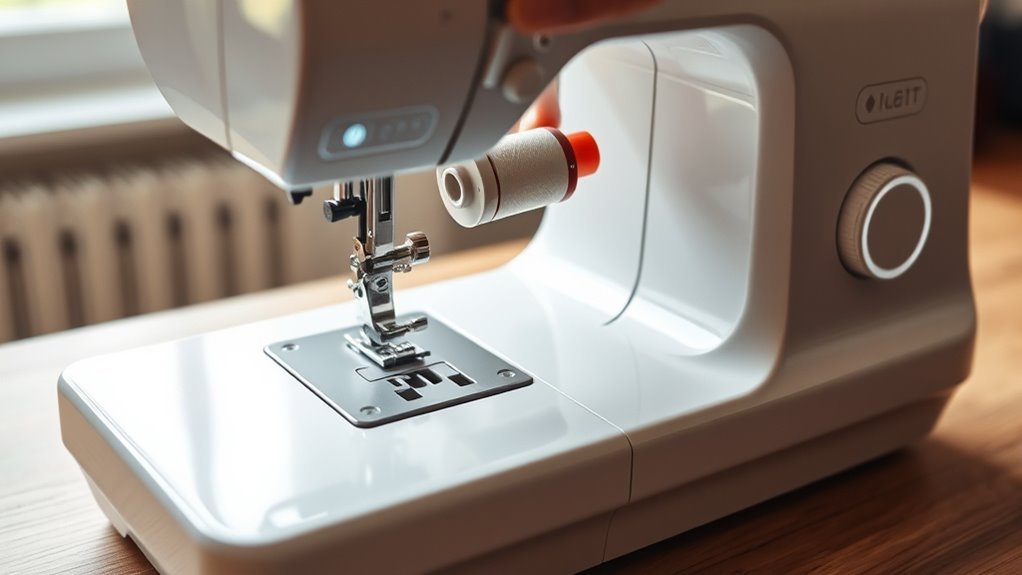
Once you’ve gathered your supplies, plug in your sewing machine and flip the power switch to the “on” position to activate it. Make sure your machine is properly connected to a power outlet to avoid any interruptions during setup.
Place the foot pedal on the floor within easy reach so you can comfortably control the sewing speed. After powering on, check if the power indicator light is illuminated—this confirms your sewing machine is ready to use.
Next, turn the handwheel manually to ensure everything is assembled correctly and the machine’s mechanisms move smoothly. Completing these steps guarantees your sewing machine is properly powered on and set up, so you’re prepared to start sewing with confidence and ease.
Wind and Insert the Bobbin
When you’re ready to wind the bobbin, start by placing your thread spool on the spool pin. Then, guide the thread through the bobbin winding tension disc to guarantee even winding.
Next, pull the thread through the bobbin hole from the inside out. Place and secure the bobbin on the winder spindle.
Push the bobbin winder to the right or engage it according to your machine’s design. Hold the thread end lightly, press the foot pedal, and stop when the bobbin is full.
Finally, cut the thread and remove the bobbin for insertion.
Remember these key steps from this Step-by-Step Guide:
- Guide thread through tension disc for even winding
- Engage bobbin winder and start winding
- Cut thread and remove bobbin cleanly
This post contains affiliate links to helpful sewing tools.
Thread the Machine’s Upper Thread Path
Now that your bobbin is in place, it’s time to thread the machine’s upper path.
Start by following the threading guide carefully, making sure the thread passes through each guide in order. Pay close attention to the tension discs to keep your thread properly secured for smooth stitching.
It might seem tricky at first, but take it step by step. You’ll get the hang of it in no time!
Follow Threading Guide
As you place the spool of thread on the spool pin, make sure it spins freely to prevent any snags. Next, carefully follow your sewing machine’s threading guide to correctly thread the upper path.
Pass the thread through the tension discs first, ensuring it fits snugly. Then, guide the thread through the take-up lever from right to left, making sure it seats properly in the eye.
Finally, thread the rest of the guides down the machine’s front, ending at the needle bar. Before you start sewing, pull a few inches of thread through the needle eye and hold it to avoid tangles.
Remember to:
- Pass thread through tension discs
- Thread take-up lever correctly
- Guide thread down to needle bar
Secure Thread Tension
Although threading the upper path may seem straightforward, securing the thread tension properly is essential to avoid stitching problems.
Follow your machine’s threading diagram carefully, guiding the thread through each component like guides, tension discs, and the take-up lever.
Make sure the thread sits firmly in the tension discs by gently pressing it into the grooves. Thread the take-up lever’s eyelet from right to left, then pass the thread through any remaining guides near the needle.
Finally, pull a few inches of thread through the needle to start smoothly.
| Step | Action | Tip |
|---|---|---|
| 1 | Follow threading diagram | Don’t skip any guides |
| 2 | Seat thread in tension discs | Press gently into grooves |
| 3 | Thread take-up lever eyelet | Right to left threading |
| 4 | Guide thread near needle | Avoid slack or tangles |
| 5 | Pull thread through needle | Prevent bunching at start |
Pull Up the Bobbin Thread
Once you’ve threaded the top thread, hold it gently and turn the handwheel toward you to lower and raise the needle. This action will catch the bobbin thread and bring it up through the needle plate opening.
When the needle rises, you’ll see the bobbin thread forming a loop with the top thread. Use your fingers or a seam ripper to pull the needle thread gently, bringing the bobbin thread up and out.
Then, pull both threads toward the back of the machine to prepare for sewing. Remember to fully pull out the bobbin thread to avoid stitching issues.
Also, keep both threads aligned behind the needle and handle them gently to prevent tangles. This step ensures smooth, even stitches as you start sewing.
Test and Adjust for Smooth Stitching
Before you start sewing your project, run a few inches of fabric through the machine to check if the stitches are even and tight. If you see loops or skipped stitches, recheck the top and bobbin threading.
Adjust the thread tension dial gradually, testing on scrap fabric until stitches look balanced on both sides. Make sure your needle is correctly installed and not bent, as a damaged needle can cause irregular stitching.
Also, clean the bobbin area and threading path regularly to avoid lint buildup that affects stitch consistency.
| Issue | Solution |
|---|---|
| Loose or looped stitches | Re-thread top and bobbin threads |
| Skipped stitches | Replace or reposition needle |
| Tight or puckered fabric | Adjust tension dial gradually |
| Irregular stitches | Clean bobbin and threading path |
Frequently Asked Questions
How to Thread the Bottom of a Sewing Machine?
To thread the bottom of your sewing machine, place the bobbin in its case with the thread unwinding counterclockwise. Then, pull it through the tension spring.
Next, insert the case into the machine. Finally, turn the handwheel to catch the thread. It’s pretty straightforward once you get the hang of it!
How Do You Thread a Sewing Machine Needle With Poor Eyesight?
You might struggle to thread a needle, but don’t fret—you can use a magnifying glass, bright-colored thread, and steady your hands close to the needle.
Choosing a machine with an automatic threader helps a lot, too. It makes the whole process way easier, especially if your eyesight isn’t the best.
How to Thread for Beginners?
You start by raising the needle, placing the spool on the pin, and following your machine’s threading path carefully.
Take your time threading the needle and bobbin, making sure the thread moves smoothly through all guides.
It might seem tricky at first, but just go slow and you’ll get the hang of it in no time!
How to Use a Stitching Machine for Beginners?
Using a stitching machine is like riding a bike—you’ll get the hang of it quickly. Just select a stitch and place your fabric.
Then, press the pedal gently and guide the fabric smoothly. Don’t forget to secure your seams with backstitching.
You’ll see, once you get the rhythm, it becomes second nature. Just take it step by step!
Conclusion
Threading your sewing machine is like planting a seed in fertile soil—it may seem small, but it sets the foundation for something beautiful to grow. By understanding your machine and following these steps, you’re preparing the ground for creativity to blossom.
Just as a gardener tends their plants with care, you’ll nurture each stitch, turning simple threads into lasting fabric stories. Keep practicing, and watch your skill flourish with every project you create.
Thread sewing machine might sound tricky at first, but once you get the hang of it, it becomes second nature. Remember, the key is patience and attention to detail. With these 7 easy steps, you’ll master threading your sewing machine in no time.
So, keep your thread smooth and your bobbin ready. Before you know it, your projects will come to life with flawless stitches, making your sewing journey a joyful and rewarding experience. Happy sewing!