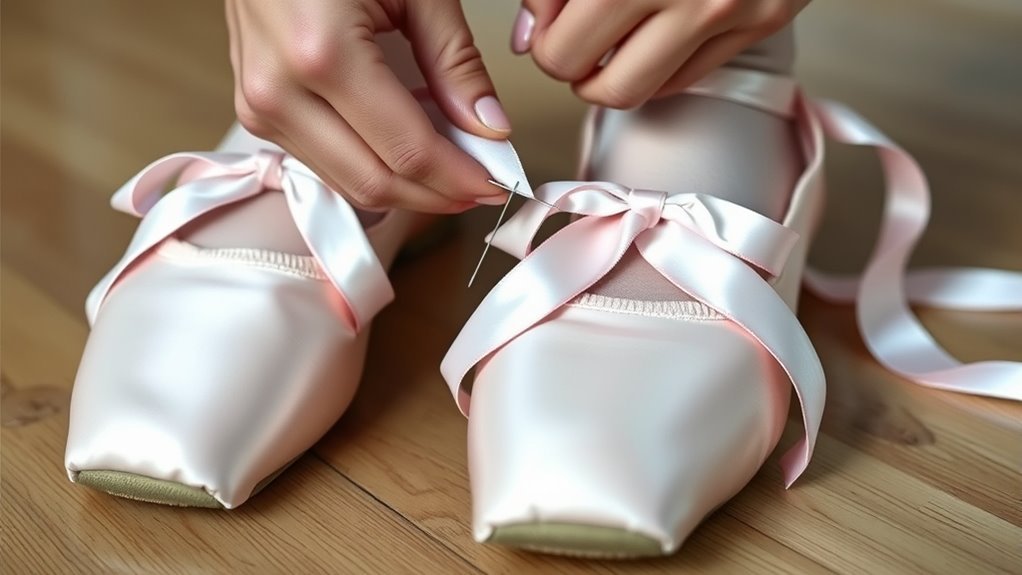
How Do You Sew Ribbons on Pointe Shoes in 5 Easy Steps?
To sew ribbons on pointe shoes in five easy steps, start by cutting and preparing equal-length ribbons. Make sure to prevent fraying by carefully sealing the ends with a lighter. This simple preparation helps keep your ribbons neat and ready for sewing.
Next, mark where the ribbons should go inside the shoe. Align them carefully to ensure they sit comfortably and securely when you wear the shoes.
Then, use secure stitches through the canvas layer of the shoe. Be sure to avoid sewing through thick seams to keep the ribbons smooth and strong.
After that, measure and attach elastics around your ankle. This added support keeps your shoes in place during dance.
Finally, check all stitching for durability and neatness. With these steps, you’ll master sewing ribbons on pointe shoes for a perfect fit every time.
Key Takeaways
- Cut and prepare four equal-length ribbons. Make sure to seal the ends to prevent fraying before you attach them to the pointe shoes.
- Next, mark where the ribbons will go inside the shoe. Try to align the ribbons straight and hide any raw edges for a nice, clean finish.
- Sew the ribbons securely using loop or back-and-forth stitches. It’s best to sew through the inner canvas layer, avoiding the outer satin and seams.
- Then, measure and attach elastic snugly around the ankle. Sew it onto the inside of the shoe with durable stitching so it stays put.
- Finally, inspect all your stitching to make sure it’s secure. Reinforce any weak areas, trim off excess threads, and test the ribbon durability before you dance.
Prepare the Ribbons and Pointe Shoes
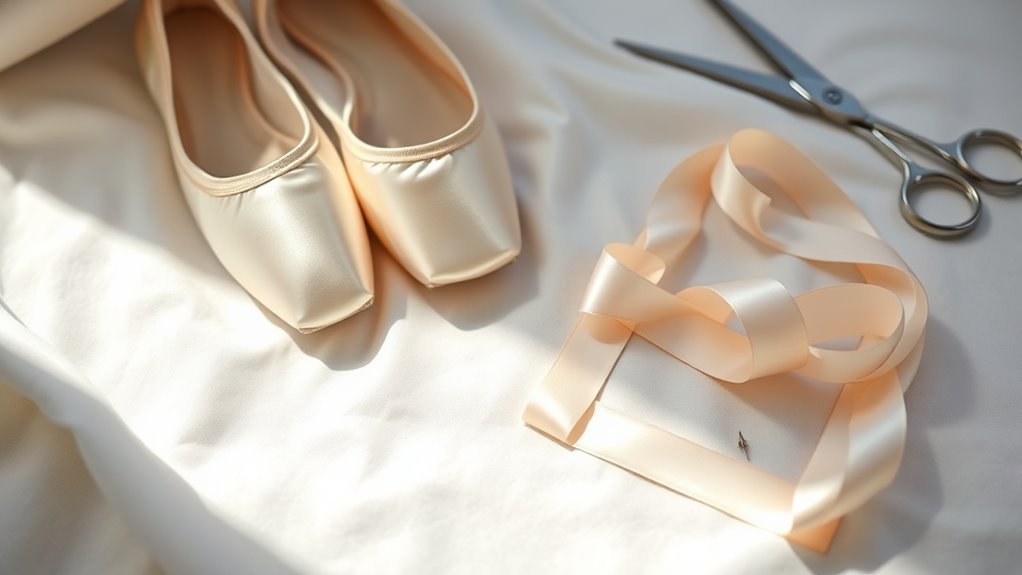
How do you get your ribbons ready for sewing onto pointe shoes? First, prepare the ribbons by cutting four equal lengths, usually around 22 to 24 inches each. This length works well for most dancers and shoes.
Next, gently burn the ends of each ribbon with a lighter to prevent fraying—be careful not to singe too much. Once your ribbons are ready, fold back the heel of the pointe shoe to access the canvas area where you’ll attach them.
This lets you see exactly where the ribbons will be sewn without damaging the shoe’s structure. Taking these steps guarantees your ribbons are properly prepared and your shoes are ready for the next phase of sewing. Proper preparation makes the entire process smoother and the ribbons more secure.
Mark and Align Ribbon Placement
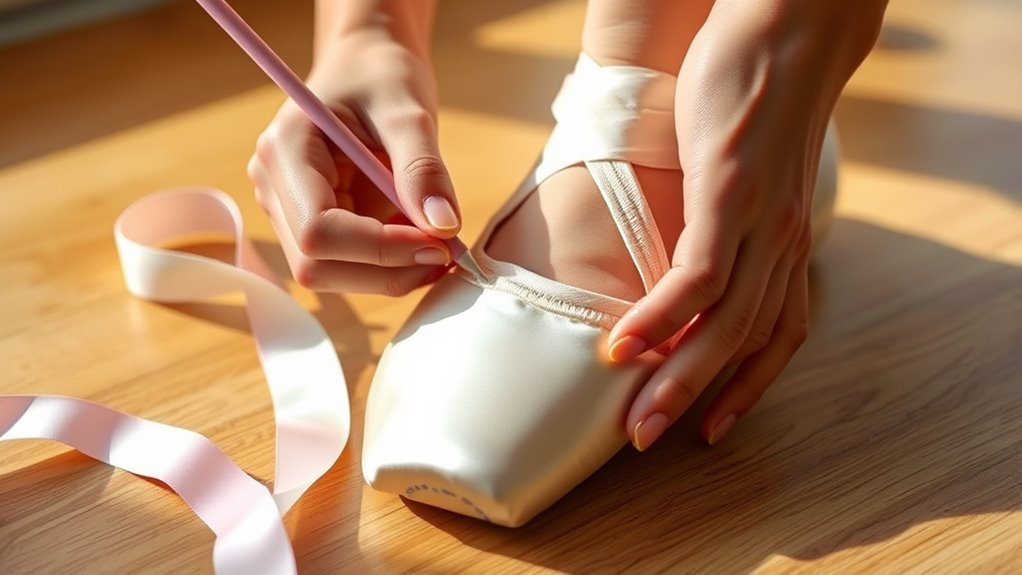
Before sewing, you’ll want to mark the exact spots inside your pointe shoes where the ribbons will go. Use a pencil to mark points based on the folded back shoe edges, keeping a safe distance from thick seams.
Next, align each ribbon along these marks, ensuring it lies straight and at the right angle. Fold back ribbon edges slightly to hide raw ends for a clean finish.
Double-check the placement by wearing the shoe, making sure ribbons lie flat and support proper foot positioning.
| Step | Action | Tip |
|---|---|---|
| Mark | Use pencil inside shoe | Avoid thick seams |
| Align | Position ribbons | Keep ribbons straight |
| Double-check | Try on shoe | Ensure flat, supportive fit |
Choose and Apply Sewing Techniques
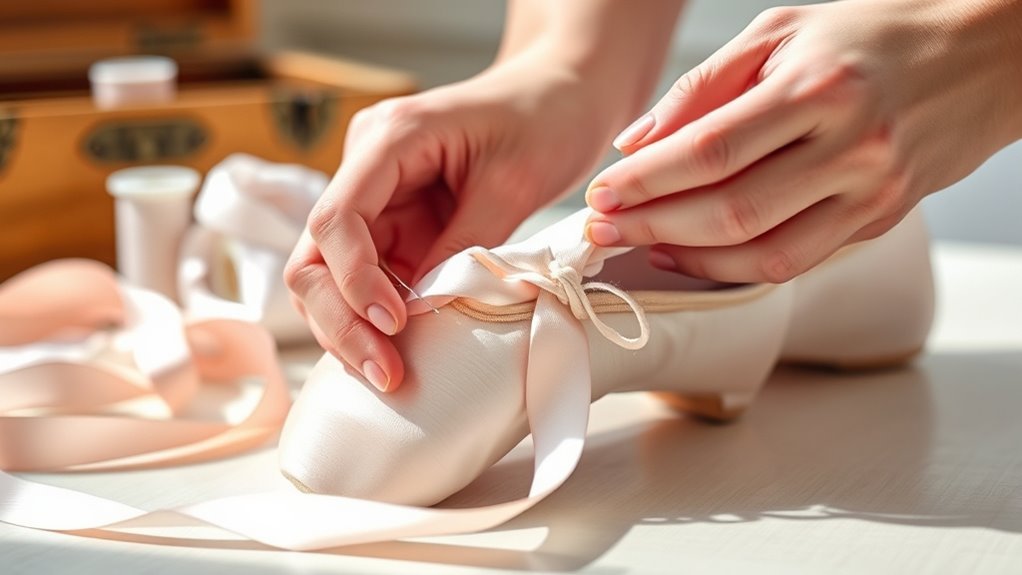
While sewing ribbons onto your pointe shoes, you’ll want to use a loop or back-and-forth stitching method to guarantee they stay securely attached. Focus on sewing through the inner canvas layer rather than the outer satin to keep your shoes looking neat and increase durability.
Use evenly spaced stitches close to the ribbon’s edge to prevent fraying and ensure a strong hold. Finish with a square or reinforced pattern to stop the ribbons from loosening during your dance routines.
Avoid stitching through thick seams or the outer elastic, as this can reduce the shoe’s flexibility and comfort. These sewing techniques help you attach ribbons securely while maintaining the pointe shoes’ functionality and elegance.
Measure and Attach Elastics
To guarantee your pointe shoes stay securely in place, start by measuring the elastic carefully around your ankle while wearing the shoe at a 90-degree angle. Tuck the elastic end at the back seam, wrap it around your ankle, and check the length before trimming.
Then, sew the elastic onto the inside of the shoe, aligning the raw edge with the back seam. Use multiple lines of stitching for strength, choosing straight or crisscross patterns.
Remember to measure the elastic snugly but comfortably. Make sure you align the elastic’s raw edge with the shoe’s back seam.
Sew multiple lines to ensure durability. And don’t forget to try the shoe on again to confirm the fit after sewing.
This careful measuring and sewing process keeps your shoes secure and comfortable. It’s worth taking your time to get it just right!
Inspect and Secure Final Stitching
Once you’ve sewn the ribbons onto your pointe shoes, take time to inspect the stitching carefully to guarantee everything is secure and neat. Check all the stitches to ensure they’re evenly tensioned and firmly attached so the ribbons won’t come loose during your dance.
If you notice any weak or loose areas, reinforce those points with extra stitches. Don’t forget to trim any excess thread close to the stitching to prevent unraveling and keep a clean look.
Finally, gently pull on the ribbons to test their hold. This simple step helps you confirm that your sewing is secure and your ribbons will withstand the movements and stresses of performance.
Taking these precautions ensures your shoes look professional and stay reliable. It’s a quick check that makes a big difference!
Frequently Asked Questions
How Do You Sew Ribbons on Pointe Shoes?
You measure and cut four equal ribbons, then burn the ends to prevent fraying.
Next, mark the sewing points inside the shoe carefully. Make sure to line up the ribbons away from the seams, so they stay secure and don’t get in the way.
When you’re ready to sew, stitch through the canvas with neat, even stitches. This keeps the ribbons firmly attached without restricting your movement.
How Long Does It Take to Sew Ribbons Onto Pointe Shoes?
Sewing ribbons onto pointe shoes takes you about 10 to 20 minutes, like stitching a delicate dance in time.
With practice, you’ll glide through it faster, ensuring each ribbon feels as secure as a dancer’s embrace.
How Do I Sew Ribbon?
You sew ribbon by aligning it where you want, then stitching through the fabric carefully. Use even, tight stitches but avoid pulling too tight.
Make sure to secure the ends well to prevent fraying or slipping during use. It’s a simple way to add a nice touch to your project!
How to Sew Ribbon on Ballet Flats?
Think of sewing ribbons on ballet flats like painting strokes on a canvas. You’ll mark the heel, align the ribbon, and stitch carefully through the fabric.
Make sure to secure it firmly without tightening too much. This way, you keep that graceful movement intact.
Conclusion
Now that you’ve sewn your ribbons and elastics securely, your pointe shoes are ready to support your dance with confidence. You might worry it’s too tricky or time-consuming, but following these simple steps makes the process quick and manageable—even if you’re new to sewing.
With practice, you’ll save money and customize your shoes perfectly. So, take your time, trust yourself, and enjoy the added comfort and security your handiwork brings to every step.
Sewing ribbons on pointe shoes isn’t just about functionality; it’s about creating a perfect fit that enhances your performance and keeps you safe. By mastering this skill, you ensure your pointe shoes stay in place through every pirouette and leap.
Remember, the key is patience and attention to detail. Once you get the hang of it, sewing ribbons on pointe shoes becomes second nature, making your dance experience even more enjoyable and personalized.