How to Cut a Sewing Pattern in 5 Easy Steps
To cut a sewing pattern in five easy steps, first gather your materials like sharp scissors and pattern weights. These tools make the cutting process smooth and precise.
Next, pre-wash and iron your fabric to ensure it’s ready for accurate cutting.
Now, lay out your pattern pieces according to the guide sheet. Pin them securely so they don’t shift while you cut.
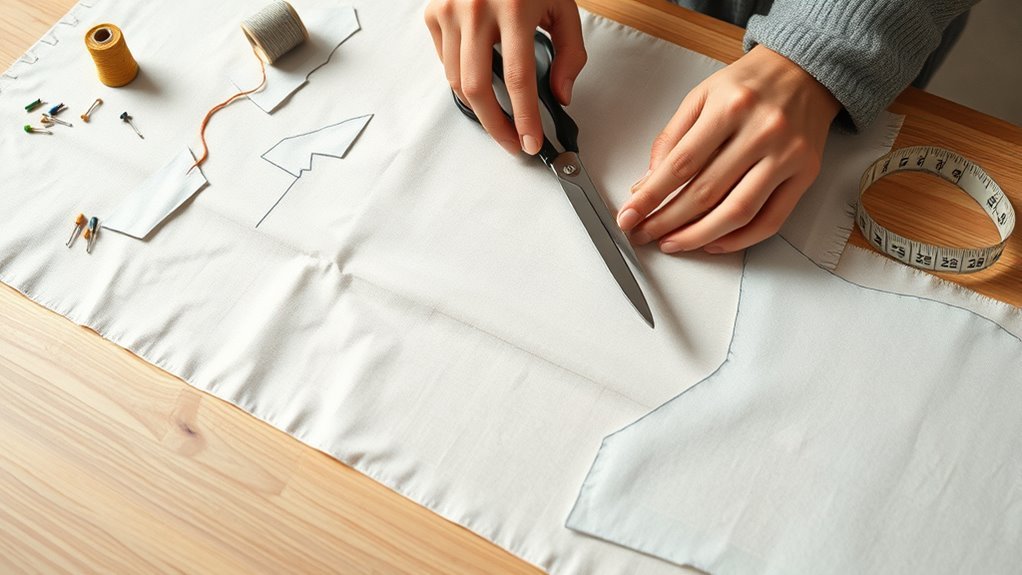
Use fabric scissors to cut carefully, making sure to follow the grainline for the best results.
Don’t forget to mark important details like notches and labels. These markings are crucial for assembling your garment correctly. If you want to guarantee a perfect fit, there’s more helpful information ahead!
Key Takeaways
– Gather essential materials like sharp scissors, pins, and dressmakers carbon paper for effective pattern cutting.
It’s always good to have everything ready before you start.
– Pre-wash and iron fabric to eliminate wrinkles and prevent shrinkage before cutting.
This step helps your fabric lay flat and keeps your project looking great.
– Lay out pattern pieces on fabric, ensuring proper grainline alignment and securing them with pins or weights.
Taking your time here makes cutting much easier and more accurate.
– Cut fabric accurately using sharp scissors or a rotary cutter, following the pattern lines and marking notches.
Sharp tools make a big difference, trust me.
– Mark fabric pieces clearly and double-check sizes to ensure all components match the pattern before sewing.
A little extra care now saves headaches later on!
Step 1: Gather Materials to Cut a Sewing Pattern
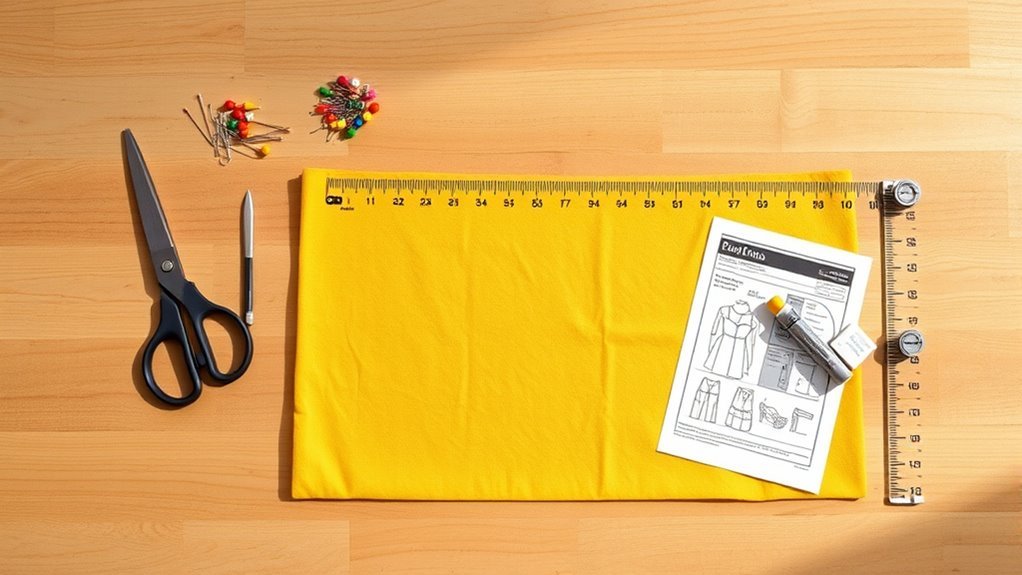
To cut a sewing pattern effectively, you’ll need to gather a few essential materials. Start with sharp paper scissors to cut the pattern without dulling your fabric scissors.
Gather sharp paper scissors to cut your sewing pattern without dulling your fabric scissors for a smooth cutting experience.
You’ll also want pins or pattern weights to secure your pattern pieces in place while cutting. Don’t forget dressmakers carbon paper in a contrasting color for transferring markings accurately.
A blunt tracing wheel is handy for tracing pattern lines onto your fabric, ensuring precise cutting. For the actual fabric cutting, have your fabric scissors or a rotary cutter ready.
Finally, a cutting mat will protect your surfaces and provide a stable base. With these tools, you’re set for a successful cutting experience!
Step 2: Prepare Your Fabric and Pattern Pieces
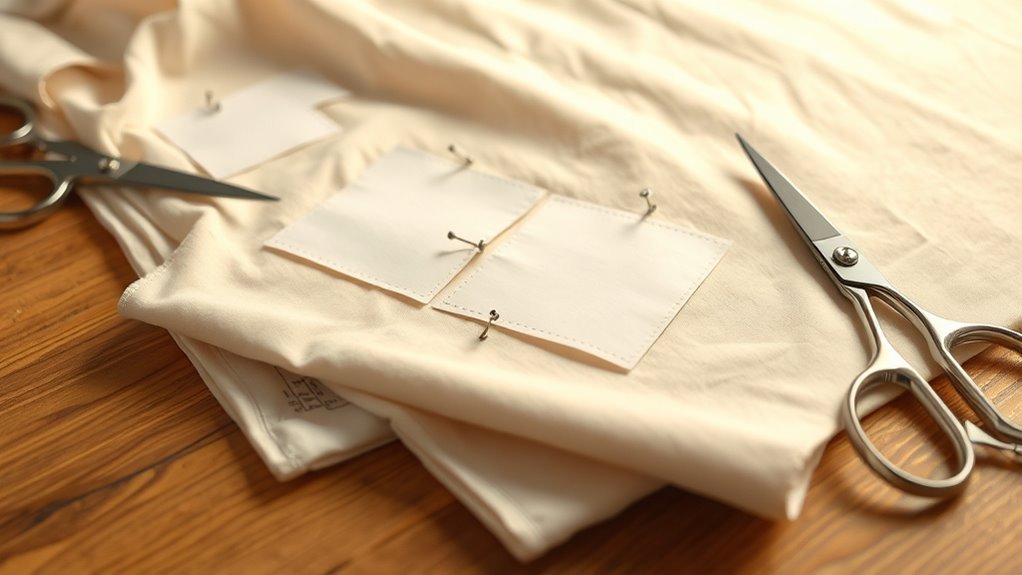
Before diving into cutting, make sure your fabric is pre-washed to prevent any future shrinkage that could affect sizing. Next, iron your fabric to remove wrinkles, ensuring a flat cutting surface for accuracy.
Thoroughly read the guidesheet to identify necessary pattern pieces and layout instructions for your design. It really helps to know exactly what you need before you start.
Here’s a quick checklist to help you prepare:
| Task | Tools Needed | Purpose |
|---|---|---|
| Pre-wash fabric | Washing machine | Prevent shrinkage |
| Iron fabric | Iron | Remove wrinkles |
| Pin pattern pieces | Pins or weights | Secure during cutting |
Finally, pin or weigh down the pattern pieces according to the grainline and fold instructions. This will keep everything in place while you cut, making your work a lot easier.
Step 3: Lay Out Your Pattern on Fabric
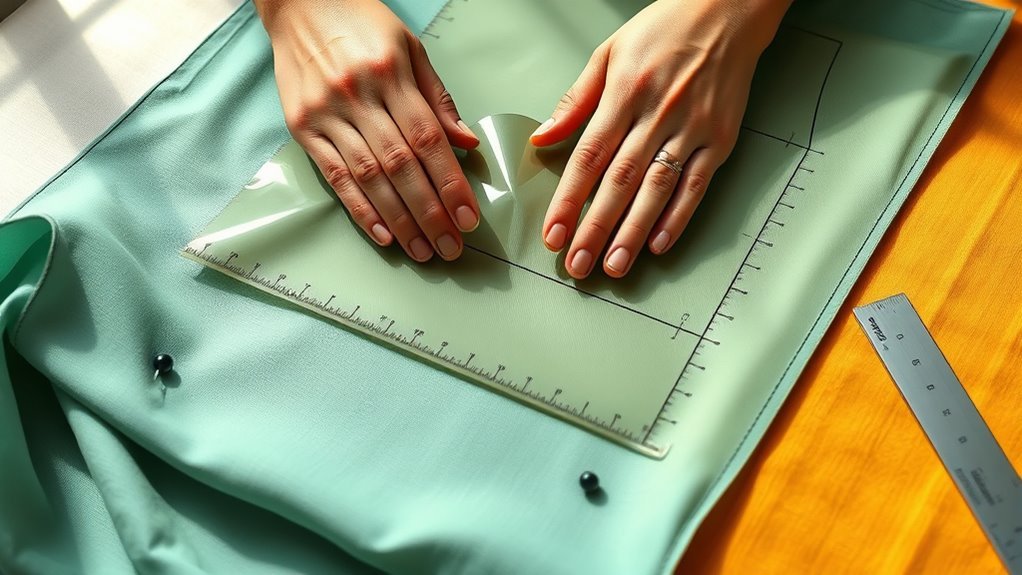
Laying out your pattern on fabric requires careful attention to detail for the best results. Start by smoothing your fabric on a flat surface to eliminate wrinkles.
Next, identify the right side and wrong side of the fabric, making sure you lay the pattern pieces correctly according to the pattern layout.
Fold the fabric as indicated, typically with selvedges together, to keep the grain line in check. Arrange the pattern pieces following the cutting layout, paying special attention to “place on the fold” lines so they line up just right.
Once everything’s in place, use pins or pattern weights to hold the pieces steady on the fabric. This way, nothing shifts around while you’re cutting.
Taking these steps will set you up for a smooth and successful cutting experience.
Step 4: Cut Fabric Accurately
Cutting fabric accurately is essential for achieving a polished final product. Start by using sharp fabric scissors or a rotary cutter to guarantee clean cuts along the cutting lines of your pattern pieces.
Keep the fabric flat against the cutting surface to prevent shifting and maintain accuracy. Pay attention to the grainline direction; align the grainline arrow on the pattern with the fabric’s grain for proper drape and fit.
Pin the pattern securely to the fabric to avoid movement while cutting. Don’t forget to cut notches and markings as indicated on the pattern. These will help you during the assembly phase of the sewing process, making sure everything lines up perfectly.
Step 5: Mark Your Fabric and Double-Check Your Pieces
Once you’ve cut your fabric pieces, it’s time to mark them for easy assembly. Use disappearing fabric markers or tailor’s chalk to transfer essential markings like notches and pleat guides onto the wrong side. Cut notches outward to indicate seam allowances accurately.
Be sure to label the front (‘F’) and back (‘B’) of each piece to avoid confusion, especially with plain fabrics. This little step can save you from mixing things up later on.
Before you start sewing, double-check that all pieces match the pattern size lines and that all markings are transferred correctly. Take a moment to review the layout against the guide sheet to make sure nothing’s missing.
| Piece | Markings | Cut |
|---|---|---|
| Front | F | Yes |
| Back | B | Yes |
| Sleeve | Notches | Yes |
| Collar | Pleat | Yes |
| Cuff | Notches | Yes |
Frequently Asked Questions
What Type of Fabric Is Best for Beginners?
Cotton is the best fabric for beginners. It’s easy to handle, forgiving, and comes in various prints.
You’ll find it less likely to fray, making your first projects more enjoyable and manageable. Happy sewing!
Can I Reuse Sewing Patterns?
Yes, you can definitely reuse sewing patterns! Just make sure to keep them in good condition.
If you want to alter them, trace or make copies. It’s a great way to keep your originals safe.
Plus, you get to enjoy the versatility they offer for future projects. It’s super handy!
How Do I Choose the Right Scissors?
To choose the right scissors, consider fabric type. Use sharp, fabric-specific scissors for clean cuts.
For intricate detail, opt for smaller, pointed scissors. Always keep them sharpened to guarantee smooth, accurate cutting during your projects.
What Is the Difference Between Rotary Cutters and Scissors?
Rotary cutters offer precision and speed, making straight cuts easier, while scissors provide control for intricate shapes.
You’ll find rotary cutters ideal for layers, but scissors are better for detailed, curved cuts.
Choose based on your project!
How Do I Store My Cut Pattern Pieces?
You can store your cut pattern pieces in a large envelope or a clear plastic bag. Label each bag for easy identification, and keep them flat to prevent wrinkles or creases from forming.
It’s really helpful to keep things organized this way. That way, when you’re ready to sew again, you won’t waste time searching for the right pieces. Plus, storing them flat means they stay in great shape!
Conclusion
Now that you’ve navigated the art of pattern cutting, you’re ready to dance with your fabric, transforming raw material into a masterpiece. Each snip and mark is like a brushstroke on a canvas, guiding you closer to your creation.
Embrace the journey ahead, where threads weave stories and seams connect dreams. With your newfound skills in cutting sewing patterns, let your imagination soar and watch as your vision comes to life, one stitch at a time.
Remember, mastering how to cut a sewing pattern is the first step toward crafting beautiful garments. So take your time, follow the steps carefully, and enjoy every moment of your sewing adventure. Happy sewing!