10 Essential Steps to Cut Sewing Patterns
To cut sewing patterns accurately, start by choosing the right pattern and fabric for your skill level. Picking the right materials sets you up for success and makes the whole process smoother.
Preparing your fabric properly is key, so take your time to get it ready before you dive in.
Next, get familiar with the layout of your pattern pieces. Aligning grainlines correctly is super important for precision and a professional finish.
Once everything is in place, secure your pattern pieces with pins or weights so they don’t move around.
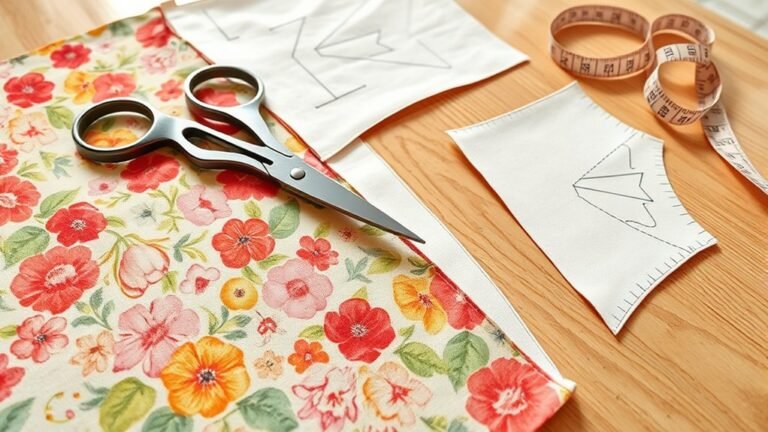
Don’t forget to mark all necessary darts, seam allowances, and cutting lines clearly. This helps prevent mistakes later on.
Cut with care, and trim any excess fabric afterward to keep things neat.
Finally, adjust for fit as you go to avoid any surprises. There’s definitely more to master, but these steps will get you started on perfect pattern cutting!
Key Takeaways
- Select beginner-friendly patterns and ensure fabric matches measurements to avoid sizing issues. This step really helps prevent headaches later on.
- Wash and prepare fabric, aligning the grain correctly to maintain structure during cutting. It might seem small, but it makes a big difference.
- Secure pattern pieces with pins or weights, positioning pins every 4-6 inches for stability. This keeps everything in place while you cut.
- Cut along the center of the cutting line with sharp scissors or a rotary cutter for clean edges. Sharp tools really make the process smoother.
- Trim excess fabric immediately to prevent fraying and ensure accurate seam allowances. It’s a quick step that saves time in the long run.
Choose the Right Pattern and Fabric for Your Skill Level
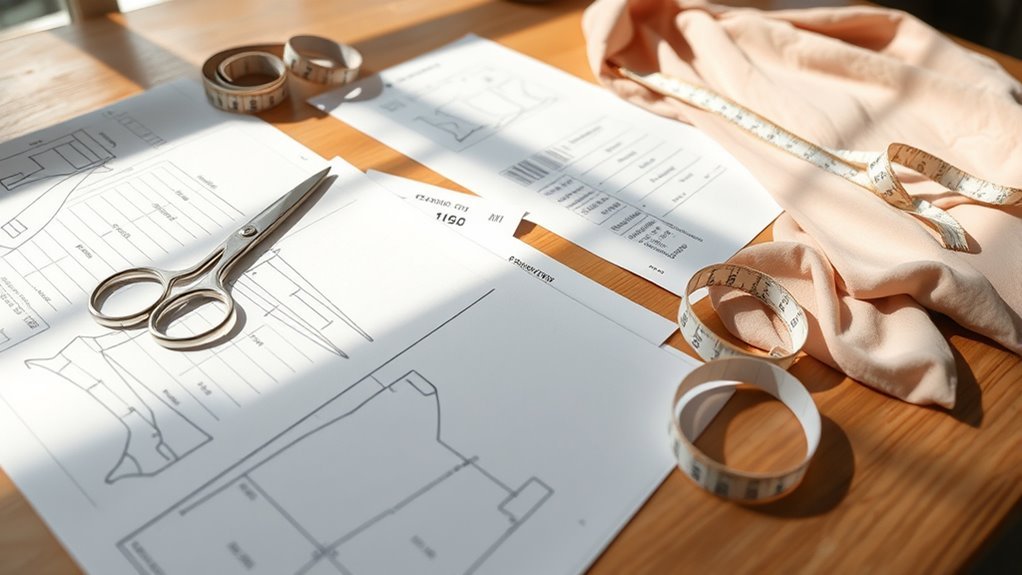
Choosing the right pattern and fabric is essential, especially for beginners. Start by selecting patterns labeled as “easy” or “beginner-friendly,” which typically feature fewer pieces and simpler construction techniques.
When it comes to fabric, opt for forgiving materials like cotton or cotton blends. They’re much easier to cut and sew than slippery silks or stretchy knits.
Make sure the pattern’s size matches your measurements, as adult sizes can often run two sizes larger than ready-to-wear. Don’t forget to check the back of the pattern envelope for fabric recommendations and necessary notions.
Prepare Your Fabric Properly
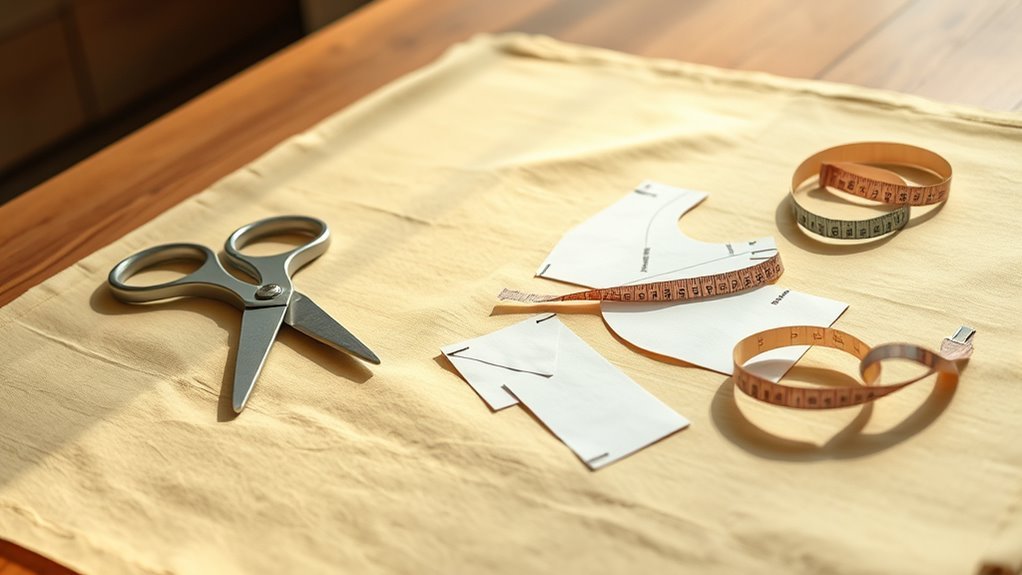
Properly preparing your fabric is essential for a successful sewing project. Start by washing your fabric to prevent shrinkage, so it keeps its shape after sewing.
Once it’s dry, lay the fabric flat and make sure the grain is aligned correctly. This helps keep your cutting accurate.
Lay your fabric flat and ensure the grain is aligned for precise cutting.
It’s also good to get familiar with fabric terms like selvedge, straight grain, and bias. Knowing these will help you understand how they affect your cutting and sewing.
To prevent fraying, try using a zigzag stitch along the cut edges. You can adjust the stitch settings depending on the type of fabric you’re working with.
If you notice wrinkles that won’t come out, gently steam iron the fabric. Just be careful with the steam so you don’t stretch the material.
Taking these simple steps will really set you up for a smooth sewing experience.
Get to Know Your Pattern Layout
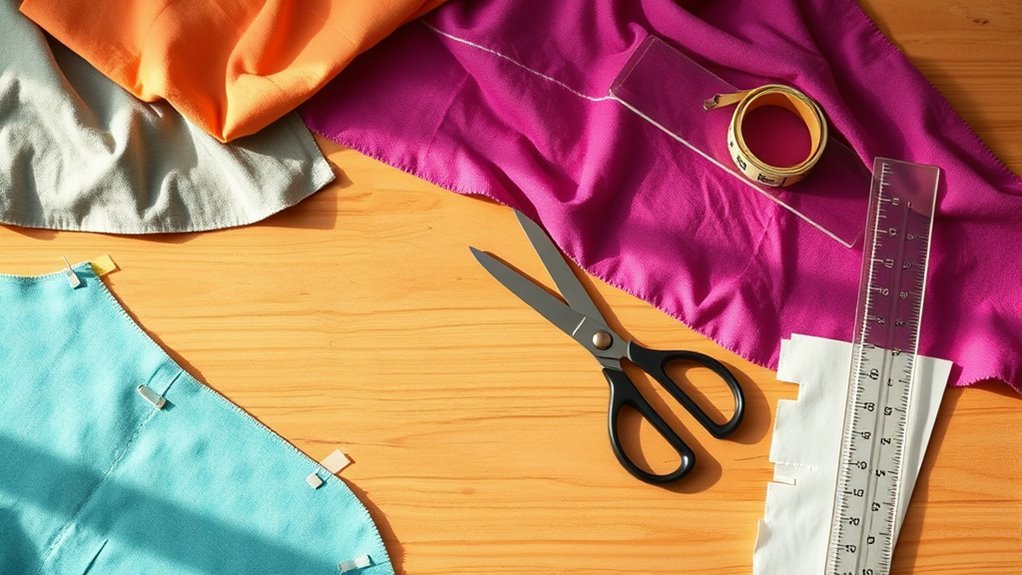
Understanding your pattern layout is vital for a successful sewing project. Familiarize yourself with the pattern instructions, as they guide you on how to position pieces for ideal use.
Pay close attention to the cutting layout diagrams; they help visualize the arrangement and maximize fabric efficiency. When placing pieces labeled “cut on the fold,” make sure they’re accurately positioned to maintain symmetry and minimize waste.
Equally important are the grainline markings on the pattern; they’re essential for guaranteeing your fabric drapes and behaves as intended. Don’t forget to check the pattern envelope for specific fabric requirements and recommended layouts based on fabric width.
Following these steps sets you up for a well-constructed finished piece. Taking a little extra time now will save you headaches later!
Align Grainlines for Accuracy
Aligning grainlines is essential for achieving the right fit and drape in your garment. You’ll want to confirm that the grainline markings on your pattern match the fabric’s straight grain for ideal results.
Using a ruler to check your alignment can prevent distortion and keep your design looking sharp. It’s a simple step that makes a big difference!
Importance of Grainline Alignment
When you cut your sewing patterns, verifying the grainlines are aligned correctly is essential for achieving the best fit and drape in your garment. Misaligned grainlines can cause twisting, distortion, and uneven stretching, impacting both appearance and comfort.
Always check that the grainlines on your pattern are parallel to the selvage edge of the fabric. This alignment maintains the fabric’s structural integrity, especially in woven fabrics.
| Consequence | Description |
|---|---|
| Twisting | Garment may twist out of shape when worn. |
| Distortion | Fabric won’t drape as intended, affecting fit. |
| Uneven stretching | Results in discomfort and poor appearance. |
| Structural integrity | Keeps fabric behaving consistently. |
Techniques for Accurate Placement
Accurate placement of your pattern pieces is essential for achieving the best results in your sewing projects. Always align the grainline markings on your pattern with the fabric’s straight grain. This guarantees proper drape and fit.
Use a ruler to measure the distance from the grainline arrow to the selvage edge in two locations; this confirms your pattern is on grain. Pin the pattern pieces securely along the grainline arrows to prevent shifting during cutting, maintaining accuracy.
For pieces cut on the fold, make sure the fold aligns with the fabric’s warp threads. If your design requires bias cuts for added stretch, position those pieces at a 45-degree angle to the selvage for ideal results.
Secure Pattern Pieces With Pins or Weights
To achieve clean cuts, you need to secure your pattern pieces effectively. Depending on the size and type of fabric, you can choose between pins or weights to keep everything in place.
Make sure to position them correctly to prevent any shifting while you cut. That way, your pieces stay put and your cuts come out neat every time.
Importance of Securing Pieces
Securing your pattern pieces is essential for achieving clean and precise cuts. When you use pins or pattern weights, you prevent shifting, which guarantees accurate cuts and maintains the integrity of the pattern layout.
For lightweight fabrics, anchor your pieces with pins placed every 4-6 inches along the edges. Heavier fabrics may need fewer pins because they’re more stable.
Pattern weights are especially beneficial for larger pieces. They avoid damaging the fabric with pinholes and provide a flatter cutting surface.
Always position pins perpendicular to the cutting line. This makes them easier to remove while you’re cutting, and helps ensure they don’t get in your way.
If you’re using a rotary cutter, pattern weights will help you keep pieces secure for more precise cutting along the edges. It really makes a difference!
Choosing Between Pins or Weights
When it comes to holding your pattern pieces in place, choosing between pins and weights can really change your cutting game. Pins work great for lighter fabrics and make it easy to move things around for that perfect fit. Just be sure to stick them in perpendicular to the cutting line—that way, your cuts stay accurate.
Weights, on the other hand, are awesome for heavier fabrics. They keep everything steady so nothing shifts, giving you a clean cut without poking holes. If you’re working with delicate materials, pattern weights are your best friend because they spread out the pressure evenly.
Sometimes, mixing both methods is the way to go. Try using pins for smaller pieces and weights for bigger sections to keep everything nice and stable. This combo helps keep your fabric secure and your cuts spot on.
Choose Your Cutting Tool Wisely
Choosing the right cutting tool can make all the difference in your sewing projects. For precision cutting, a rotary cutter is your best bet; it delivers cleaner edges and excels in cutting straight lines.
If you’re tackling intricate curves, sharp scissors are ideal. Just make certain to use them correctly to avoid jagged edges.
When working with a rotary cutter, don’t forget to use pattern weights to keep your fabric from shifting. Always select the right tool for the task—fabric scissors for fabric and paper scissors for patterns.
Finally, maintain your cutting tools by sharpening blades and cleaning scissors regularly. This guarantees you achieve peak performance every time you cut. Happy sewing!
Mark Darts, Seam Allowances, and Cutting Lines Before Cutting
Before you start cutting, it’s crucial to mark darts, seam allowances, and cutting lines accurately on your fabric. Use tailor’s chalk or a fabric pen to mark dart placements clearly, guaranteeing precise sewing later.
Always include a 5/8-inch seam allowance to maintain the garment’s intended fit and structure. Employ a ruler to draw cutting lines that align with your pattern’s guidelines.
| Step | Tool | Purpose |
|---|---|---|
| Mark Darts | Tailor’s Chalk | Guarantee accurate placement |
| Seam Allowance | Ruler | Maintain fit and structure |
| Cutting Lines | Fabric Pen | Follow pattern guidelines |
Double-check each pattern piece’s orientation to guarantee proper drape and fit. It really helps to avoid any surprises once you start sewing.
Cut Your Sewing Patterns With Precision
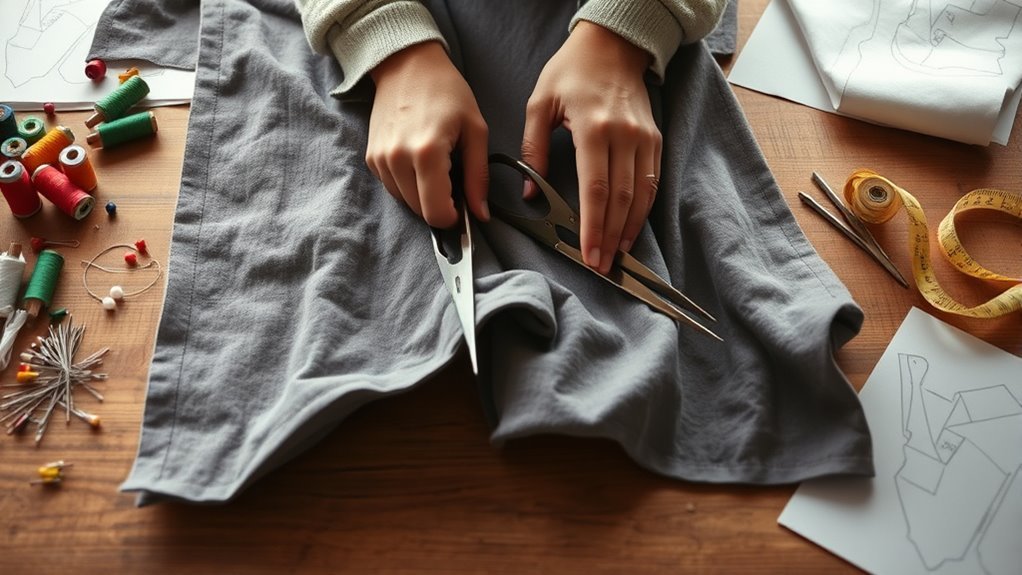
Cut your sewing patterns with precision to guarantee a flawless fit and finish. Always cut down the center of the cutting line; even small errors can affect your garment’s final fit.
Use a rotary cutter for cleaner edges, but handle it carefully because it’s really sharp. Keep your fabric flat and secure the pattern pieces with pins to maintain consistency.
If you’re using scissors, cut to the right of the pattern in a counter-clockwise motion. Make sure the bottom blade stays flat for better control.
Pay close attention to key markings, like triangles, to keep seam allowances strong and ensure proper alignment when sewing. Precision in cutting is super important for a successful project.
Trim Excess Fabric After Cutting
After cutting your pattern pieces, it’s essential to trim any excess fabric along the edges. This not only prevents fraying but also enhances the accuracy of your pattern.
Importance of Trimming Edges
Trimming excess fabric is vital for achieving a polished look in your sewing projects. By carefully trimming, you eliminate bulk and guarantee smoother seams, resulting in cleaner finished edges.
This attention to detail really enhances your garment’s fit and overall appearance, especially around curves and corners. Remember to maintain the seam allowance, typically around 5/8 inch, so you don’t mess up your pattern.
Using sharp scissors or a rotary cutter is essential; dull tools can create jagged edges that compromise the fabric. Also, make it a habit to regularly check for any leftover excess after cutting.
This way, you can be sure all pieces are uniform and ready for assembly. Honestly, this simple step can really boost the quality of your final product.
Preventing Fabric Fraying
Fraying can ruin the look of your sewing projects, so it’s essential to address it right after cutting your pattern pieces. First, trim excess fabric around the cut edges to prevent fraying.
Using a zigzag stitch along the raw edges secures the fibers, especially with woven fabrics. For knits, opt for a tighter zigzag stitch to accommodate stretch.
Additionally, applying a fray check solution offers extra protection against fraying over time. Remember to handle cut edges gently, as rough handling can make fraying worse, especially in delicate fabrics.
| Method | Best For | Extra Tips |
|---|---|---|
| Zigzag Stitch | Woven Fabrics | Secure fibers effectively |
| Tighter Zigzag Stitch | Knits | Accommodates stretch |
| Fray Check Solution | All Fabrics | Adds long-term protection |
Enhancing Pattern Accuracy
Guaranteeing pattern accuracy is essential for achieving a well-fitted garment. Trimming excess fabric right after cutting is a significant step.
Once you cut out a pattern, take the time to carefully trim any excess along the edges. This not only helps with fit but also enhances the overall look of your garment.
Here are some tips to keep in mind:
- Carefully remove only outer edges, avoiding critical notches or markings.
- Prevent bulk at seams for a smoother finish.
- Use sharp scissors or a rotary cutter for precision.
- Maintain the integrity of the pattern’s shape.
- Double-check that all necessary markings, like darts or grainlines, remain intact.
With these steps, you’ll guarantee your project is both professional and polished.
Adjust for Fit and Review Your Cuts
Before diving into sewing, take a moment to adjust your pattern pieces for the perfect fit. Minor adjustments can be made during sewing, so stay flexible to achieve your desired silhouette.
Always use a consistent seam allowance—typically 5/8 inch, as marked on your sewing machine—to guarantee the proper fit. It’s essential to review your cuts carefully; even small discrepancies can lead to significant fit issues once assembled.
Utilize pattern markings like notches and triangles to align pieces accurately and maintain the intended fit. After cutting, try the pieces on a dress form or yourself to identify any necessary adjustments.
This proactive approach will save you time and frustration later in the sewing process. So, take your time now—it really pays off!
Frequently Asked Questions
How Do I Choose the Right Fabric Weight for My Pattern?
To choose the right fabric weight for your pattern, consider the garment’s style and drape. Lighter fabrics work for flowy designs, while heavier weights suit structured pieces.
Always match fabric weight to your project’s needs. It really makes a difference in how your finished piece looks and feels.
Can I Use Pattern Weights Instead of Pins?
Absolutely, you can use pattern weights instead of pins! Think of them as steadfast friends, holding your fabric in place while you create.
They’re often quicker and less damaging, letting your creativity flow with ease. It’s a neat little trick that makes sewing smoother and more fun!
What Tools Are Essential for Marking Fabric Accurately?
You’ll need chalk or fabric markers for clear lines, a ruler for straight edges, and tailor’s chalk for precise markings.
Scissors are essential for trimming excess fabric while you work on your project.
It might seem like a lot, but having the right tools really makes a difference! Plus, it helps keep your work neat and accurate.
How Do I Prevent Fabric From Fraying During Cutting?
Did you know that about 25% of fabric frays when cut? To prevent this, use a rotary cutter for clean edges. It really helps keep things neat.
You can also apply fray check on raw edges. That stuff works like a charm! Or, if you want something decorative, try pinking shears. They give a nice finish while reducing fraying.
What Should I Do if I Make a Cutting Mistake?
If you make a cutting mistake, don’t panic!
First, take a moment to assess the damage. If you can, try trimming the fabric to fix it.
If that doesn’t work, you might want to think about adding a patch. Or, you could even change your design a bit to work around the mistake.
Conclusion
You’ve navigated the essential steps to cut sewing patterns, and it’s amazing how a little attention to detail can transform your sewing experience. Just as you align those grainlines, you might find your newfound skills aligning perfectly with your creativity.
Who knew that marking darts could lead to a perfectly fitted garment? As you trim and adjust, remember: every cut brings you closer to your masterpiece.
So grab that fabric and let your imagination run wild! Cutting sewing patterns with care not only ensures precision but also boosts your confidence in creating beautiful, custom-fitted clothes. With these essential steps, your sewing projects will flow smoothly from start to finish, making the process enjoyable and rewarding. Keep practicing, and watch your skills—and your wardrobe—grow!