How to Hand Sew a Quilt in 10 Easy Steps
To hand sew a quilt in ten easy steps, start by gathering essential materials like 100% cotton fabric, batting, thin piecing needles, quality thread, and a ruler.
These basics will set you up nicely for a smooth quilting experience. Having the right tools really makes a difference!
Next, cut your fabric accurately and create your quilt top with patchwork.
Take your time here—precision matters.
Then, layer the backing, batting, and top fabric carefully to get everything aligned just right.
Baste the layers to keep them in place, so nothing shifts while you sew.
When you start stitching, focus on maintaining even stitching tension; this keeps your quilt looking neat and professional.
Finally, neaten the edges and choose quilting patterns that resonate with you.
There’s so much more to explore in quilting, and each step opens up new creative possibilities!
Key Takeaways
- Gather essential materials like 100% cotton fabric, batting, thin needles, high-quality thread, and a ruler for accurate cutting.
- Cut fabric pieces accurately using a rotary cutter or fabric scissors. Make sure you follow the grain for the best results.
- Create your quilt top by tracing templates, pinning pieces right sides together, and using backstitches for secure seams.
- Layer the quilt by placing backing fabric, batting, and quilt top correctly. Secure everything with pins or basting stitches to prevent shifting.
- Choose quilting patterns that mix textures and colors. You can incorporate traditional designs or modern geometric styles for visual interest.
Essential Materials for Your First Quilt
Creating your first quilt can be an exciting journey, and having the right materials is vital for success. Start with about two yards of 100% cotton or linen fabric, along with one yard of batting for insulation.
You’ll also need thin piecing needles, specifically No. 9, to guarantee precise stitching without damaging your fabric. An Add-A-Quarter ruler is key for creating consistent seam allowances, which helps with accurate piecing.
Don’t forget to grab some pins to secure your fabric pieces right sides together, which keeps everything aligned during stitching. Finally, invest in high-quality thread, like Gutermann, for durability and a polished finish.
With these vital materials, you’re well on your way to creating a beautiful quilt!
Cutting Your Fabric Pieces for Hand Sewing
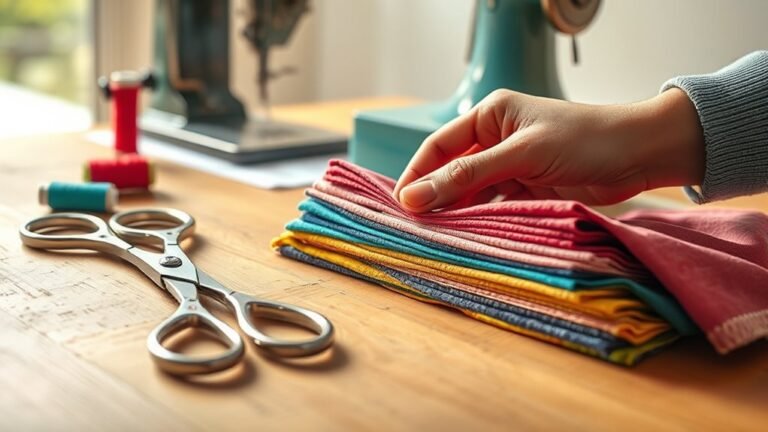
When cutting your fabric pieces for hand sewing, you’ll want to focus on accuracy and consistency. Choosing the right tools, like a rotary cutter or fabric scissors, will help you achieve clean edges.
Also, think about the size of your pieces. It makes the piecing process a lot easier when your cuts are just right.
Let’s explore effective cutting techniques and the best practices to guarantee your quilt comes together beautifully. Trust me, a little care here goes a long way!
Cutting Techniques Overview
Cutting your fabric pieces accurately is essential for a successful hand-sewn quilt. Start with templates without seam allowances, then trace and cut your main fabric using a rotary cutter for clean edges.
Always position the fabric with the right side up to avoid confusion when assembling your quilt top. It really helps keep things organized!
Here’s a quick reference table to help you visualize the cutting process:
| Cutting Tool | Purpose | Tips |
|---|---|---|
| Rotary Cutter | Precise straight cuts | Use a cutting mat |
| Fabric Scissors | Intricate designs & curves | Keep them sharp |
| Ruler | Measure & cut straight lines | Double-check sizes |
Fabric Size Considerations
Determining the right fabric size for your quilt pieces is essential to achieving a polished finish. Always add a seam allowance of about ¼ inch around each piece to accommodate for stitching.
For standard quilt blocks, plan for fabric pieces ranging from 4 to 12 inches, depending on your desired block size and overall quilt layout. Use templates without seam allowances to trace and cut fabric accurately, ensuring consistent shapes.
Keep the final dimensions of your quilt in mind; for example, a crib-sized quilt typically needs two rectangles of 36×54 inches, plus batting. Finally, cut your fabric with the grain to maintain integrity and prevent distortion after washing, even if you sometimes use a sewing machine for other projects.
Tools for Accurate Cutting
Accurate cutting is essential for achieving a well-crafted quilt, and having the right tools makes all the difference. Use hand-piecing templates without seam allowances to trace and cut your fabric pieces precisely.
Make sure your cutting tools, like rotary cutters and rulers, are sharp and high-quality to create clean edges. When marking your fabric, opt for fabric markers or chalk that wash out easily. This way, you get good visibility without damaging your materials.
Always cut on a flat, stable surface to prevent slipping and maintain consistent sizes. For intricate designs, start by cutting smaller sections and then assemble them into larger blocks.
These tools for accurate cutting will enhance your quilting experience and lead to a beautifully finished project.
Creating Your Quilt Top With Patchwork
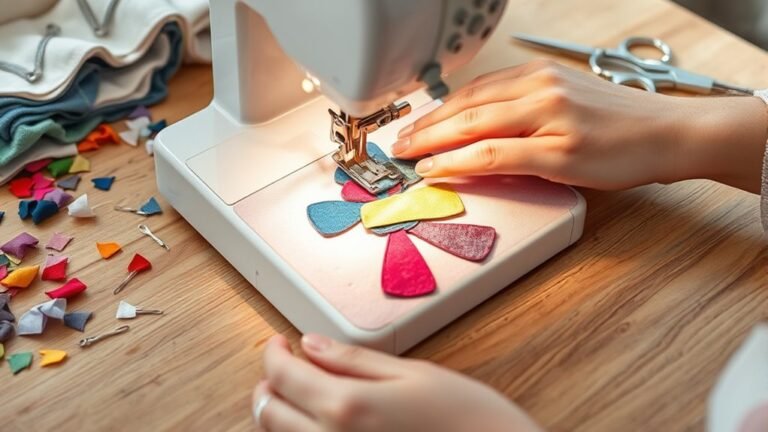
Creating your quilt top with patchwork can be an exciting and rewarding process. A great place to start is by creating templates for your quilt pieces, tracing them onto fabric without seam allowances, and cutting out the shapes you need.
Next, pin the fabric pieces right sides together (RST) and use backstitches along the marked lines to join them securely. Try using a rocking technique while stitching to gather small stitches efficiently. Finish each segment with a double backstitch for added strength.
For complex Y-seams, stitch the first seam without cutting the thread. Then, pin the second seam in place to keep everything aligned. Finally, press seams to one side after sewing—this makes it easier to nest seams when you’re assembling larger quilt blocks.
Layering Your Quilt: Fabric and Batting
When layering your quilt, start by choosing a backing fabric that’s larger than your quilt top for proper alignment. Lay it right side down, add the batting, and place your quilt top right side up on top.
Secure all three layers with pins or basting stitches to keep everything in place as you quilt. This way, nothing will shift around and your quilt will come out just right.
Choosing Your Fabrics
Choosing the right fabrics is essential for your quilt’s overall look and feel. Opt for 100% cotton or linen, as these fabrics provide durability and are easy to handle.
When selecting colors and textures, make sure they complement each other to create a cohesive design. It really makes a difference in how your quilt will turn out.
Remember to layer your quilt correctly: start with the backing fabric right side down, add the batting, and then place the quilt top right side up. Make sure the backing and batting are a bit larger than your quilt top to prevent shifting.
For added stability, you can use a basting technique like pin or thread basting. Also, think about the weight and thickness of your batting because this affects the quilt’s drape and overall comfort.
Layering Techniques Explained
With your fabrics selected and prepared, it’s time to focus on layering your quilt. Start by laying out your backing fabric with the right side down. Make sure it’s larger than your quilt top and batting.
Next, place the batting on top, smoothing out any wrinkles. Then, add the quilt top, right side up. Pin or baste the three layers together, paying special attention to the edges and corners to prevent shifting during the quilting process.
Before you begin, check that all layers are taut and aligned. Uneven layers can cause rippling or puckering. For even tension while stitching, consider using a quilting frame or hoop. This will help you create a smooth finish on the quilt’s back without needing a sewing machine.
Baste Your Quilt Layers for Hand Sewing Success
Basting your quilt layers is essential for achieving a polished finish, as it keeps everything in place while you sew. Make sure your backing and batting are larger than the quilt top to prevent rippling.
You can choose between pin basting for easy adjustments or thread basting for a traditional touch. Both methods have their perks, so pick what feels right for you!
| Basting Method | Benefits |
|---|---|
| Pin Basting | Quick adjustments |
| Thread Basting | Traditional and secure |
| Centering Layers | Maintains alignment |
| Small Sections | Easier to manage |
Start Hand Sewing: Basic Techniques to Know
Now that you’ve basted your quilt layers, it’s time to start hand sewing. You’ll want to gather essential tools and familiarize yourself with basic stitching techniques for a smooth process.
Keeping consistent tension will also help your stitches look neat and professional. It’s all about practice and getting comfortable with the feel of the needle and thread.
Essential Hand Sewing Tools
When you initiate hand sewing a quilt, having the right tools is essential for achieving precision and ease. Here are three must-have tools to enhance your sewing experience:
- Thin Piecing Needles (No. 9): These provide the precision you need for small stitches, allowing for clean seams.
- Add-A-Quarter Ruler: This tool helps maintain consistent seam allowances, ensuring your quilt top pieces fit together accurately.
- Quality Thread (e.g., Gutermann): Using durable thread gives your quilt a polished finish and longevity.
Additionally, consider embroidery needles and a variety of embroidery floss colors to add decorative stitches, giving your quilt character. With these essential tools, you’ll be well on your way to creating a beautiful hand-sewn quilt!
Basic Stitching Techniques
Mastering basic stitching techniques is essential for hand sewing a quilt with precision and beauty. Start by creating templates for your fabric pieces without seam allowances to guarantee accurate cutting.
When piecing, use the rocking technique and begin with backstitches along marked lines for strength. For Y-seams, stitch the first seam without cutting the thread, then pin the second seam to keep everything aligned.
Here’s a quick reference table to help you remember these techniques:
| Technique | Description | Purpose |
|---|---|---|
| Backstitch | Stitches along marked lines | Provides strength |
| Rocking Technique | Efficient gathering of stitches | Increases speed and accuracy |
| Y-Seams | Stitch first seam, pin second seam | Maintains fabric alignment |
| Double Backstitch | Finish seams securely | Guarantees durability |
Tips for Consistent Tension
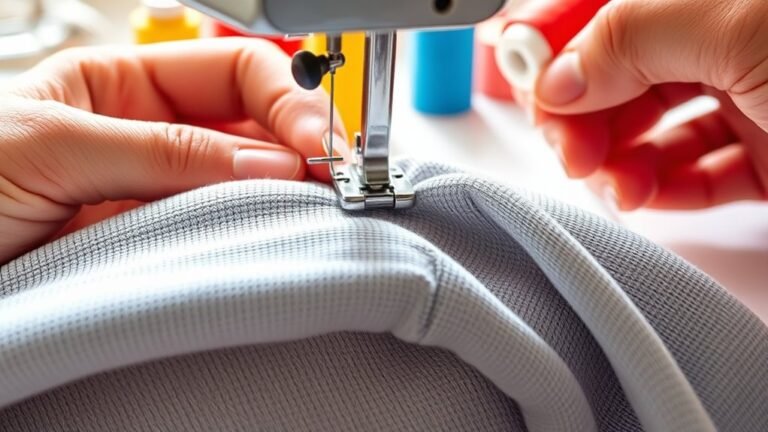
To achieve consistent tension while hand sewing your quilt, start by using a quilting frame that keeps all layers taut. This will help prevent puckering and guarantee a smooth finish.
Here are three tips to maintain even tension:
- Pin Layers Securely: Before sewing, pin your quilt layers firmly. This minimizes shifting and keeps everything aligned.
- Check the Back: Regularly inspect the back of your quilt as you sew. Look for smoothness to catch any issues early.
- Use the Rocking Technique: Stitch using a rocking motion to create evenly spaced stitches, helping maintain uniform tension.
Finally, adjust your grip on the needle to avoid pulling too tightly. If you yank it too hard, the fabric can get distorted. So, keep it nice and gentle!
Achieving Even Stitching Tension
Achieving even stitching tension is essential for a beautiful quilt. It guarantees your stitches are uniform and your fabric lies flat.
To maintain this tension, consistently pull the thread taut without overstretching the fabric. Regularly check the back of your quilt for puckers or ripples—they signal uneven tension.
Using a quilting frame or hoop keeps the layers taut, which helps you control stitch tension better. It’s also helpful to start from the center and work outward. This way, you distribute tension evenly across the quilt.
Finally, practice with different thread types and needle sizes. They can affect how the fabric layers respond and influence the evenness of your stitches. Happy quilting!
Neaten Up Those Edges for a Great Finish
With even stitching tension established, your quilt is well on its way to looking polished. Now, it’s time to neaten up those edges for a great finish. Follow these steps:
- Roll the edges to enclose the batting. This prevents it from rubbing against the fabric and ensures a clean look.
- Use quilting pins and binding clips to secure the edges. These tools help maintain even tension and alignment during the finishing process.
- Choose high-quality thread that matches your fabric. This will enhance both the appearance and durability of your quilt.
Don’t forget to regularly trim any excess fabric for a streamlined edge. And finally, press the edges with an iron to create crisp lines. This little extra step really improves your quilt’s overall look.
Choose Quilting Patterns for Texture and Style
Choosing the right quilting patterns can transform your project from ordinary to extraordinary. Start by mixing textures, like combining solid fabrics with prints or using different fabric weights.
For a classic look, consider traditional patterns like “Log Cabin” or “Nine Patch.” If you prefer something modern, explore geometric designs that add contemporary flair. Don’t shy away from experimenting with color combinations and contrasting textures to highlight specific areas.
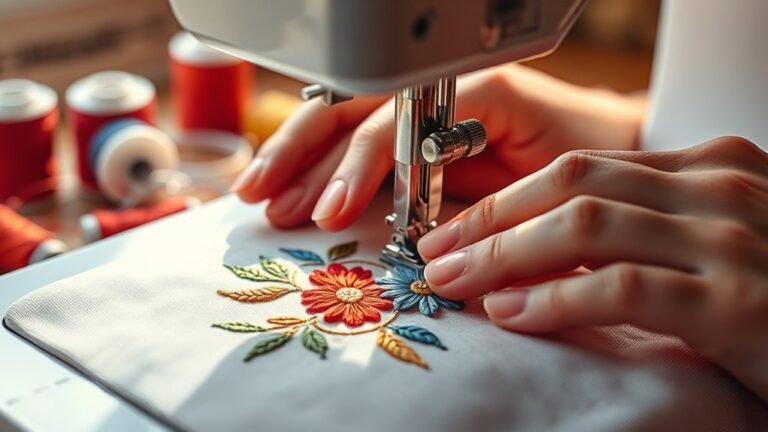
Incorporating appliqué or embroidery techniques can also add depth, turning your quilt into a true work of art. To visualize your ideas, use quilting software or graph paper to sketch designs. This makes it easier to adjust and see how different patterns interact.
Your creativity will shine through!
Reflect on Your Quilt and Share Your Journey
Reflecting on your quilting journey can be a rewarding experience that highlights your growth. As you look back, consider these key aspects:
- Skill Development: Acknowledge how you’ve evolved from basic hand piecing to mastering intricate stitching techniques.
- Documentation: Keep a quilting journal or take photos, capturing your progress and inspiring future projects.
- Community Engagement: Share your quilt story on social media or in quilting groups. This invites feedback and fosters connections with fellow quilters.
Celebrating your completed quilt reinforces the emotional ties to your handiwork. It reminds you of the materials used and the personal significance behind your design.
Celebrating your finished quilt deepens your connection to the materials and the meaningful story woven into your design.
Embrace your journey, and let it inspire your next creative adventure!
Frequently Asked Questions
How Long Does It Take to Hand Sew a Quilt?
It typically takes several weeks to hand sew a quilt, depending on your skill level, the quilt’s size, and the complexity of the design.
If you dedicate consistent time each day, you’ll see progress quickly.
Just keep at it, and before you know it, your quilt will start to come together beautifully.
What Type of Thread Should I Use for Hand Sewing?
For hand sewing a quilt, use high-quality cotton thread. It’s strong, durable, and blends well with your fabric.
Choose a color that matches or complements your quilt for a professional finish. Happy sewing!
Can I Use Different Fabric Types Together?
Absolutely, you can mix different fabric types together—it’s like creating a fabric symphony!
Just make certain they’re compatible in weight and care.
Experimenting adds character, so let your creativity shine through each stitch!
How Do I Fix Mistakes While Sewing?
You can fix mistakes while sewing by carefully unpicking stitches with a seam ripper, re-aligning your fabric, or using a patch if needed.
Don’t stress—mistakes happen, and they’re often easy to correct!
What Is the Best Way to Store My Quilt?
Imagine your quilt as a treasured story, waiting to be told. Store it in a cool, dry place, away from direct sunlight.
Fold it gently, or roll it to keep those memories vibrant and intact. Taking care like this helps your quilt stay beautiful for years to come.
Conclusion
Congratulations on initiating your quilting journey! Did you know that nearly 50% of quilters say they find the process incredibly therapeutic? It’s true—hand sewing a quilt can be a wonderful way to unwind and express yourself.
As you reflect on your quilt and share your experience, remember that every stitch tells a story. Whether it’s a gift for someone special or a cozy throw for yourself, your hard work and creativity really shine through.
Keep experimenting with different patterns and fabrics. You might just discover a lifelong passion in hand sewing quilts! Embracing the art of hand sewing not only enhances your skills but also deepens your connection to each quilt you create. So enjoy every step of this creative journey, and watch your quilting skills grow with each stitch!