How Do You Sew a Blanket in 10 Easy Steps
To sew a blanket in 10 easy steps, start by choosing your fabric carefully. Pre-wash it to prevent shrinkage later, and cut your fabric to size, leaving extra for hems.
Next, layer your fabric with batting and backing, pinning everything securely. This keeps the layers from shifting while you sew.
Sew around the edges, but leave a small opening. Then, turn the blanket right side out and press the edges flat for a clean finish.
Add a neat topstitch or a decorative stitch to give your blanket a polished look. Sew the opening closed, and finish with any final embellishments you like.
Keep going with these simple steps, and you’ll soon master all the detailed tips for a cozy, polished blanket that looks great and feels warm.
Key Takeaways
– Choose and pre-wash fabric, then measure and cut layers accurately with extra seam allowance.
Make sure you have enough fabric for your blanket size, plus a bit extra for seams.
– Layer fabric pieces with batting in between, smoothing wrinkles and aligning edges evenly.
Take your time here to get everything nice and flat.
– Pin edges securely, spacing pins 4-6 inches apart, to prevent shifting during sewing.
This helps keep everything stable when you sew.
– Sew around edges using straight or blanket stitch, leaving a 4-6 inch opening for turning.
Don’t forget to leave that opening so you can turn the blanket right side out later.
– Turn blanket right side out, press edges, and sew the opening closed with neat, even stitches.
Give it a good press to make it look crisp and finish sewing the gap carefully.
Choose and Prepare Your Fabric
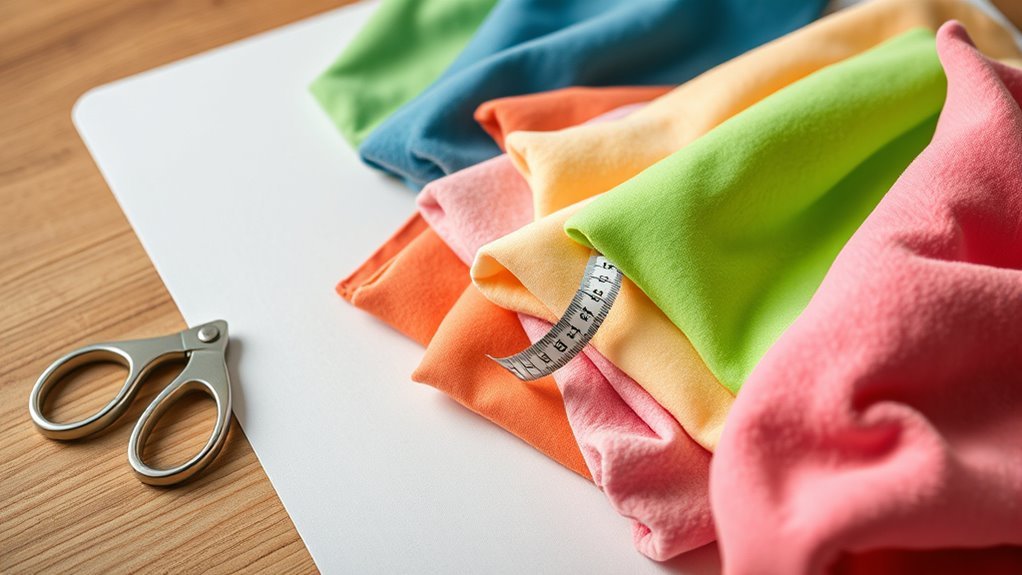
Before you start sewing, choose a fabric that matches the warmth and texture you want, like fleece, cotton, or wool. These options offer different feels and insulation levels, so pick one that suits your project.
Once you select your fabric, make sure it’s clean and pressed flat to avoid wrinkles that can throw off your measurements and stitching. Preparing your fabric properly sets the stage for smooth sewing and precise results.
Gather all your sewing supplies, including sharp scissors, pins, and a ruler, to make the process easier. Taking these steps guarantees your fabric is ready for cutting and sewing, helping you create a blanket that looks neat and professional.
Cut Fabric to Desired Size
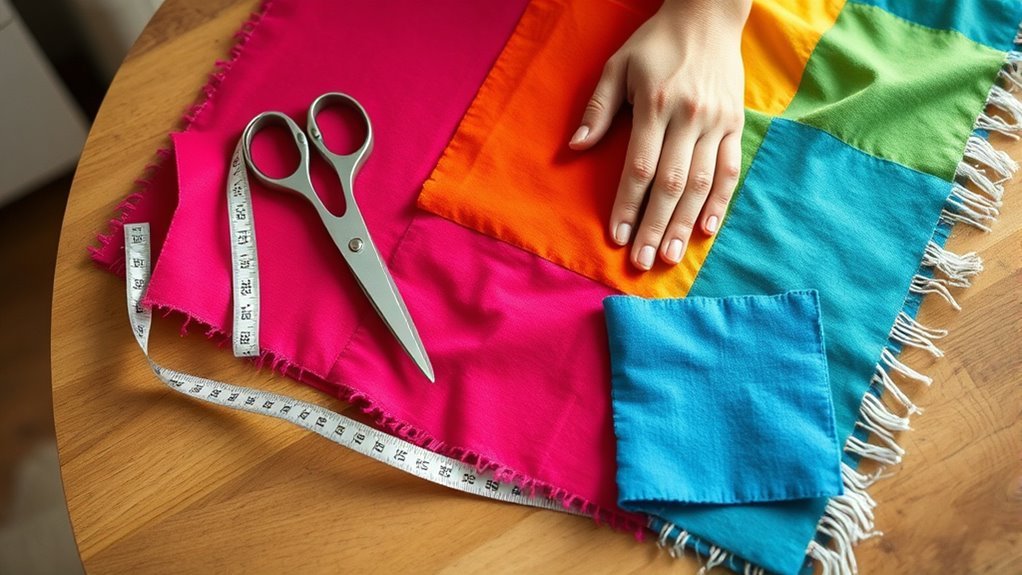
Before you cut, pick a fabric that suits your blanket’s feel and warmth. Measure and mark the size carefully using a fabric ruler and a water-soluble marker for accuracy.
Then, use sharp scissors to make clean, straight cuts along your markings. This way, your fabric pieces will be just right for your project.
Choose Fabric Type
Choosing the right fabric is key to creating a comfortable and durable blanket. You want to pick a fabric like fleece, cotton, or wool that suits both your comfort preferences and how long you want your blanket to last.
Before you cut, always pre-wash or pre-shrink the fabric to avoid any size changes after sewing. When it’s time to cut, use sharp fabric scissors and a ruler or straight edge to ensure clean, straight edges.
Don’t forget to add extra inches for hems and seams. Also, consider the fabric’s weight and texture, especially if you plan to add batting or backing, so everything works well together.
Selecting the right fabric upfront makes the sewing process smoother and your blanket cozier. It’s definitely worth taking the time to get it right!
Measure and Mark
How do you guarantee your blanket turns out the perfect size? First, measure the desired length, width, and height using a tape measure for accuracy. Remember to add 1-2 extra inches around the edges to allow for seam allowances and hems.
Next, take a ruler and carefully mark cutting lines on the fabric with fabric chalk or a water-soluble marker. These marks guide you in cutting precisely and help avoid mistakes.
Before you start cutting, double-check all your measurements and marks to ensure everything matches your blanket dimensions. Taking these steps seriously will set you up for a smooth sewing process and a blanket that fits your needs perfectly.
Accurate measuring and marking are the foundation of a well-made blanket. So, don’t rush this part!
Use Sharp Scissors
Once you’ve marked your fabric accurately, grab a pair of sharp fabric scissors to cut it to the right size. Using sharp scissors guarantees clean, precise cuts and prevents fraying or damage to your material.
Always cut on a flat, stable surface for straight edges, which makes sewing easier. Avoid dull scissors—they cause jagged edges and complicate trimming.
For curves or intricate shapes, switch to smaller, sharp embroidery scissors for better control. Here’s a quick guide:
| Tip | Reason |
|---|---|
| Use sharp scissors | Clean cuts, no fraying |
| Cut on flat surface | Straight, accurate edges |
| Avoid dull scissors | Prevents jagged, uneven edges |
| Use small scissors | Better control for curves |
Sharp scissors help you cut your fabric perfectly, setting a solid foundation for your blanket. You’ll thank yourself later when sewing goes smoothly!
Layer Fabric With Batting and Backing
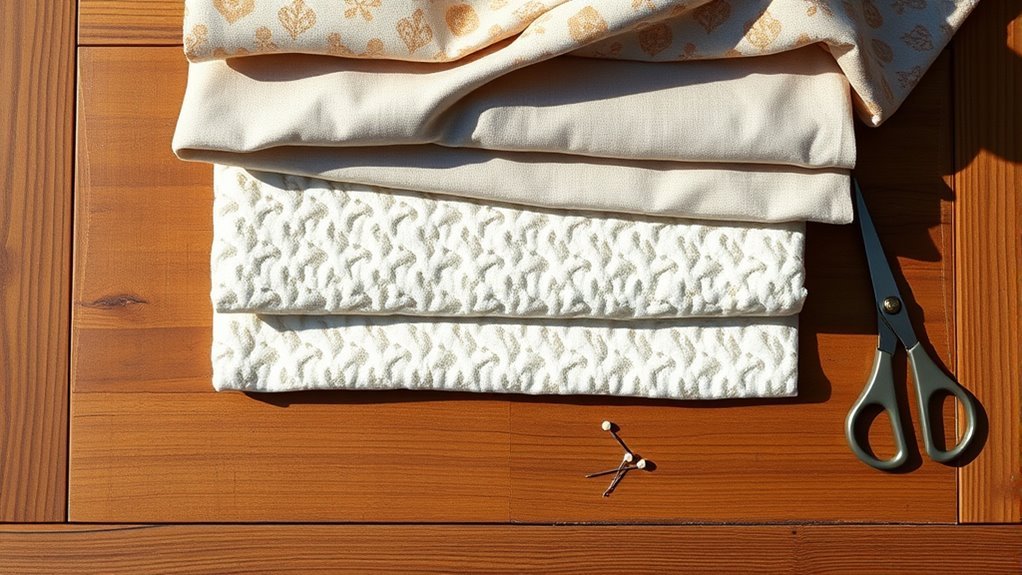
Before you start sewing, layer your fabric with the right side facing up. Place the batting underneath, and then lay the backing fabric on the bottom. Make sure all layers are cut to the same size and aligned perfectly before stacking.
This helps you layer fabric with batting and backing evenly, preventing any bunching or unevenness. Smooth out wrinkles or folds so the layers lay flat and even.
Although you won’t pin them yet, it’s important to prepare the layers to secure them during sewing. Taking these careful steps guarantees your blanket will have a clean, quilted finish.
Once everything is aligned, you’ll be ready to move on to pinning or clipping the layers securely before stitching.
Pin Layers to Secure Them
To keep your blanket layers perfectly aligned, pin them at regular intervals starting from the center and working outward. Place your pins perpendicular to the edges, spacing them about 4 to 6 inches apart.
But be careful not to pin right where you’ll sew. This approach helps prevent shifting and guarantees your layers stay flat and smooth as you sew.
Layer Alignment Tips
Although sewing a blanket can be straightforward, securing the fabric layers properly is essential to prevent shifting as you work.
To align your layers well, pin them together along the edges, placing pins perpendicular to the fabric’s edge. This lets you easily remove pins while sewing.
Space pins about 2-3 inches apart, increasing frequency for thicker fabrics to keep layers smooth and even.
Removing pins gradually just before sewing over them helps protect your needle and fabric.
| Tip | Reason |
|---|---|
| Pin layers at edges | Keeps layers from shifting |
| Place pins perpendicular | Easy pin removal during sewing |
| Space pins 2-3 inches | Prevents puckers and bunching |
| Pin more on thick fabric | Ensures even, smooth stitching |
Pin Placement Strategies
When you pin fabric layers together, placing straight pins about 1 to 2 inches apart and perpendicular to the edge helps keep everything aligned. It also makes it easier to remove pins as you sew.
For effective pin placement, position pins within 1/4 inch of the fabric edge to secure fabric tightly and prevent puckering or bunching.
When working with curved edges, place pins closer together to maintain smooth curves and avoid slipping.
Remember to remove pins gradually as you sew to protect your needle and keep the layers secure.
Sew Around the Edges Leaving an Opening
How much space should you leave unstitched when sewing your blanket’s edges? You want to leave an opening of about 4-6 inches on one side. This opening is essential for inserting or removing the filling later.
When you sew around the edges, use a straight or blanket stitch but stop just before the opening. Here’s how to handle it:
- Sew up to the edge of the opening, then backstitch to secure your stitches.
- Leave the 4-6 inch gap unstitched as your opening.
- Finish sewing around the rest of the edges, ensuring even stitches.
Remember, this opening is your access point, so keep it neat for easy turning and stuffing.
Leaving a precise opening creates a smooth, functional blanket edge.
Turn the Blanket Right Side Out
Now that you’re ready to turn the blanket right side out, focus on aligning the seams carefully to keep everything neat. Use your fingers to smooth the fabric edges, making sure there are no wrinkles or bunches.
Taking your time here ensures a clean, professional look for your finished blanket. It’s worth the extra patience!
Align Seams Carefully
Although turning the blanket right side out seems simple, doing it carefully guarantees your seams look neat and professional. After you’ve flipped it, take time to align seams precisely for a polished finish.
Here’s how to get it right:
- Gently push out the corners with a blunt tool or your fingers to create crisp points.
- Smooth out the fabric along each seam to align seams evenly without puckering.
- Check all edges to ensure they lie flat and meet perfectly at the seams.
- Finally, press the fabric carefully with an iron to set the seams and maintain the shape.
Following these steps helps your blanket look clean, sharp, and expertly sewn every time. It’s a simple trick that really makes a difference!
Smooth Fabric Edges
Once you’ve sewn the blanket edges, turn it right side out to hide raw seams and stitches, revealing a cleaner look. Gently push the corners out with a blunt tool or the end of a needle to create sharp, smooth edges.
Make sure all seams are fully turned outward, pressing lightly if needed to flatten them. If you notice any puckering or uneven folds, smooth the fabric with your hands to adjust.
To secure and finish the edges neatly, pull the thread carefully and use the blanket stitch along the perimeter. Finally, press the edges with an iron on a suitable setting to set the shape and give your blanket a professional, polished appearance.
Press the Edges Flat
How do you achieve crisp, clean edges on your blanket? You press the edges flat with care and precision. Follow these steps to get that perfect finish:
First, fold the edges inward by ¼ to ½ inch, depending on the look you want. Then, use an iron set to the right fabric temperature to press the fold flat.
For delicate fabric, place a pressing cloth over it to avoid shiny marks or burns. And if you’re dealing with sharp corners or curves, use a pressing ham or point turner to make sure they lay flat.
Hold the iron with steady pressure for a few seconds on each section to set the fold securely. Pressing your edges flat not only looks professional but also makes sewing easier and your blanket more durable.
Topstitch or Add Decorative Edging
When you topstitch or add decorative edging, you give your blanket a polished look while reinforcing its edges. Mark your stitching line about 1/8 to 1/4 inch from the edge with a fabric ruler and water-soluble marker.
Use a sewing machine’s topstitch or decorative stitch setting for neat, even stitches. You can choose contrasting thread colors or varied stitch lengths to make your blanket stand out.
Here’s a quick guide to help you decide:
| Technique | Purpose |
|---|---|
| Topstitch | Clean, professional finish |
| Blanket Stitch | Decorative & edge reinforcement |
| Zigzag Stitch | Adds visual interest and durability |
This step not only enhances appearance but also strengthens your blanket’s edges for long-lasting use. It’s a simple touch that really makes a difference!
Sew the Opening Closed
Before finishing your blanket, you’ll need to sew the opening closed by folding the raw edges inward about ¼ to ½ inch to create a clean hem. This step guarantees a polished look and secures your blanket’s shape.
Follow these steps:
Fold, pin, sew with even stitches, backstitch to secure, trim threads, and press for a polished hem finish.
- Fold the edges inward and use pins or clips to hold them steady.
- Sew around the opening with a straight stitch or blanket stitch, keeping stitches even.
- Backstitch at the start and end to lock your stitches and prevent unraveling.
- Trim any loose threads and gently press the hem flat for a neat finish.
Add Final Decorative Details or Quilting
Although you’ve nearly finished sewing your blanket, adding final decorative details or quilting can really elevate its look and feel. Use embroidery floss in contrasting colors to create decorative borders or patterns along the edges.
You can also embroider small designs, initials, or motifs onto the blanket before finishing the edges to personalize it. Incorporate quilting stitches, like straight or crosshatch patterns, within the blanket for added texture and visual interest.
Decorative stitches, such as the blanket stitch or other embroidery stitches, work well to embellish the outer edge or central motifs. Just make sure all quilting and decorative stitches are evenly spaced and securely anchored to prevent unraveling.
These finishing touches don’t just enhance the appearance; they also add durability to your handmade blanket. It’s a great way to make your blanket both beautiful and long-lasting.
Frequently Asked Questions
How to Stitch One Piece of Fabric on Top of Another?
You layer the fabrics right sides together, pin them, then sew along the edge with a straight stitch, leaving a seam allowance.
Don’t forget to backstitch at the start and end to secure your stitches. It might seem small, but it really helps keep everything in place.
What Are the 7 Basic Hand Stitches for Beginners?
You’ll weave your thread with seven dances: running stitch, backstitch, whip, slip, blanket, hemming, and zigzag.
These stitches are your hand’s language, stitching strength and beauty into every fabric tale you create.
Each one has its own rhythm and purpose, making your sewing projects come alive.
Once you get the hang of them, you’ll see how fun and versatile hand stitching can be!
How to Sew a Blanket for Beginners?
You start by choosing soft fabric, then fold and pin the edges. Sew with a straight or blanket stitch, keeping stitches even.
Finish by knotting thread ends and pressing edges for a neat, cozy blanket. It’s pretty simple once you get the hang of it!
How Many Strands Should I Use for Blanket Stitch?
You’ll want 2 to 3 strands of embroidery floss for a clear, sturdy blanket stitch. Thicker threads create bold edges but can be tricky.
Test your fabric first, then let your needle dance smoothly along the edge. It’s all about finding that perfect balance!
Conclusion
Now that your blanket’s edges are neatly stitched and the final decorative touches add that cozy charm, imagine wrapping yourself in its warmth.
Feel the soft fabric against your skin, knowing you crafted this comfort with your own hands. Each stitch holds a bit of your care and creativity, turning simple layers into a snug, beautiful blanket.
So go ahead—curl up, relax, and enjoy the cozy masterpiece you’ve made! Sewing a blanket is not just about putting fabric together; it’s about creating something that brings warmth and comfort to your life. With these easy steps, you’ve turned basic materials into a personalized, cozy blanket that will keep you warm for years to come.